V. SET CLOCK
The Set Clock button allows the user to change the time and day displayed on the thermostat. Press the Set Clock button to enter Set Time mode. See Fig. 4. The current time will blink on and off. Press the UP ARROW and DOWN ARROW buttons until the correct time is shown. Hold down the but- tons to quickly move through the time display. The AM and PM annunciators will automatically change. To scroll through by hours only, press and hold down the Fan button while press- ing the UP or DOWN ARROW buttons. To ensure the sched- ules are properly followed, make sure that AM or PM is correct for the time chosen. When the correct time is shown, press the Mode button to modify the day of the week. The current day will blink on and off. Press the UP ARROW and DOWN ARROW buttons until the correct day is shown. Press the Set Clock button again to exit the Set Time mode.
Fig. 4 Ð Setting the Clock
VI. PROGRAMMING THERMOSTAT SCHEDULES
Before programming the thermostat, plan the thermostat daily schedule. The schedule is divided into 7 days (Monday through Sunday). Each day can have 2 (Occupied 1, Unoccupied), 3 (Occupied 1, Occupied 2, Unoccupied), or 4 (Occupied 1, Occupied 2, Occupied 3, Unoccupied) time periods. Each occupied time period has a start time, stop time, heating set point and a cooling set point. The unoccupied time period has a heating set point and a cooling set point. The unoccupied time period is active whenever an occupied time period is not active. Fill in Table 1 below as an aid to programming the daily schedules.
A. Programming Mode
To program the daily schedules, perform the following procedure:
1.Enter programming mode by pressing the Program but- ton. The Occupied 1 annunciator will appear on the ther- mostat display. See Fig. 5. Use the UP ARROW and DOWN ARROW buttons to set the maximum number of Occupied periods available. The thermostat can be set to 1, 2, or 3. After the number of Occupied periods has been selected, press the Mode button.
2.The cooling set point for Occupied 1 will be displayed. Use the UP ARROW and DOWN ARROW buttons to raise or lower the cooling set point until the desired temperature is shown. The range of acceptable values is 35 to 99 F (1 to 37 C). Press the Mode button to con- tinue. See Fig. 5.
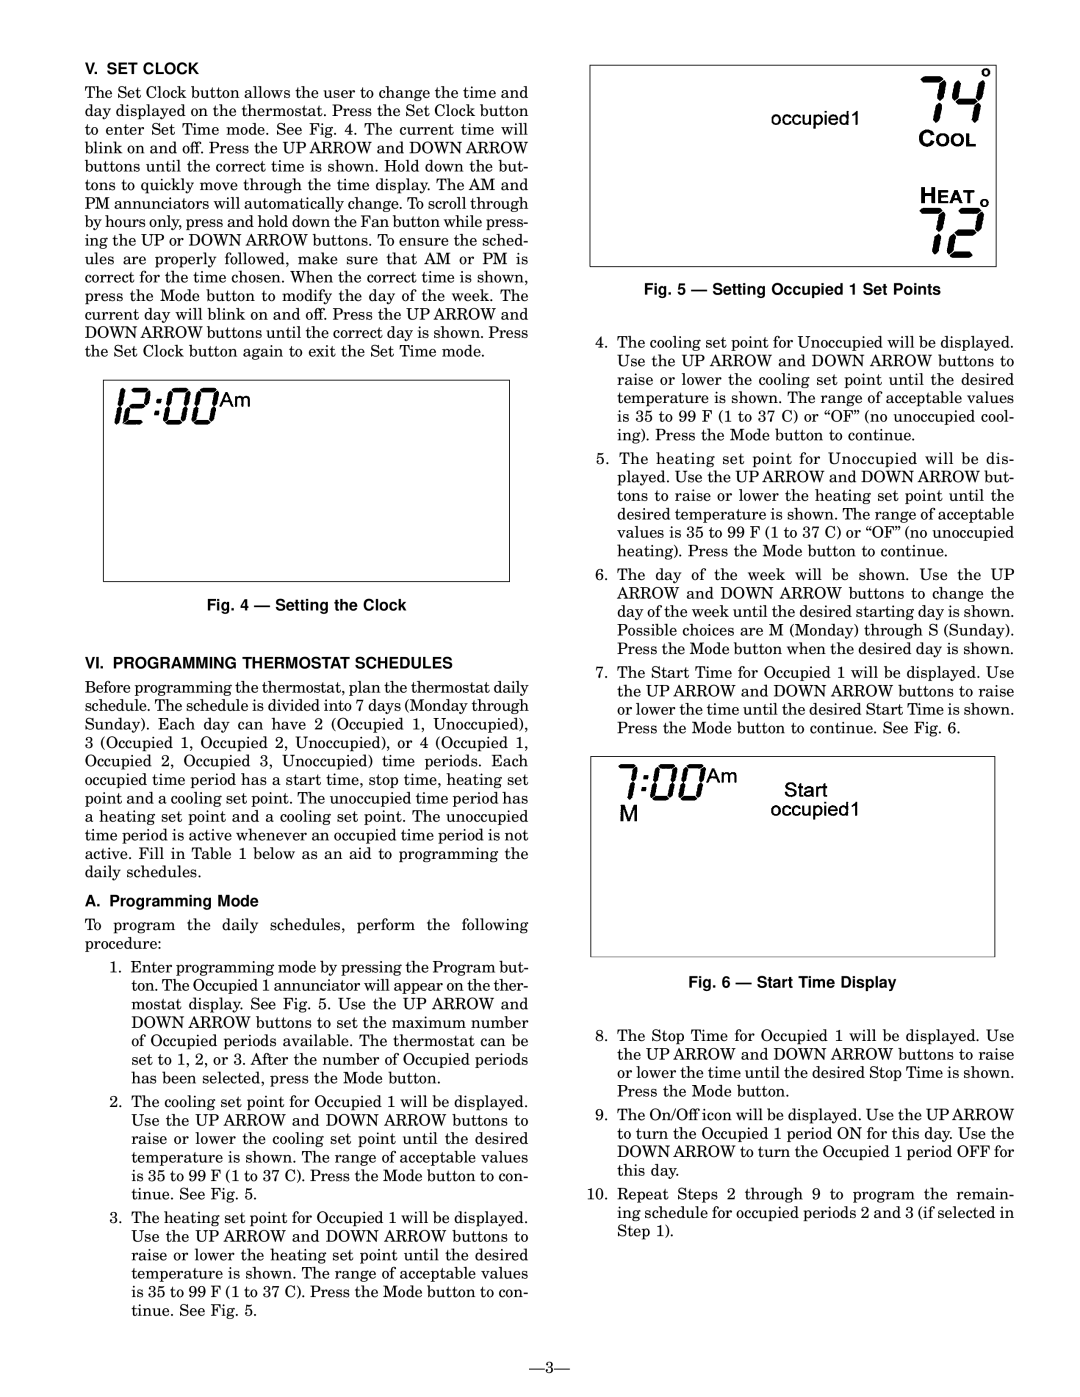
3.The heating set point for Occupied 1 will be displayed. Use the UP ARROW and DOWN ARROW buttons to raise or lower the heating set point until the desired temperature is shown. The range of acceptable values is 35 to 99 F (1 to 37 C). Press the Mode button to con- tinue. See Fig. 5.
Fig. 5 Ð Setting Occupied 1 Set Points
4.The cooling set point for Unoccupied will be displayed. Use the UP ARROW and DOWN ARROW buttons to raise or lower the cooling set point until the desired temperature is shown. The range of acceptable values is 35 to 99 F (1 to 37 C) or ``OF'' (no unoccupied cool- ing). Press the Mode button to continue.
5.The heating set point for Unoccupied will be dis- played. Use the UP ARROW and DOWN ARROW but- tons to raise or lower the heating set point until the desired temperature is shown. The range of acceptable values is 35 to 99 F (1 to 37 C) or ``OF'' (no unoccupied heating). Press the Mode button to continue.
6.The day of the week will be shown. Use the UP ARROW and DOWN ARROW buttons to change the day of the week until the desired starting day is shown. Possible choices are M (Monday) through S (Sunday). Press the Mode button when the desired day is shown.
7.The Start Time for Occupied 1 will be displayed. Use the UP ARROW and DOWN ARROW buttons to raise or lower the time until the desired Start Time is shown. Press the Mode button to continue. See Fig. 6.
Fig. 6 Ð Start Time Display
8.The Stop Time for Occupied 1 will be displayed. Use the UP ARROW and DOWN ARROW buttons to raise or lower the time until the desired Stop Time is shown. Press the Mode button.
9.The On/Off icon will be displayed. Use the UP ARROW to turn the Occupied 1 period ON for this day. Use the DOWN ARROW to turn the Occupied 1 period OFF for this day.
10.Repeat Steps 2 through 9 to program the remain- ing schedule for occupied periods 2 and 3 (if selected in Step 1).
Ð3Ð