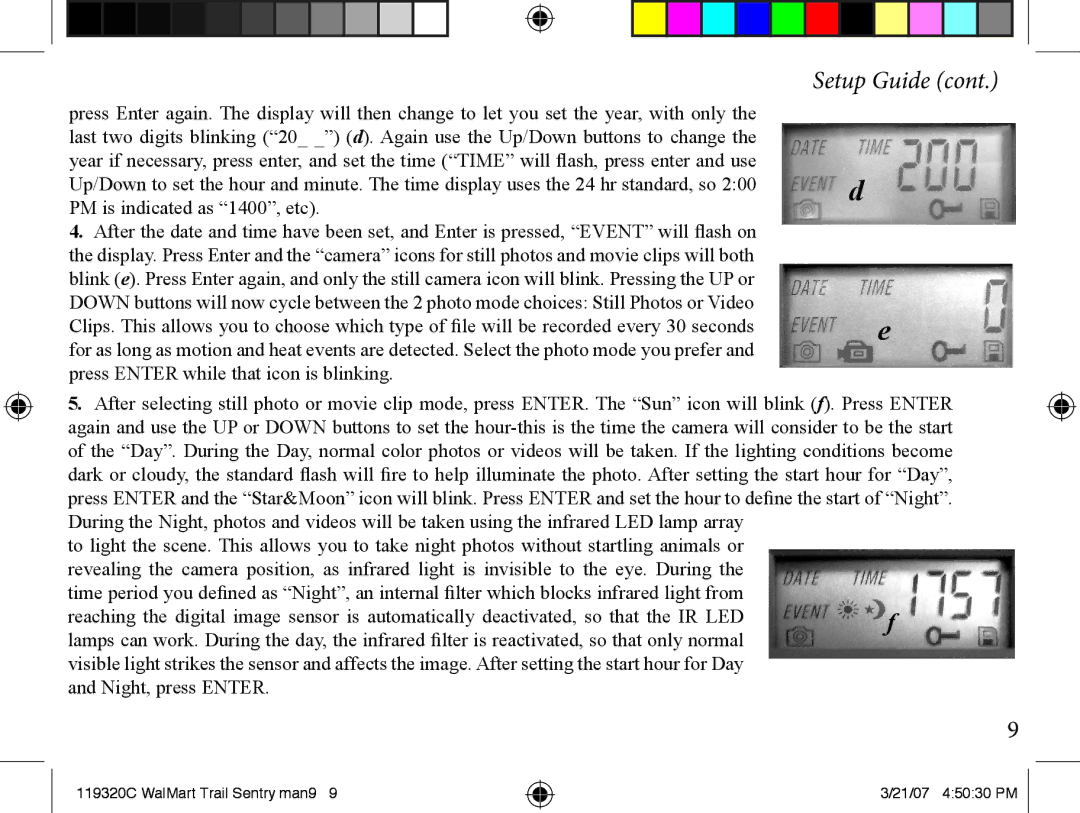
press Enter again. The display will then change to let you set the year, with only the last two digits blinking (“20_ _”) (d). Again use the Up/Down buttons to change the year if necessary, press enter, and set the time (“TIME” will flash, press enter and use Up/Down to set the hour and minute. The time display uses the 24 hr standard, so 2:00 PM is indicated as “1400”, etc).
4.After the date and time have been set, and Enter is pressed, “EVENT” will flash on the display. Press Enter and the “camera” icons for still photos and movie clips will both blink (e). Press Enter again, and only the still camera icon will blink. Pressing the UP or DOWN buttons will now cycle between the 2 photo mode choices: Still Photos or Video
Clips. This allows you to choose which type of file will be recorded every 30 seconds for as long as motion and heat events are detected. Select the photo mode you prefer and press ENTER while that icon is blinking.
Setup Guide (cont.)
d
e
5.After selecting still photo or movie clip mode, press ENTER. The “Sun” icon will blink (f). Press ENTER again and use the UP or DOWN buttons to set the
During the Night, photos and videos will be taken using the infrared LED lamp array to light the scene. This allows you to take night photos without startling animals or revealing the camera position, as infrared light is invisible to the eye. During the time period you defined as “Night”, an internal filter which blocks infrared light from
reaching the digital image sensor is automatically deactivated, so that the IR LED | f |
lamps can work. During the day, the infrared filter is reactivated, so that only normal |
|
visible light strikes the sensor and affects the image. After setting the start hour for Day |
|
and Night, press ENTER. |
|
119320C WalMart Trail Sentry man9 9
3/21/07 4:50:30 PM