5Connecting to a Computer ![]()
![]()
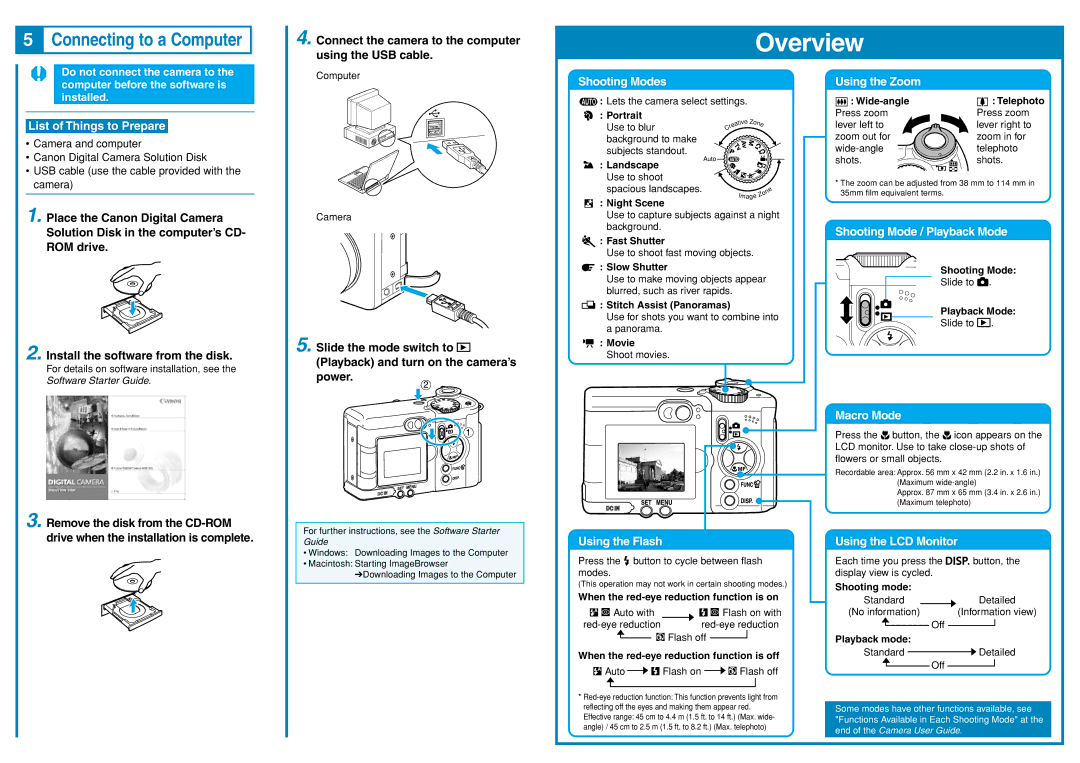
4. Connect the camera to the computer using the USB cable.
Overview
Do not connect the camera to the computer before the software is installed.
Computer
Shooting Modes
![]() : Lets the camera select settings.
: Lets the camera select settings.
: Portrait
Using the Zoom
: |
|
|
| : Telephoto |
Press zoom | Press zoom | |||
List of Things to Prepare
•Camera and computer
•Canon Digital Camera Solution Disk
•USB cable (use the cable provided with the camera)
Use to blur background to make subjects standout.
Auto
![]() : Landscape Use to shoot spacious landscapes.
: Landscape Use to shoot spacious landscapes.
: Night Scene
|
|
| tive Zo | n |
|
| a | ||
| e |
| e | |
r |
|
|
| |
C |
|
|
|
|
|
|
| e |
|
| n | |
| o |
| |
Image | Z |
|
|
|
|
| |
lever left to | lever right to |
zoom out for | zoom in for |
telephoto | |
shots. | shots. |
*The zoom can be adjusted from 38 mm to 114 mm in 35mm film equivalent terms.
1. Place the Canon Digital Camera Solution Disk in the computer’s CD- ROM drive.
2. Install the software from the disk.
For details on software installation, see the Software Starter Guide.
3. Remove the disk from the
Camera
5. Slide the mode switch to ![]() (Playback) and turn on the camera’s power.
(Playback) and turn on the camera’s power.
For further instructions, see the Software Starter Guide
•Windows: Downloading Images to the Computer
•Macintosh: Starting ImageBrowser
➔Downloading Images to the Computer
Use to capture subjects against a night background.
![]() : Fast Shutter
: Fast Shutter
Use to shoot fast moving objects.
![]() : Slow Shutter
: Slow Shutter
Use to make moving objects appear blurred, such as river rapids.
![]() : Stitch Assist (Panoramas)
: Stitch Assist (Panoramas)
Use for shots you want to combine into a panorama.
![]() : Movie Shoot movies.
: Movie Shoot movies.
Using the Flash
Press the ![]() button to cycle between flash modes.
button to cycle between flash modes.
(This operation may not work in certain shooting modes.)
When the
|
|
|
| Auto with |
|
|
|
|
| Flash on with | ||||
|
| |||||||||||||
|
|
|
|
|
|
|
| Flash off |
|
| ||||
|
|
|
|
|
|
|
| |||||||
|
|
|
|
|
|
|
|
| ||||||
|
|
|
|
|
|
|
|
|
|
|
|
|
|
|
When the
![]() Auto
Auto ![]()
![]() Flash on
Flash on ![]()
![]() Flash off
Flash off
Shooting Mode / Playback Mode
Shooting Mode:
Slide to ![]() .
.
Playback Mode:
Slide to ![]() .
.
Macro Mode
Press the ![]() button, the
button, the ![]() icon appears on the LCD monitor. Use to take
icon appears on the LCD monitor. Use to take
Recordable area: Approx. 56 mm x 42 mm (2.2 in. x 1.6 in.)
(Maximum
Approx. 87 mm x 65 mm (3.4 in. x 2.6 in.) (Maximum telephoto)
Using the LCD Monitor
Each time you press the ![]()
![]()
![]()
![]()
![]() button, the display view is cycled.
button, the display view is cycled.
Shooting mode: |
|
|
|
|
|
|
| |||
Standard |
|
|
|
|
|
| Detailed | |||
(No information) |
|
|
|
| (Information view) | |||||
|
|
|
|
| Off |
|
|
|
| |
|
|
|
|
|
|
|
| |||
Playback mode: |
|
|
|
| ||||||
|
|
|
|
|
|
| ||||
Standard |
|
|
|
|
|
| Detailed | |||
|
| Off |
|
|
| |||||
|
|
|
|
|
|
|
| |||
|
|
|
|
|
|
|
|
|
| |
|
|
|
|
|
|
| ||||
* |
|
reflecting off the eyes and making them appear red. | Some modes have other functions available, see |
Effective range: 45 cm to 4.4 m (1.5 ft. to 14 ft.) (Max. wide- | "Functions Available in Each Shooting Mode" at the |
angle) / 45 cm to 2.5 m (1.5 ft. to 8.2 ft.) (Max. telephoto) | end of the Camera User Guide. |
| |
|
|