DC95, DC100 specifications
The Canon DC100 and DC95 are compact camcorders designed to deliver exceptional performance for both amateur and professional videographers. These models stand out due to their blend of portability, advanced features, and user-friendly interface, making them an excellent choice for a variety of recording needs.One of the key features of both the DC100 and DC95 is their impressive image sensor technology. Armed with a high-quality CCD sensor, these camcorders capture vibrant and detailed footage, even in low-light conditions. The incorporation of a powerful optical zoom lens further enhances the recording experience, allowing users to get close to their subjects without sacrificing clarity. The DC100 offers a 30x optical zoom, while the DC95 provides a slightly lower 27x zoom, both of which ensure that distant subjects are easily captured with stunning clarity.
Another standout feature is the advanced image stabilization technology implemented in both models. This innovation effectively reduces the effects of camera shake during handheld shooting. Whether users are filming a fast-paced event or capturing serene landscapes, the stabilization technology leads to smoother, more professional-looking videos.
For those concerned about audio quality, the DC100 and DC95 include built-in stereo microphones that capture clear sound, enhancing the overall video experience. Additionally, users can connect external microphones for more advanced audio recording options, catering to various shooting environments.
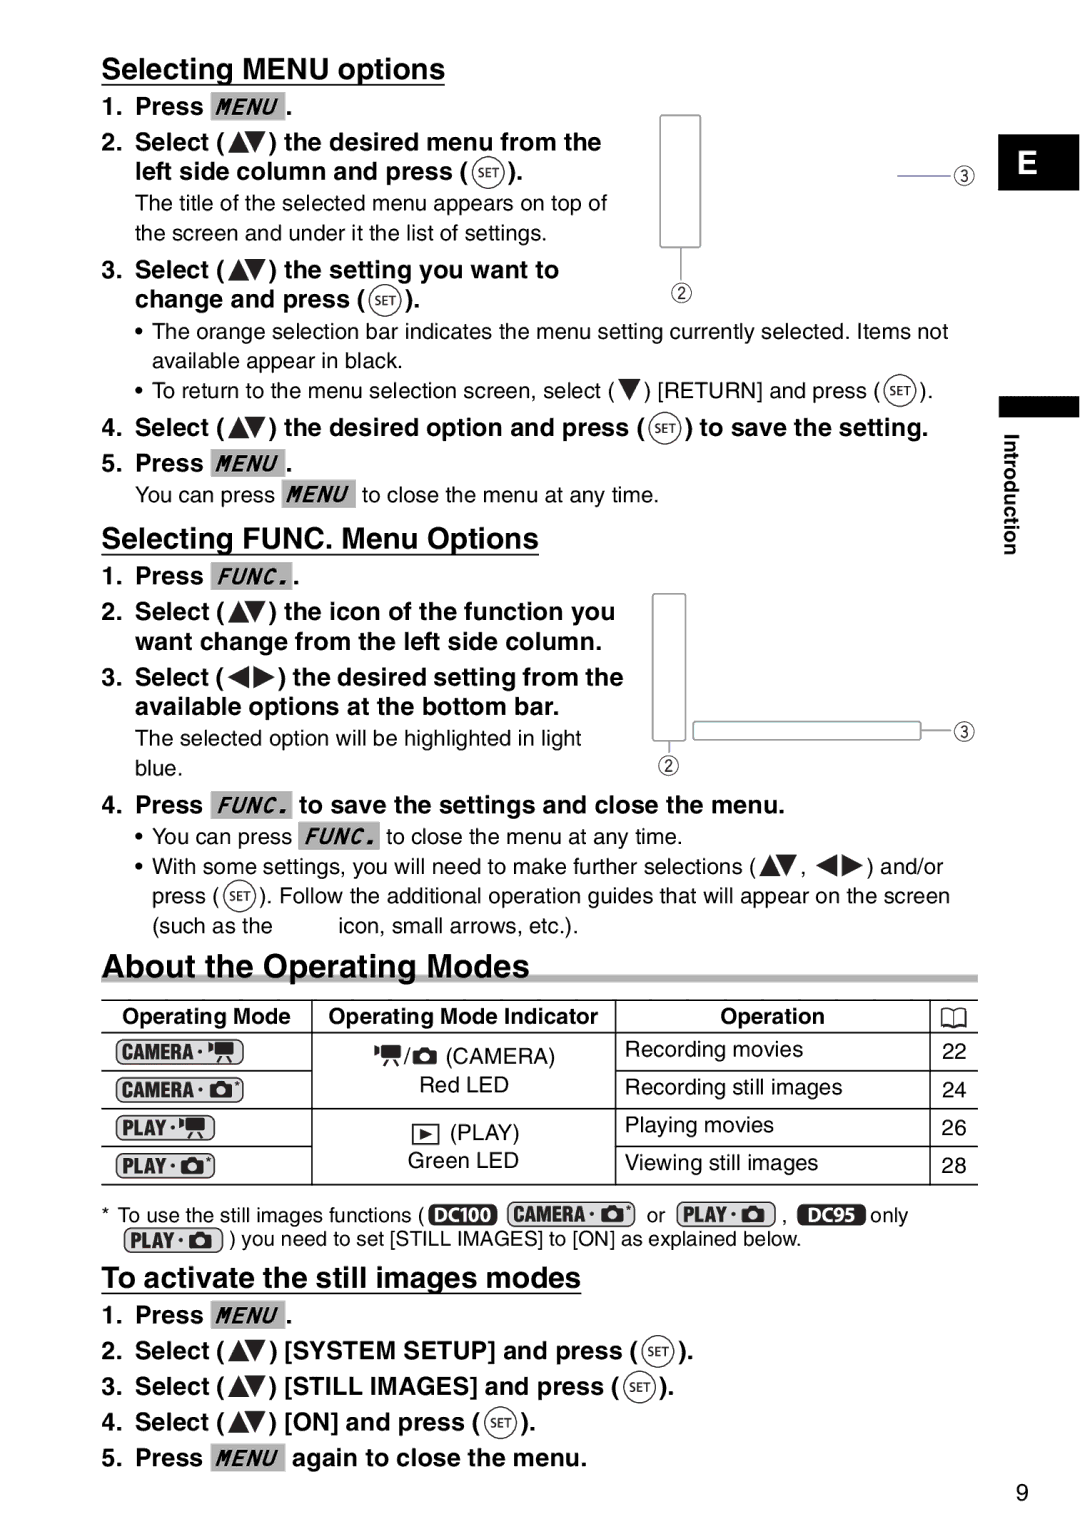
The user interface of both camcorders is designed for ease of use. With an intuitive menu system and large LCD screens, navigating through settings and playback is straightforward. The DC100 features a 2.7-inch LCD, while the DC95 sports a slightly larger 3.0-inch display, providing better visibility during shooting.
Battery life is another crucial aspect where the Canon DC100 and DC95 excel. With efficient power management, these camcorders offer extended recording times, allowing users to film longer events without worrying about battery drainage.
In terms of connectivity, both devices come equipped with USB and AV outputs, enabling easy transfer of footage to computers or TVs for sharing and editing.
In summary, the Canon DC100 and DC95 are equipped with a selection of advanced features catering to both casual and serious videographers. With superior image quality, effective stabilization, high-quality audio, and user-friendly designs, these camcorders remain strong contenders in the compact camcorder market. Whether documenting family events, travel adventures, or professional projects, these models deliver reliability and performance that users can trust.

