IMPORTANT!
•If you play one or two notes only in the left hand, or three notes that do not make up a recognizable chord formation, no sound will be produced. The FINGERED mode requires a conventional three or
❚NOTE
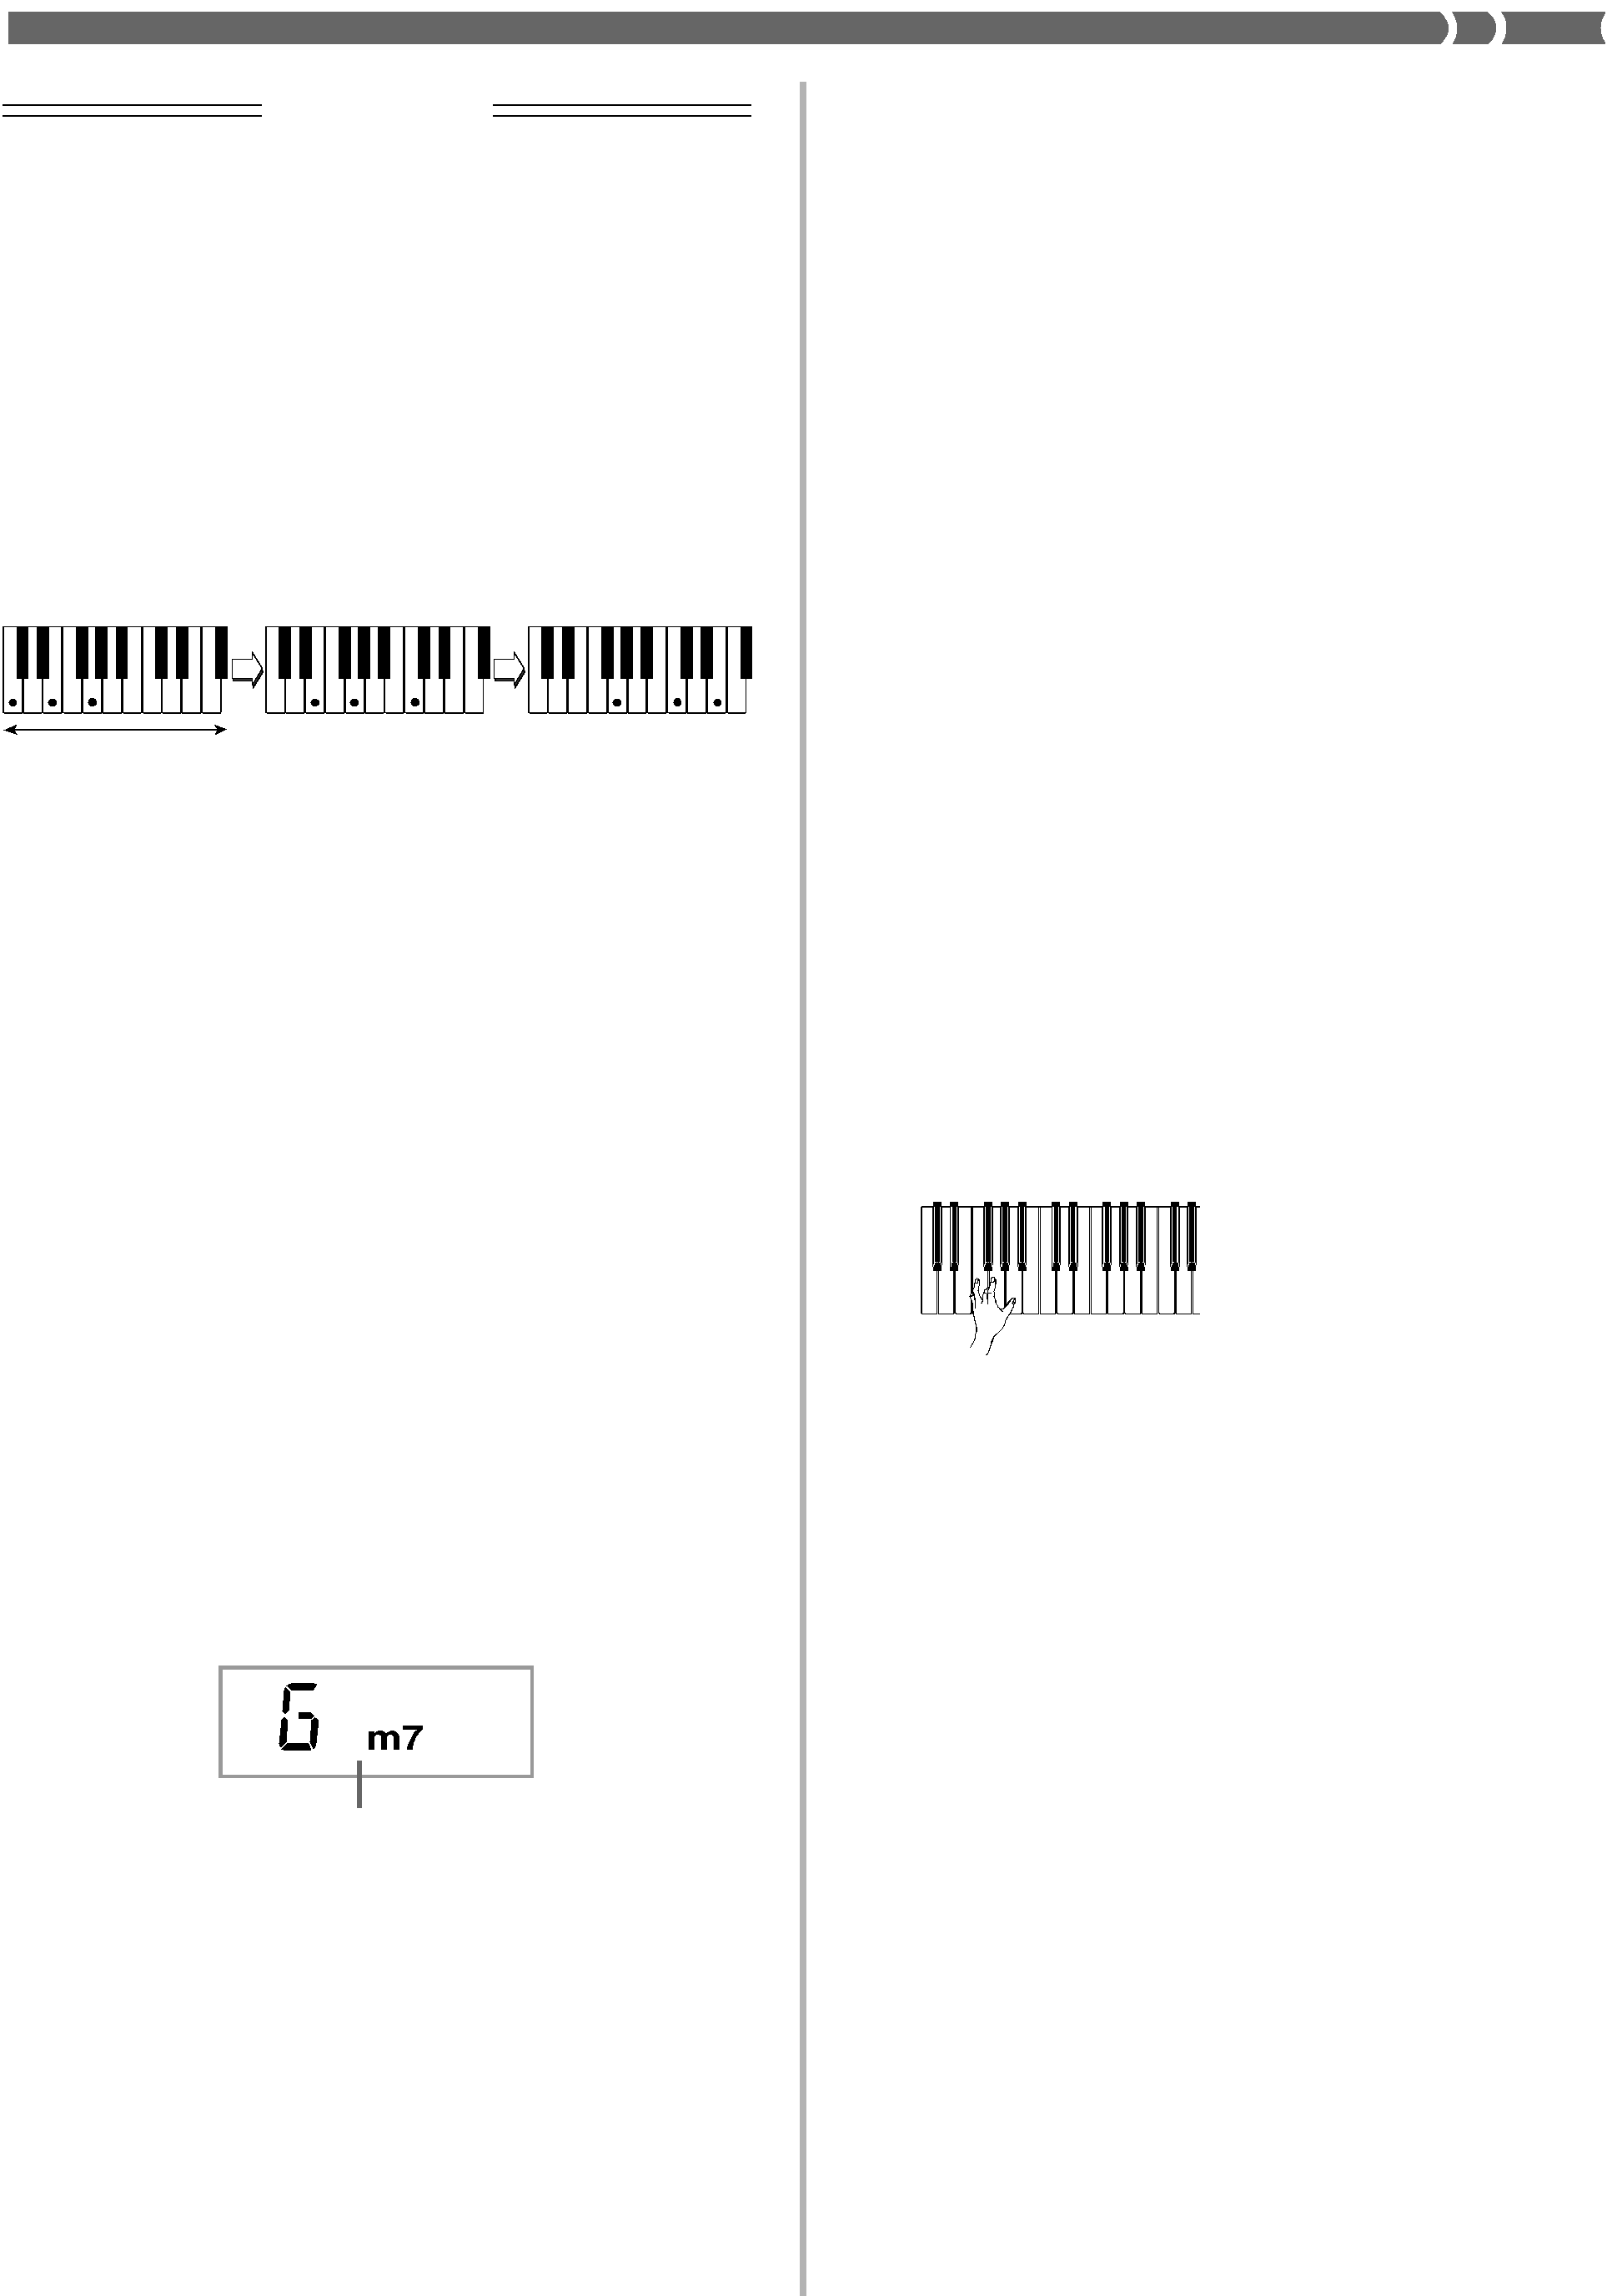
•The above examples show only one of the possible fingerings for each chord. Note that you can play the notes that form a chord in any combination. Each of the following fingerings for example, produces the same C chord.
Accompaniment
keyboard
•See the “Fingered Chord Charts” on page
To play a FINGERED auto-accompaniment
1. Use the POWER/MODE selector to select
FINGERED.
2. Select an
3. Start play of the rhythm.
•If you want to start play of the normal rhythm pattern, press START/STOP.
•You can also use synchro start (on this page) to start rhythm play.
4.Play a chord on the accompaniment keyboard to start play of the
Chord name
5. Continue pressing keys on the accompaniment keyboard to play your chord progression.
6. To stop
Improvising with the preset patterns
Pressing the START/STOP button to start rhythm play causes the normal version of the pattern to be played. You can also play a variation of the rhythm using the operation described below.
Using fill-in rhythm
You can insert a
Using Synchro start
You can start the rhythm and accompaniment pattern at the same time, with your play of the accompaniment keyboard. To do this, follow the steps below.
1.
2.
3.
4. Press the accompaniment keys to play the first chord. As soon as you do, the auto- accompaniment pattern begins to play.
5. To stop the
❚NOTE
•If you set the POWER/MODE selector to NORMAL in step 1 on page