Installing the Telescope Onto the Mount

1. Slide the slow motion rod through the adjustment hole on the side of the telescope tube.

2. Place the telescope tube inside the altazimuth mount.

3. Insert the altitude adjustment screws (star shaped handles) through the mount and thread into the sides of the telescope.

4. Remove the lens cap from the telescope.

Attaching the Star Pointer Finderscope

1. Remove the two (2) small, silver thumbscrews located at the back of the telescope tube.

2. Place the finderscope bracket over the two holes in the telescope tube, lining up the holes on the finderscope bracket with those in the telescope tube. Orient the Star Pointer finderscope so that the glass window is facing towards the front of the tube.

3. Insert the thumbscrews through the finderscope bracket and thread them into the telescope tube.

Attaching the Eyepieces

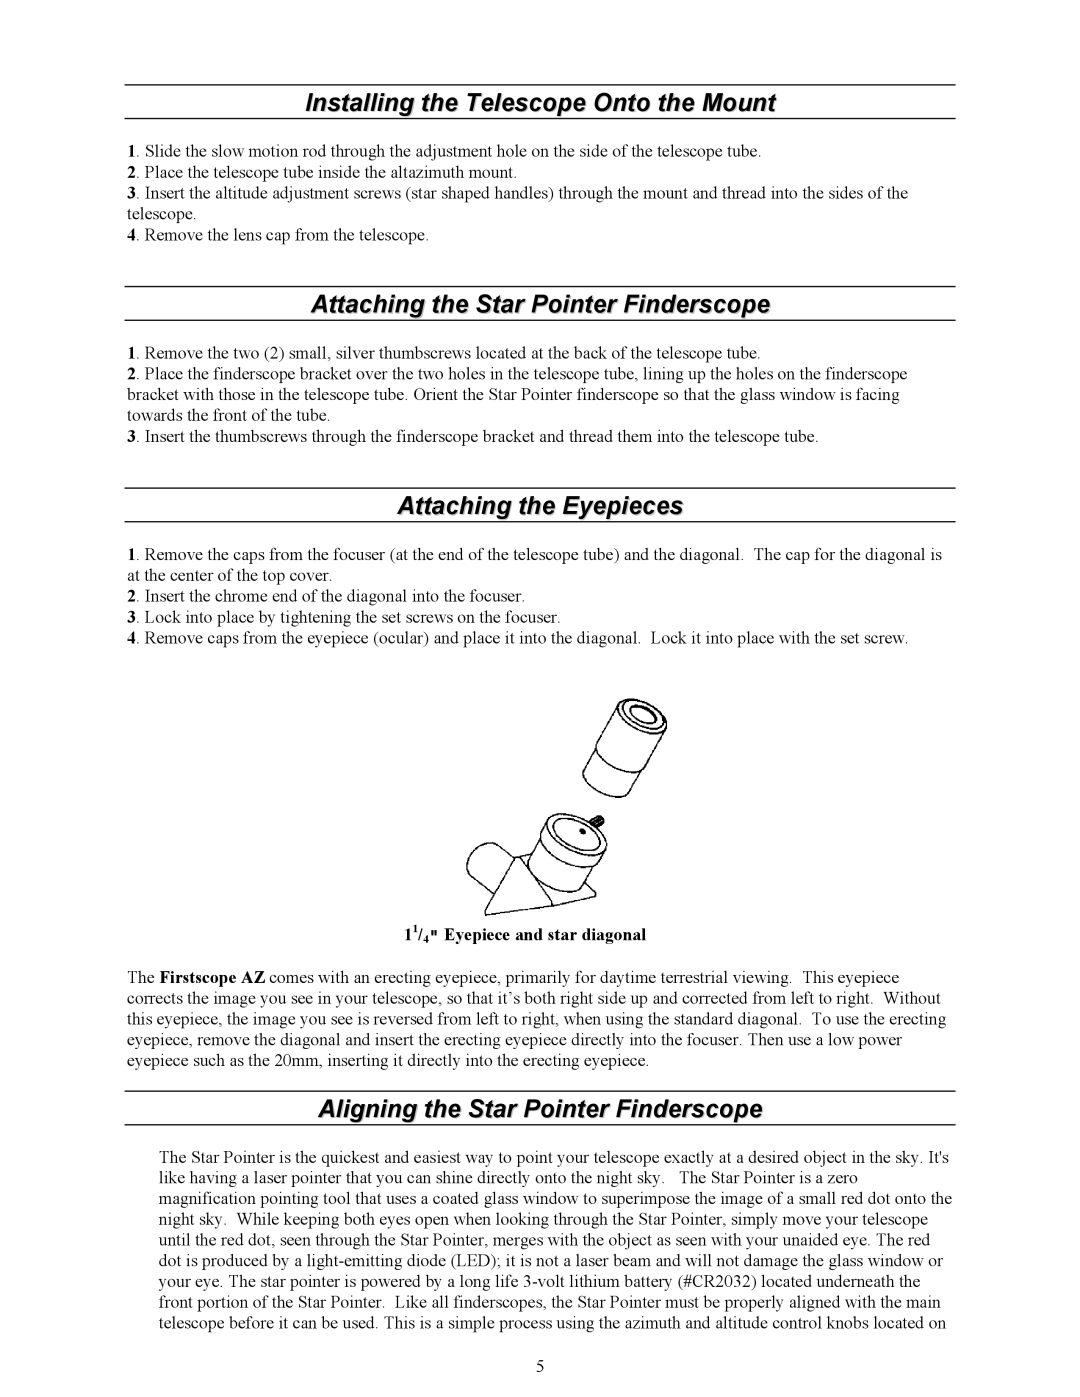
1. Remove the caps from the focuser (at the end of the telescope tube) and the diagonal. The cap for the diagonal is at the center of the top cover.

2. Insert the chrome end of the diagonal into the focuser.

3. Lock into place by tightening the set screws on the focuser.

4. Remove caps from the eyepiece (ocular) and place it into the diagonal. Lock it into place with the set screw.

11/4" Eyepiece and star diagonal

The Firstscope AZ comes with an erecting eyepiece, primarily for daytime terrestrial viewing. This eyepiece corrects the image you see in your telescope, so that it’s both right side up and corrected from left to right. Without this eyepiece, the image you see is reversed from left to right, when using the standard diagonal. To use the erecting eyepiece, remove the diagonal and insert the erecting eyepiece directly into the focuser. Then use a low power eyepiece such as the 20mm, inserting it directly into the erecting eyepiece.

Aligning the Star Pointer Finderscope

The Star Pointer is the quickest and easiest way to point your telescope exactly at a desired object in the sky. It's like having a laser pointer that you can shine directly onto the night sky. The Star Pointer is a zero magnification pointing tool that uses a coated glass window to superimpose the image of a small red dot onto the night sky. While keeping both eyes open when looking through the Star Pointer, simply move your telescope until the red dot, seen through the Star Pointer, merges with the object as seen with your unaided eye. The red dot is produced by a light-emitting diode (LED); it is not a laser beam and will not damage the glass window or your eye. The star pointer is powered by a long life 3-volt lithium battery (#CR2032) located underneath the front portion of the Star Pointer. Like all finderscopes, the Star Pointer must be properly aligned with the main telescope before it can be used. This is a simple process using the azimuth and altitude control knobs located on

5

Page 5
Image 5
Celestron 21052 Installing the Telescope Onto the Mount, Attaching the Star Pointer Finderscope, Attaching the Eyepieces

21052, 21071 specifications

The Celestron 21052 and 21071 are standout models in the brand's renowned refractor telescope range, ideal for both novice astronomers and seasoned stargazers. The 70 AZ and 60 AZ options provide exceptional portability while still delivering impressive optical performance.

The Celestron 21052, featuring a 70mm aperture, is designed to capture bright and clear images of celestial objects. Its refractor design utilizes high-quality glass optics that reduce chromatic aberration, ensuring that colors are rendered accurately and clearly. With a focal length of 700mm, it offers a suitable balance of magnification and field of view, making it perfect for observing planets, star clusters, and even some of the brighter deep-sky objects.

The portable design of the 70 AZ model makes it easy to transport to various viewing locations. It comes with a sturdy, adjustable tripod that provides excellent stability during observations. Additionally, a smooth altazimuth mount allows for easyTracking of celestial objects as they move across the night sky. The telescope also includes a finder scope, which aids in locating objects quickly, enhancing the overall viewing experience.

The Celestron 21071, featuring a slightly smaller 60mm aperture, is a fantastic choice for beginners looking to get into astronomy without a hefty investment. Despite its compact size, the 60 AZ still offers great optical quality, making it possible to view the Moon's craters, Jupiter’s moons, and more with remarkable clarity. The 60 AZ is designed for quick setup and portability, making it ideal for impromptu stargazing sessions.

Both models come with a variety of accessories that enhance usability, including multiple eyepieces for different magnification levels and a star map to help users locate celestial objects. The telescopes are also compatible with a smartphone adapter, allowing users to capture images of their observations and share them with friends or social media.

Ultimately, the Celestron 21052 and 21071 refractor telescopes exemplify quality design and ease of use, making them excellent choices for anyone interested in exploring the night sky. With their user-friendly features and excellent optics, these telescopes provide a window to the wonders of the universe, encouraging a lifelong passion for astronomy.