Manuals
/
Celestron
/
Lawn and Garden
/
Telescope
Celestron
4SE
instruction manual
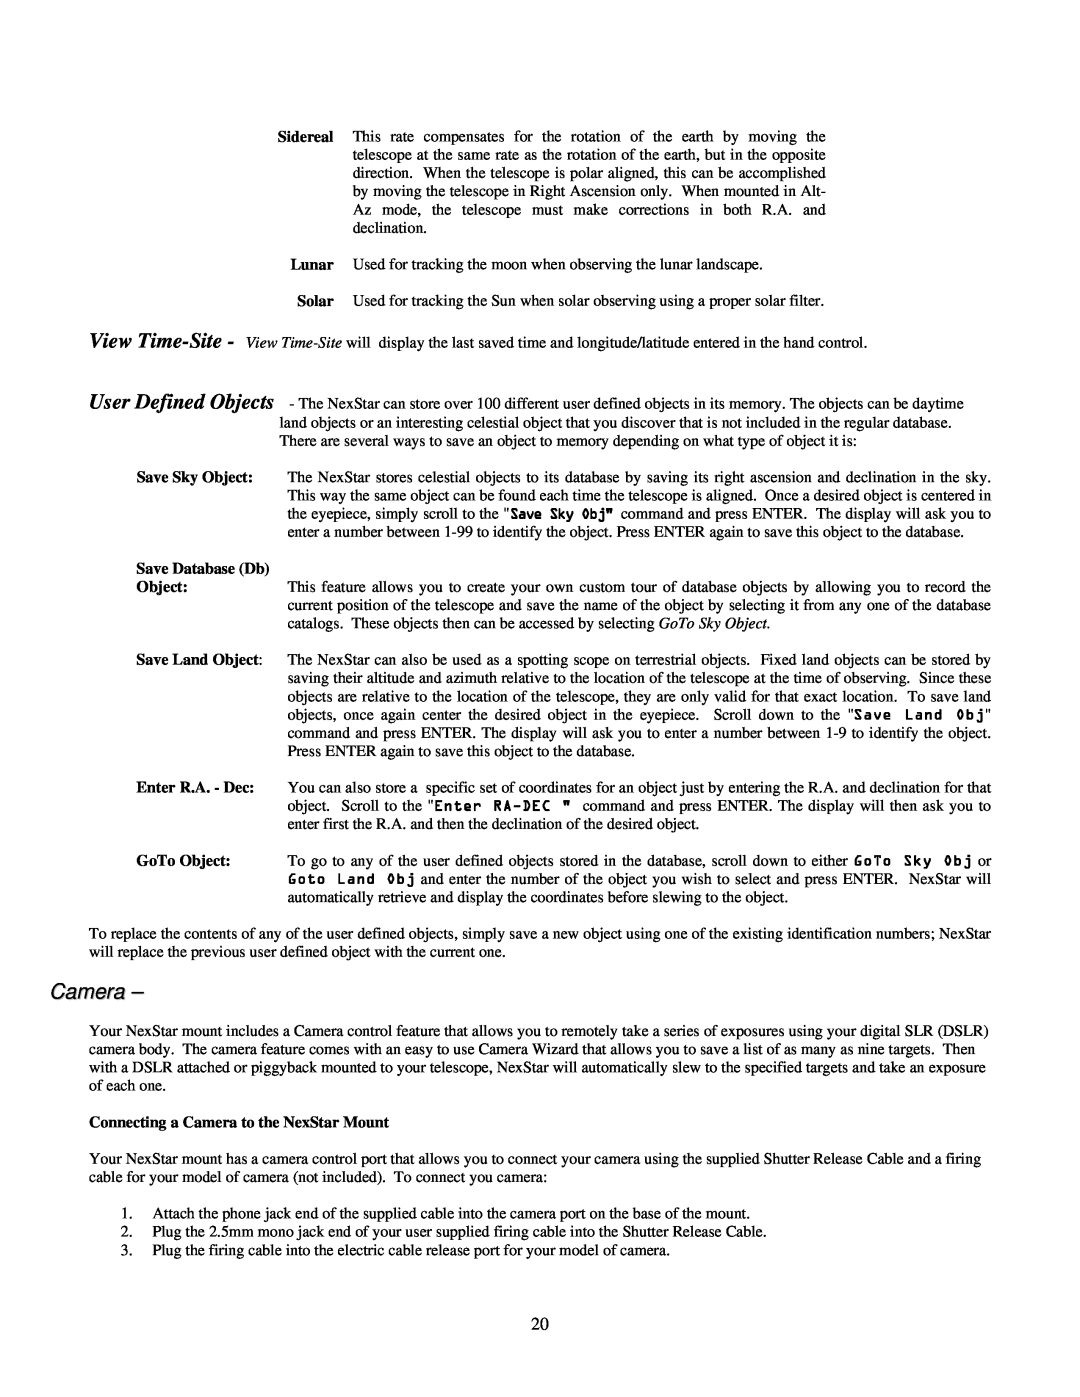
Save Database Db, Connecting a Camera to the NexStar Mount
Models:
4SE
1
20
53
53
Download
53 pages
2.66 Kb
17
18
19
20
21
22
23
24
Specifications
Install
Warranty
Maintenance
Accessory Tray / Leg Brace
Setup Procedures
Assembly
Alignment Procedure
Powering the NexStar
Scope Setup Features
Page 20
Image 20
Page 19
Page 21
Page 20
Image 20
Page 19
Page 21
Contents
INSTRUCTION MANUAL
HAND CONTROL
ASSEMBLY
INTRODUCTION
Hand Control Command Tree
TELESCOPE MAINTENANCE
APPENDIX A - TECHNICAL SPECIFICATIONS
TELESCOPE BASICS
Some of the many standard features of the NexStar include
Battery Compartment
Accessory Tray / Leg Brace
ON/OFF Switch
NexStar 4 SE
The Hand Control
Assembling the NexStar
Powering the NexStar
Star Pointer Installation
Figure 3-2 - The Rear Cell with Visual Accessories
The Eyepiece
EyepieceStarPointer Diagonal
Star Pointer Operation
Removing the Optical Tube
Figure 3-3 The Star Pointer Finderscope with Mounting Bracket
Quick Release Knob
Attaching the NexStar to the Tripod
The NexStar Hand Control
Hand Control Operation
Alignment Procedure
Definition
Named Stars
Sky Align
Hints
Tips for Using Sky Align
Auto Two-Star Align
Two Star Alignment
Helpful Hint
One-Star Align
Solar System Align
EQ AutoAlign
EQ North / EQ South Alignment
Tips for Using Solar System Align
Improving Pointing Accuracy
EQ Two-Star Align
EQ One-Star Align
EQ Solar System Align
Object Catalog
Sync
Undo Sync
Selecting an Object
Slewing to an Object
Finding Planets
Tour Mode
Constellation Tour
Setup Procedures
Direction Buttons
Nine available slew speeds
Rate Button
Save Database Db
Camera
Connecting a Camera to the NexStar Mount
Object Type
Controlling your Camera
Camera Wizard
Precise GoTo
Scope Setup Features
Identify
MENU
Utility Features
Helpful
Hint
Sun Menu
Set Mount Position
NexStar SE
ALIGNMENT
LIST
NexStar Menu Tree
Image Orientation
Fig 5-2a - Actual image orientation as seen with the unaided eye
Fig 5-2b - Reversed from left to right, as viewed through the
eyepiece
Determining Field of View
Focusing
Calculating Magnification
General Observing Hints
The Celestial Coordinate System
The celestial sphere seen from the outside showing R.A. and DEC
Motion of the Stars
Polar Alignment
Aligning the NexStar 4 on a Wedge
Wedge Align
moves in right ascension and declination
Attaching a Camera to the NexStar
Photography with the NexStar
the year and the night
Finding the North Celestial Pole
The position of the Big Dipper changes throughout
Observing the Moon
Observing the Planets
Observing the Sun
Lunar Observing Hints
Observing Deep Sky Objects
Seeing Conditions
Solar Observing Hints
Transparency
Care and Cleaning of the Optics
Page
Page
Appendix A - Technical Specifications
Specification
Electronic Specifications
Software Specifications
Appendix B - Glossary of Terms
Page
Appendix C - RS-232 Connection
Appendix D - Maps of Time Zones
Page
Page
Page
Page
Page
Page
Page
CELESTRON TWO YEAR WARRANTY
Celestron 2835 Columbia Street Torrance, CA Tel. 310 Fax. 310
Copyright 2006 Celestron All rights reserved
Products or instructions may change without notice or obligation
#11049-INST Printed in China $10.00
Top
Page
Image
Contents