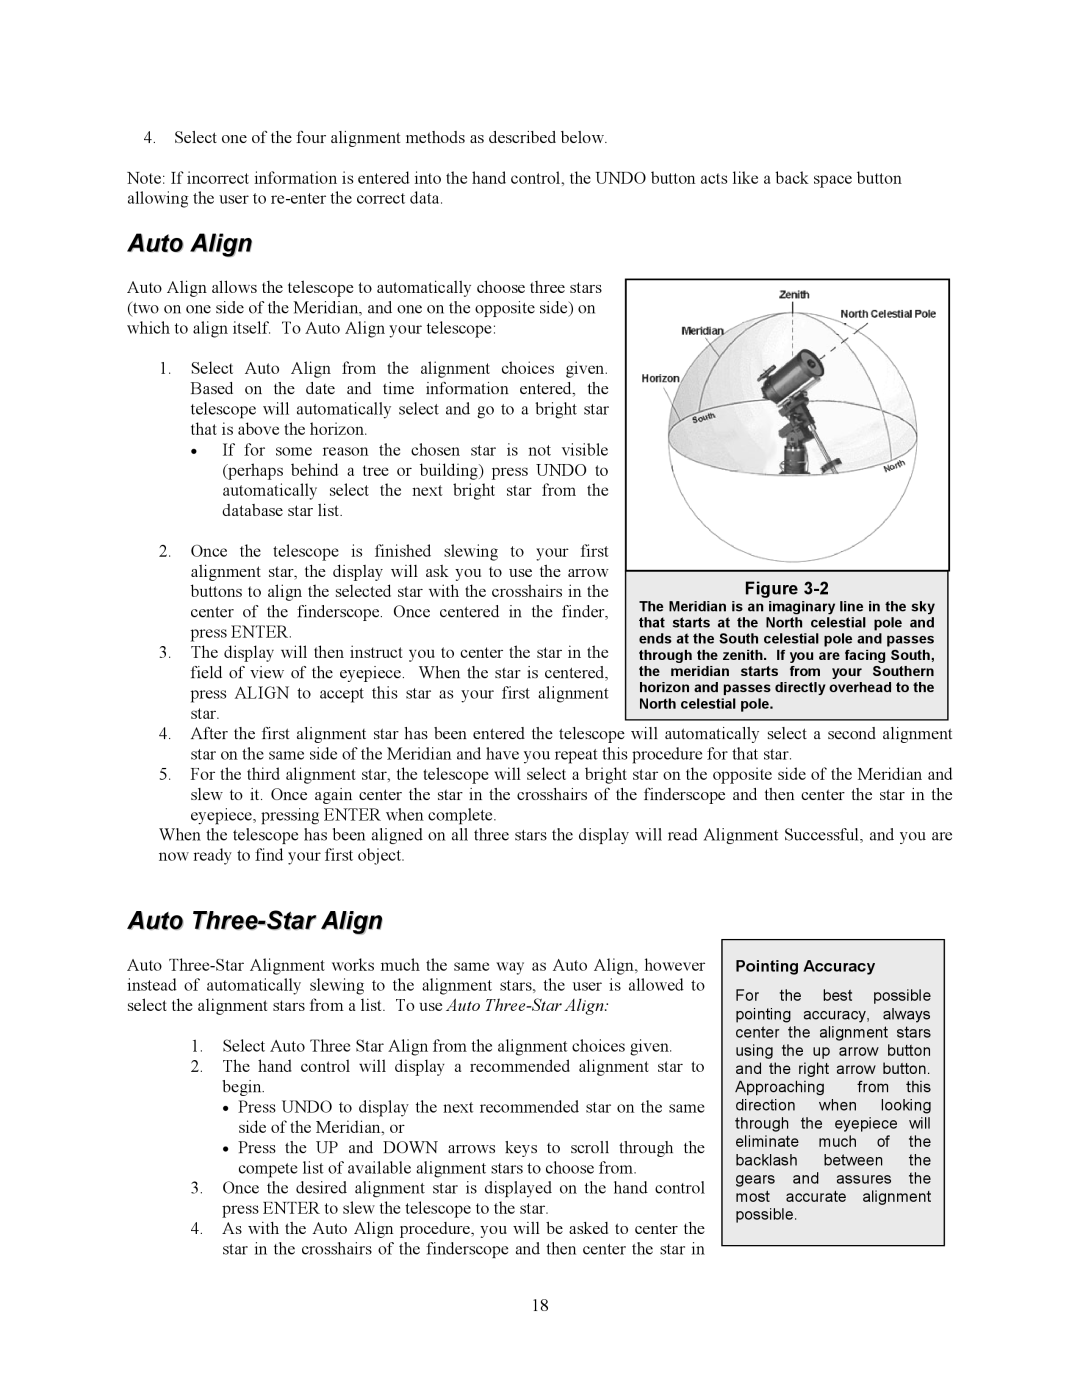
Figure 3-2
The Meridian is an imaginary line in the sky that starts at the North celestial pole and ends at the South celestial pole and passes through the zenith. If you are facing South, the meridian starts from your Southern horizon and passes directly overhead to the North celestial pole.

4. Select one of the four alignment methods as described below.

Note: If incorrect information is entered into the hand control, the UNDO button acts like a back space button allowing the user to re-enter the correct data.

Auto Align

Auto Align allows the telescope to automatically choose three stars (two on one side of the Meridian, and one on the opposite side) on which to align itself. To Auto Align your telescope:

1.Select Auto Align from the alignment choices given. Based on the date and time information entered, the telescope will automatically select and go to a bright star that is above the horizon.

If for some reason the chosen star is not visible (perhaps behind a tree or building) press UNDO to automatically select the next bright star from the database star list.

2.Once the telescope is finished slewing to your first

alignment star, the display will ask you to use the arrow buttons to align the selected star with the crosshairs in the center of the finderscope. Once centered in the finder, press ENTER.

3. The display will then instruct you to center the star in the field of view of the eyepiece. When the star is centered, press ALIGN to accept this star as your first alignment star.

4.After the first alignment star has been entered the telescope will automatically select a second alignment star on the same side of the Meridian and have you repeat this procedure for that star.

5.For the third alignment star, the telescope will select a bright star on the opposite side of the Meridian and slew to it. Once again center the star in the crosshairs of the finderscope and then center the star in the

eyepiece, pressing ENTER when complete.

When the telescope has been aligned on all three stars the display will read Alignment Successful, and you are now ready to find your first object.

Auto Three-Star Align

Auto Three-Star Alignment works much the same way as Auto Align, however instead of automatically slewing to the alignment stars, the user is allowed to select the alignment stars from a list. To use Auto Three-Star Align:

1.Select Auto Three Star Align from the alignment choices given.

2.The hand control will display a recommended alignment star to begin.

Press UNDO to display the next recommended star on the same side of the Meridian, or

Press the UP and DOWN arrows keys to scroll through the compete list of available alignment stars to choose from.

3.Once the desired alignment star is displayed on the hand control press ENTER to slew the telescope to the star.

4.As with the Auto Align procedure, you will be asked to center the star in the crosshairs of the finderscope and then center the star in

18

Pointing Accuracy

For the best possible pointing accuracy, always center the alignment stars using the up arrow button and the right arrow button. Approaching from this direction when looking through the eyepiece will eliminate much of the backlash between the gears and assures the most accurate alignment possible.

Page 18
Image 18
Celestron C6-RGT manual Auto Align, Auto Three-Star Align

C6-R, C6-RGT specifications

The Celestron C6-RGT and C6-R models, part of the Advanced Series GT lineup, are popular choices for amateur astronomers seeking high-quality optics and reliable features. The C6-RGT, equipped with a 6-inch refractor, is designed for both visual and astrophotographic pursuits. Its impressive features make it a great option for anyone looking to explore the night sky in greater detail.

One of the standout characteristics of the C6-RGT is its large 6-inch aperture, which allows for exceptional light-gathering capability. This feature is crucial for viewing faint celestial objects, giving users the ability to observe details in nebulae, galaxies, and star clusters. The refractor design minimizes chromatic aberration, ensuring sharp and clear images across a wide range of viewing conditions.

The telescope comes with a fully multi-coated optics system that enhances light transmission and contrast, creating brighter and clearer images. The C6-R is also designed with a robust aluminum tube that not only ensures durability but also helps maintain stability during long observing sessions.

The Advanced Series GT mount is another essential element of the C6-RGT and C6-R models. This computerized mount features a sturdy, stable design that supports a wide range of telescopes while providing smooth tracking of celestial objects. The GoTo technology allows users to locate and track over 40,000 celestial objects with ease. This high level of automation is particularly helpful for beginners who may be unfamiliar with the night sky.

Another notable feature of the Advanced Series GT is its ability to be controlled through a smartphone or tablet, thanks to Celestron's SkyPortal app. This integration opens doors for enhanced stargazing experiences, offering customizable tours and educational information right at your fingertips.

In terms of usability, both models have a comfortable height and the mount can be easily adjusted to accommodate various observing positions. The telescope is also portable, making it convenient for outreach events or trips to dark-sky locations.

Overall, the Celestron C6-RGT and C6-R models, with their combination of powerful optics, advanced technology, and user-friendly features, represent an excellent choice for both budding astronomers and passionate enthusiasts. With Celestron’s commitment to quality and innovation, these telescopes promise to deliver unforgettable views of the wonders of the universe.