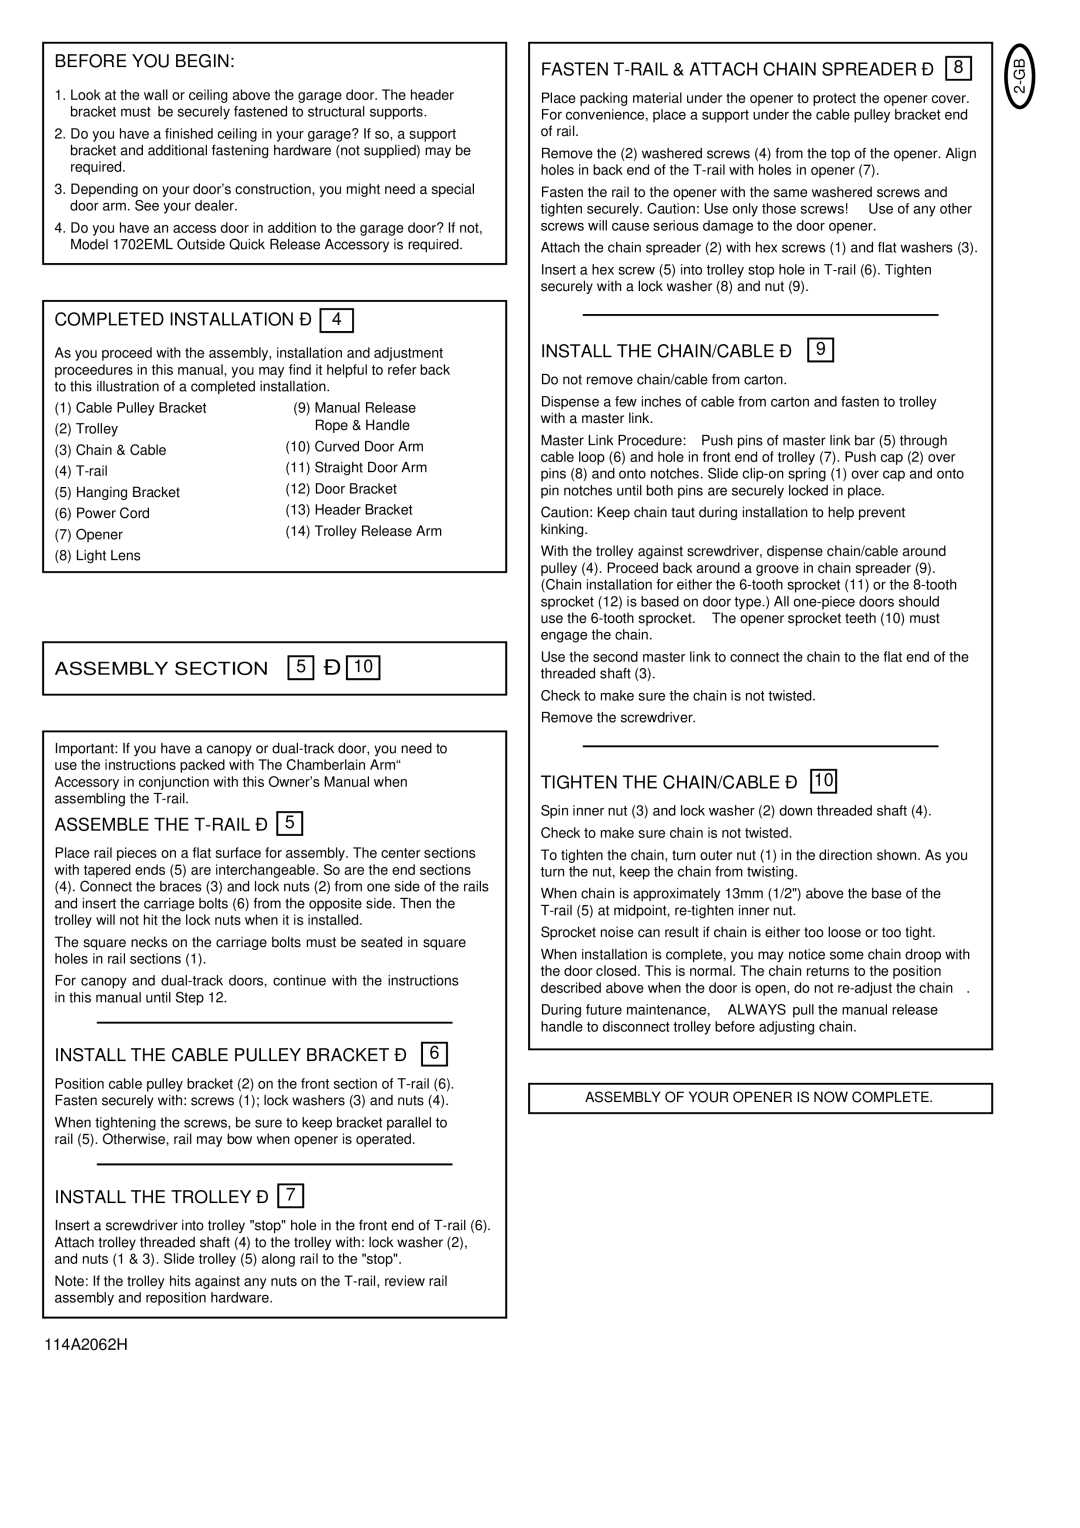
BEFORE YOU BEGIN:

1.Look at the wall or ceiling above the garage door. The header bracket must be securely fastened to structural supports.

2.Do you have a finished ceiling in your garage? If so, a support bracket and additional fastening hardware (not supplied) may be required.

3.Depending on your door's construction, you might need a special door arm. See your dealer.

4.Do you have an access door in addition to the garage door? If not, Model 1702EML Outside Quick Release Accessory is required.

COMPLETED INSTALLATION – 4

As you proceed with the assembly, installation and adjustment proceedures in this manual, you may find it helpful to refer back to this illustration of a completed installation.

(1)

Cable Pulley Bracket

(9)

Manual Release

(2)

Trolley


Rope & Handle

(3)

Chain & Cable

(10)

Curved Door Arm

(4)

T-rail

(11)

Straight Door Arm

(5)

Hanging Bracket

(12)

Door Bracket

(6)

Power Cord

(13)

Header Bracket

(7)

Opener

(14)

Trolley Release Arm

(8)Light Lens

ASSEMBLY SECTION 5 10

Important: If you have a canopy or dual-track door, you need to use the instructions packed with The Chamberlain Arm™ Accessory in conjunction with this Owner's Manual when assembling the T-rail.

ASSEMBLE THE T-RAIL5

Place rail pieces on a flat surface for assembly. The center sections with tapered ends (5) are interchangeable. So are the end sections

(4). Connect the braces (3) and lock nuts (2) from one side of the rails and insert the carriage bolts (6) from the opposite side. Then the trolley will not hit the lock nuts when it is installed.

The square necks on the carriage bolts must be seated in square holes in rail sections (1).

For canopy and dual-track doors, continue with the instructions in this manual until Step 12.

INSTALL THE CABLE PULLEY BRACKET – 6

Position cable pulley bracket (2) on the front section of T-rail (6). Fasten securely with: screws (1); lock washers (3) and nuts (4).

When tightening the screws, be sure to keep bracket parallel to rail (5). Otherwise, rail may bow when opener is operated.

INSTALL THE TROLLEY – 7

Insert a screwdriver into trolley "stop" hole in the front end of T-rail (6). Attach trolley threaded shaft (4) to the trolley with: lock washer (2), and nuts (1 & 3). Slide trolley (5) along rail to the "stop".

Note: If the trolley hits against any nuts on the T-rail, review rail assembly and reposition hardware.

FASTEN T-RAIL & ATTACH CHAIN SPREADER – 8

Place packing material under the opener to protect the opener cover. For convenience, place a support under the cable pulley bracket end of rail.

Remove the (2) washered screws (4) from the top of the opener. Align holes in back end of the T-rail with holes in opener (7).

Fasten the rail to the opener with the same washered screws and tighten securely. Caution: Use only those screws! Use of any other screws will cause serious damage to the door opener.

Attach the chain spreader (2) with hex screws (1) and flat washers (3).

Insert a hex screw (5) into trolley stop hole in T-rail (6). Tighten securely with a lock washer (8) and nut (9).

INSTALL THE CHAIN/CABLE – 9

Do not remove chain/cable from carton.

Dispense a few inches of cable from carton and fasten to trolley with a master link.

Master Link Procedure: Push pins of master link bar (5) through cable loop (6) and hole in front end of trolley (7). Push cap (2) over pins (8) and onto notches. Slide clip-on spring (1) over cap and onto pin notches until both pins are securely locked in place.

Caution: Keep chain taut during installation to help prevent kinking.

With the trolley against screwdriver, dispense chain/cable around pulley (4). Proceed back around a groove in chain spreader (9). (Chain installation for either the 6-tooth sprocket (11) or the 8-tooth sprocket (12) is based on door type.) All one-piece doors should use the 6-tooth sprocket. The opener sprocket teeth (10) must engage the chain.

Use the second master link to connect the chain to the flat end of the threaded shaft (3).

Check to make sure the chain is not twisted.

Remove the screwdriver.

TIGHTEN THE CHAIN/CABLE – 10

Spin inner nut (3) and lock washer (2) down threaded shaft (4).

Check to make sure chain is not twisted.

To tighten the chain, turn outer nut (1) in the direction shown. As you turn the nut, keep the chain from twisting.

When chain is approximately 13mm (1/2") above the base of the T-rail (5) at midpoint, re-tighten inner nut.

Sprocket noise can result if chain is either too loose or too tight.

When installation is complete, you may notice some chain droop with the door closed. This is normal. The chain returns to the position described above when the door is open, do not re-adjust the chain.

During future maintenance, ALWAYS pull the manual release handle to disconnect trolley before adjusting chain.

ASSEMBLY OF YOUR OPENER IS NOW COMPLETE.

2-GB

114A2062H

Page 3
Image 3
Chamberlain 5000UK, 4000UK Before YOU Begin, Completed Installation, Assembly Assemble the T-RAIL, Install the Trolley

5000UK, 4000UK specifications

The Chamberlain 4000UK and 5000UK are advanced garage door openers designed to enhance convenience, security, and efficiency for homeowners. With their impressive range of features and cutting-edge technologies, these models stand out in the market for their performance and reliability.

One of the key features of the Chamberlain 4000UK is its powerful motor, which provides smooth and quiet operation for sectional and up-and-over garage doors. The motor is engineered to deliver exceptional lifting capacity, making it suitable for various door sizes and weights. This ensures that homeowners can enjoy seamless access without the noise commonly associated with traditional garage door openers.

The 5000UK takes the power of the 4000UK to the next level, offering an even higher lifting capacity to accommodate larger and heavier garage doors. This makes it an ideal choice for those with heavyweight doors, giving users peace of mind in terms of performance and durability.

Both models incorporate intelligent technology that allows for remote control access. This includes compatibility with smartphones through the MyQ technology. Homeowners can control their garage door from anywhere, receive real-time notifications about the door's status, and even schedule opening and closing times. This level of connectivity adds a layer of convenience and enhances overall security.

Security is a paramount concern for all homeowners, and Chamberlain has addressed this with their patented PosiLock security system. This feature ensures that the garage door remains securely closed, preventing unauthorized access. The openers also come equipped with rolling code technology, which changes the access code each time the remote is used. This significantly reduces the risk of hacking and unauthorized entry.

Another characteristic that makes the Chamberlain 4000UK and 5000UK models stand out is their safety features. Both openers are designed with the Safe-T-Beam system, which uses invisible light beams to detect obstacles in the door's path. If something obstructs the door while closing, it automatically reverses, preventing accidents and injuries.

Installation is straightforward with both models, thanks to their user-friendly design and comprehensive manuals. Whether homeowners choose to install the units themselves or hire a professional, the process is efficient and hassle-free. Additionally, these openers are energy-efficient, combining performance with eco-friendliness.

In summary, the Chamberlain 4000UK and 5000UK garage door openers are powerful, secure, and intelligent solutions for modern homes. With features like smartphone compatibility, advanced security systems, and safety mechanisms, these models redefine convenience and safety in garage access. Homeowners can rest easy knowing they have a robust and reliable device managing their garage needs.