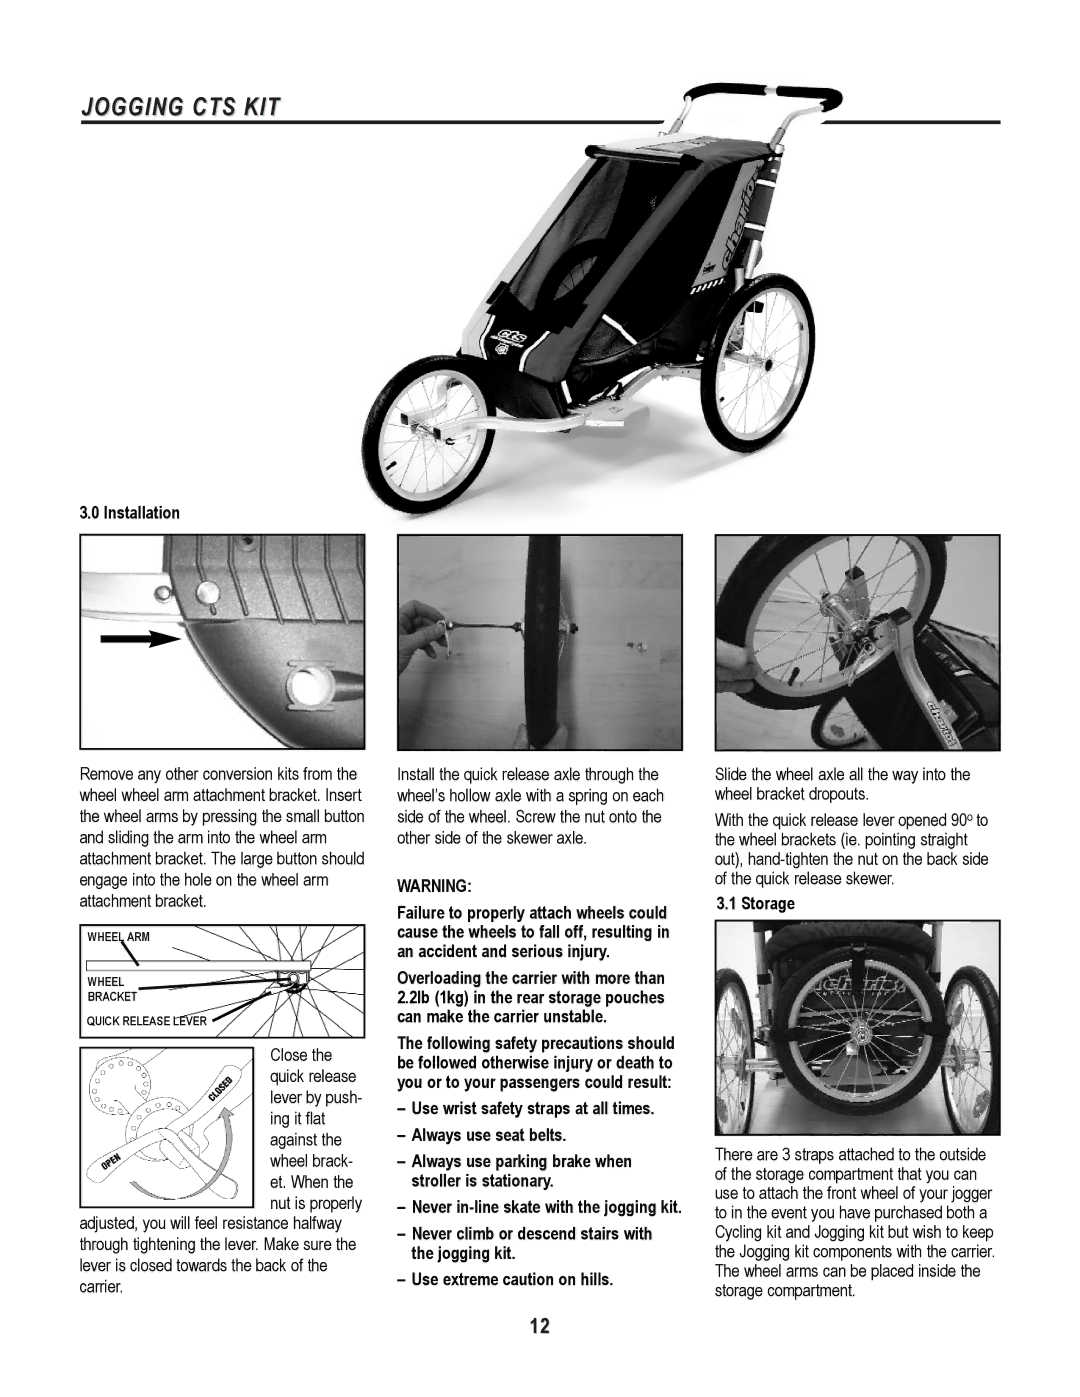
JOGGING CTS KIT
3.0 Installation
Remove any other conversion kits from the wheel wheel arm attachment bracket. Insert the wheel arms by pressing the small button and sliding the arm into the wheel arm attachment bracket. The large button should engage into the hole on the wheel arm attachment bracket.
WHEEL ARM
WHEEL
BRACKET
QUICK RELEASE LEVER
Close the quick release lever by push- ing it flat against the wheel brack- et. When the nut is properly
adjusted, you will feel resistance halfway through tightening the lever. Make sure the lever is closed towards the back of the carrier.
Install the quick release axle through the wheel’s hollow axle with a spring on each side of the wheel. Screw the nut onto the other side of the skewer axle.
WARNING:
Failure to properly attach wheels could cause the wheels to fall off, resulting in an accident and serious injury.
Overloading the carrier with more than 2.2lb (1kg) in the rear storage pouches can make the carrier unstable.
The following safety precautions should be followed otherwise injury or death to you or to your passengers could result:
–Use wrist safety straps at all times.
–Always use seat belts.
–Always use parking brake when stroller is stationary.
–Never
–Never climb or descend stairs with the jogging kit.
–Use extreme caution on hills.
Slide the wheel axle all the way into the wheel bracket dropouts.
With the quick release lever opened 90o to the wheel brackets (ie. pointing straight out),
3.1 Storage
There are 3 straps attached to the outside of the storage compartment that you can use to attach the front wheel of your jogger to in the event you have purchased both a Cycling kit and Jogging kit but wish to keep the Jogging kit components with the carrier. The wheel arms can be placed inside the storage compartment.
12
