Fig. 13
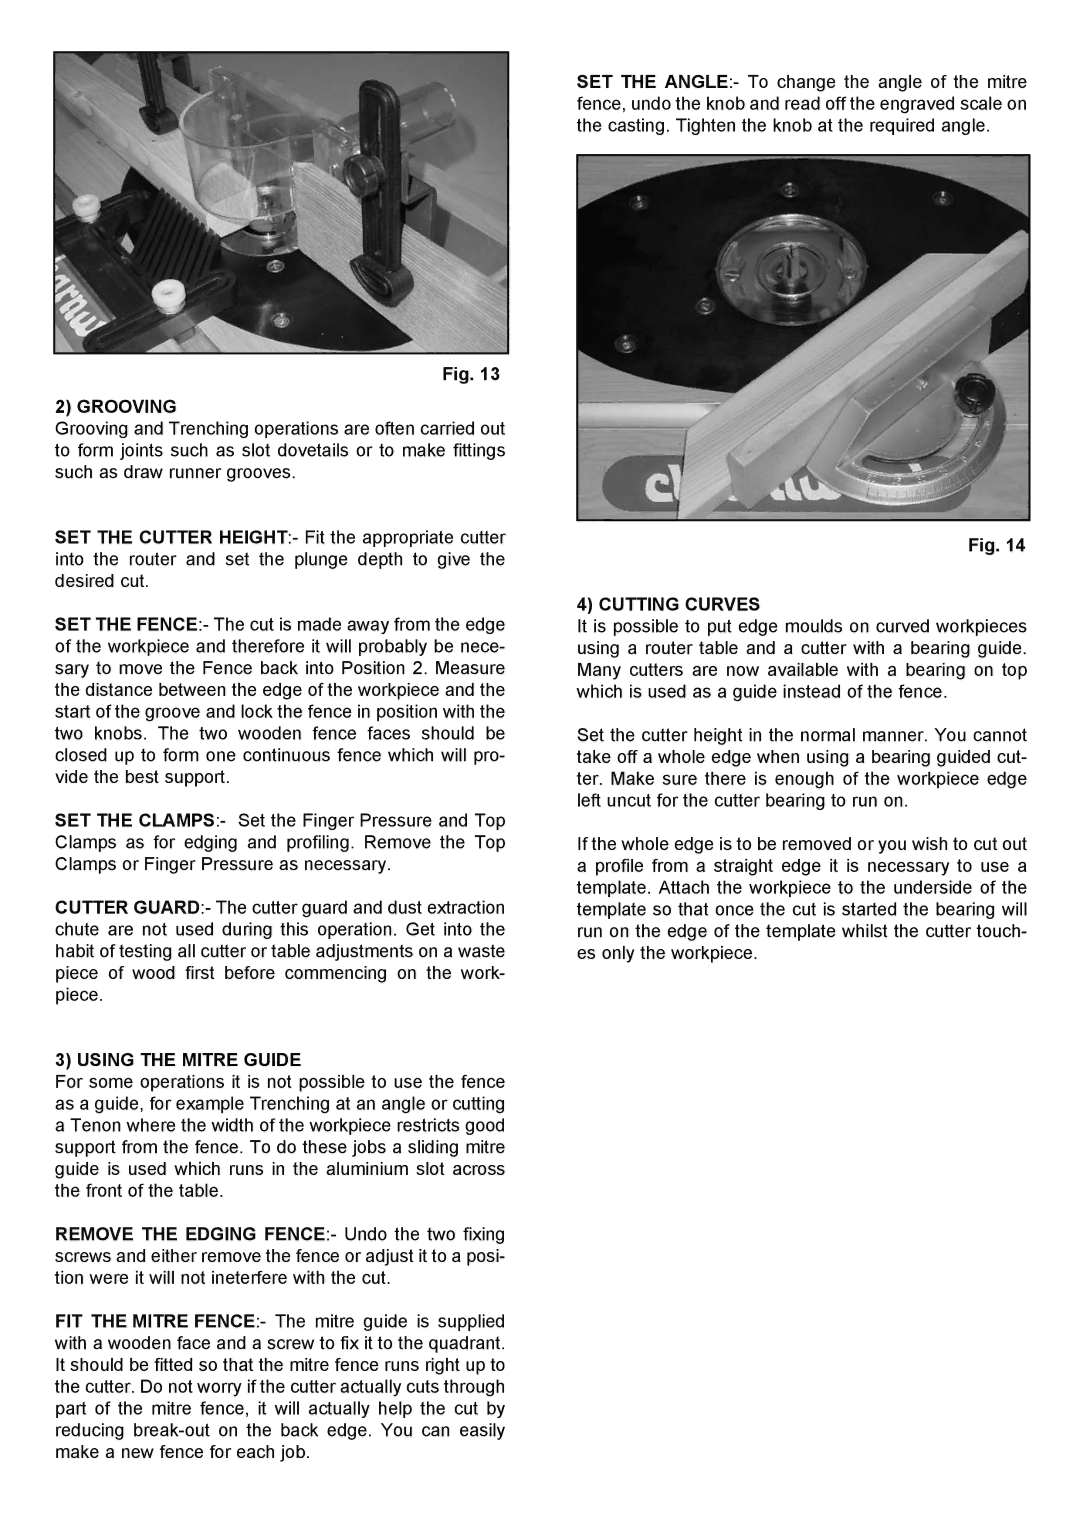
2) GROOVING
Grooving and Trenching operations are often carried out to form joints such as slot dovetails or to make fittings such as draw runner grooves.
SET THE CUTTER HEIGHT:- Fit the appropriate cutter into the router and set the plunge depth to give the desired cut.
SET THE FENCE:- The cut is made away from the edge of the workpiece and therefore it will probably be nece- sary to move the Fence back into Position 2. Measure the distance between the edge of the workpiece and the start of the groove and lock the fence in position with the two knobs. The two wooden fence faces should be closed up to form one continuous fence which will pro- vide the best support.
SET THE CLAMPS:- Set the Finger Pressure and Top Clamps as for edging and profiling. Remove the Top Clamps or Finger Pressure as necessary.
CUTTER GUARD:- The cutter guard and dust extraction chute are not used during this operation. Get into the habit of testing all cutter or table adjustments on a waste piece of wood first before commencing on the work- piece.
3) USING THE MITRE GUIDE
For some operations it is not possible to use the fence as a guide, for example Trenching at an angle or cutting a Tenon where the width of the workpiece restricts good support from the fence. To do these jobs a sliding mitre guide is used which runs in the aluminium slot across the front of the table.
REMOVE THE EDGING FENCE:- Undo the two fixing screws and either remove the fence or adjust it to a posi- tion were it will not ineterfere with the cut.
FIT THE MITRE FENCE:- The mitre guide is supplied with a wooden face and a screw to fix it to the quadrant. It should be fitted so that the mitre fence runs right up to the cutter. Do not worry if the cutter actually cuts through part of the mitre fence, it will actually help the cut by reducing
SET THE ANGLE:- To change the angle of the mitre fence, undo the knob and read off the engraved scale on the casting. Tighten the knob at the required angle.
Fig. 14
4) CUTTING CURVES
It is possible to put edge moulds on curved workpieces using a router table and a cutter with a bearing guide. Many cutters are now available with a bearing on top which is used as a guide instead of the fence.
Set the cutter height in the normal manner. You cannot take off a whole edge when using a bearing guided cut- ter. Make sure there is enough of the workpiece edge left uncut for the cutter bearing to run on.
If the whole edge is to be removed or you wish to cut out a profile from a straight edge it is necessary to use a template. Attach the workpiece to the underside of the template so that once the cut is started the bearing will run on the edge of the template whilst the cutter touch- es only the workpiece.