2.Select a Blade that is appropriate for the task at hand. See the Blade Selection Chart on page 14 for sug- gested blade size and type.
3.Rotate the Chuck (8) counterclockwise to open it. Hold it in the open position. (See Photo previous page.)
4.Insert the 1/2” shank of the selected
Blade (43) firmly into the Chuck. Be sure the Blade is fully inserted.
5.Release the Chuck to close it.
6.With work gloves on, pull on the
Blade to ensure that it is firmly installed. Operating this tool with a loose blade can cause injury.
OPERATING INSTRUCTIONS
Read the ENTIRE IMPORTANT SAFETY INFORMATION section at the beginning of this manual including all text under subheadings therein before set up or use of this product.
Tool Set Up
TO PREVENT SERIOUS INJURY
FROM ACCIDENTAL OPERATION:
Turn the Power Switch of the tool to its “OFF” position and unplug the tool from its electrical outlet before performing any inspection, maintenance, or cleaning procedures.
1.Only install a Blade that is in good condition, and is appropriate to the work you will be doing.
2.Retracted blade length should be wider than workpiece. If the Blade is shorter, it’s tip will jam in the work piece during cutting, possibly causing injury and damaging the Blade or work piece.
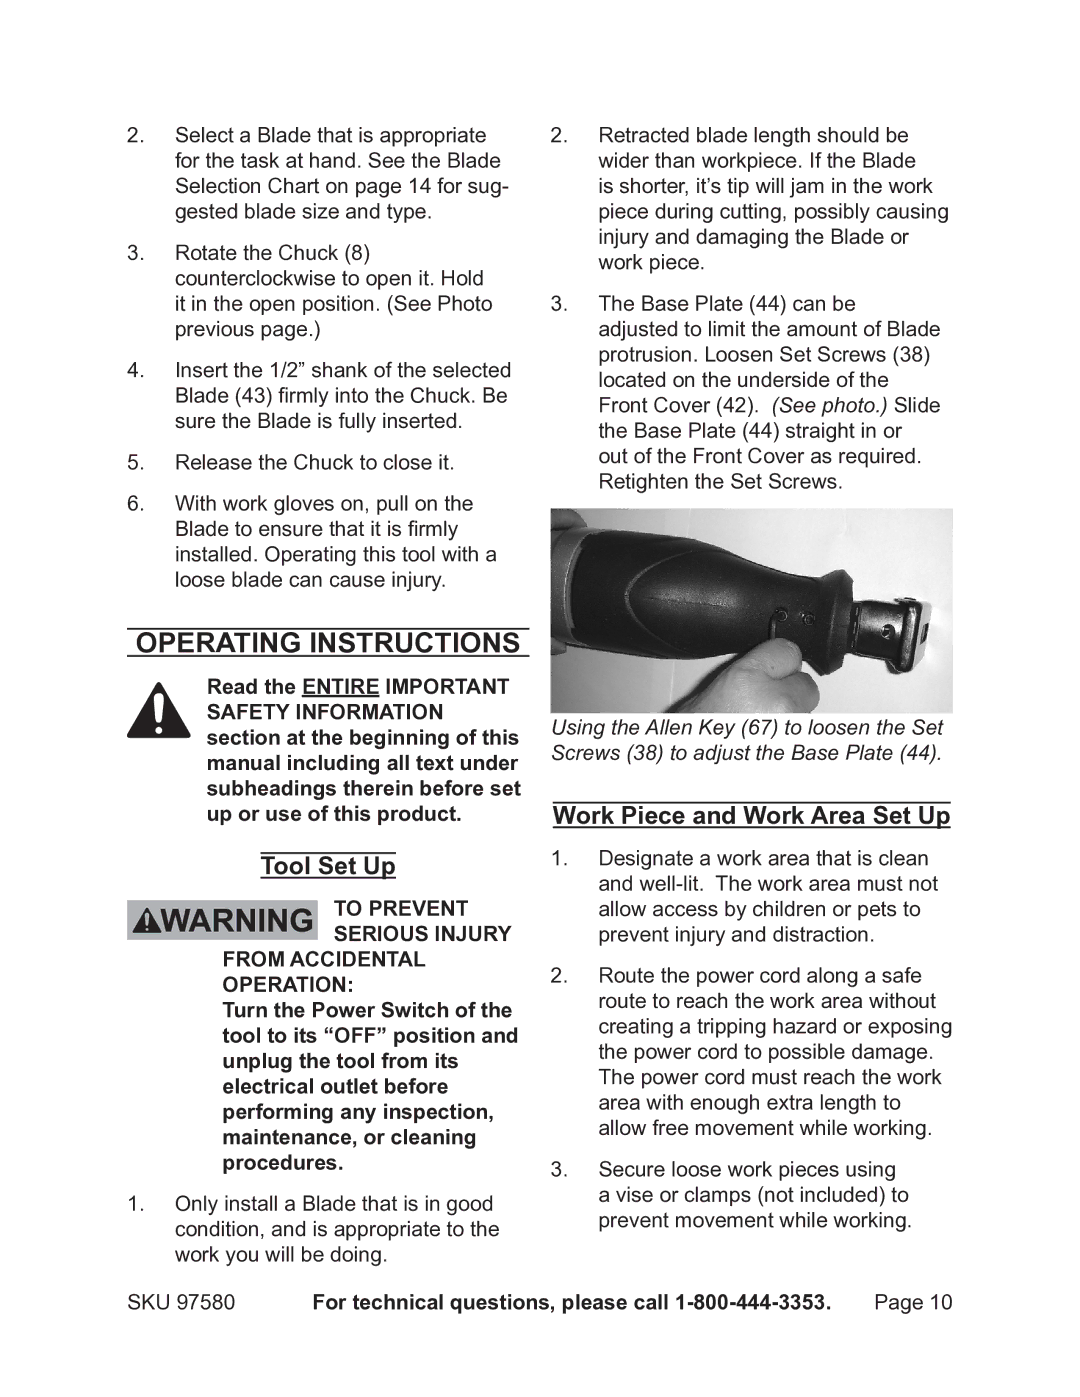
3.The Base Plate (44) can be adjusted to limit the amount of Blade protrusion. Loosen Set Screws (38) located on the underside of the Front Cover (42). (See photo.) Slide the Base Plate (44) straight in or out of the Front Cover as required. Retighten the Set Screws.
Using the Allen Key (67) to loosen the Set Screws (38) to adjust the Base Plate (44).
Work Piece and Work Area Set Up
1.Designate a work area that is clean and
2.Route the power cord along a safe route to reach the work area without creating a tripping hazard or exposing the power cord to possible damage. The power cord must reach the work area with enough extra length to allow free movement while working.
3.Secure loose work pieces using a vise or clamps (not included) to prevent movement while working.
SKU 97580 | For technical questions, please call | Page 10 |
