DGP42, DGP32, DGP50 specifications
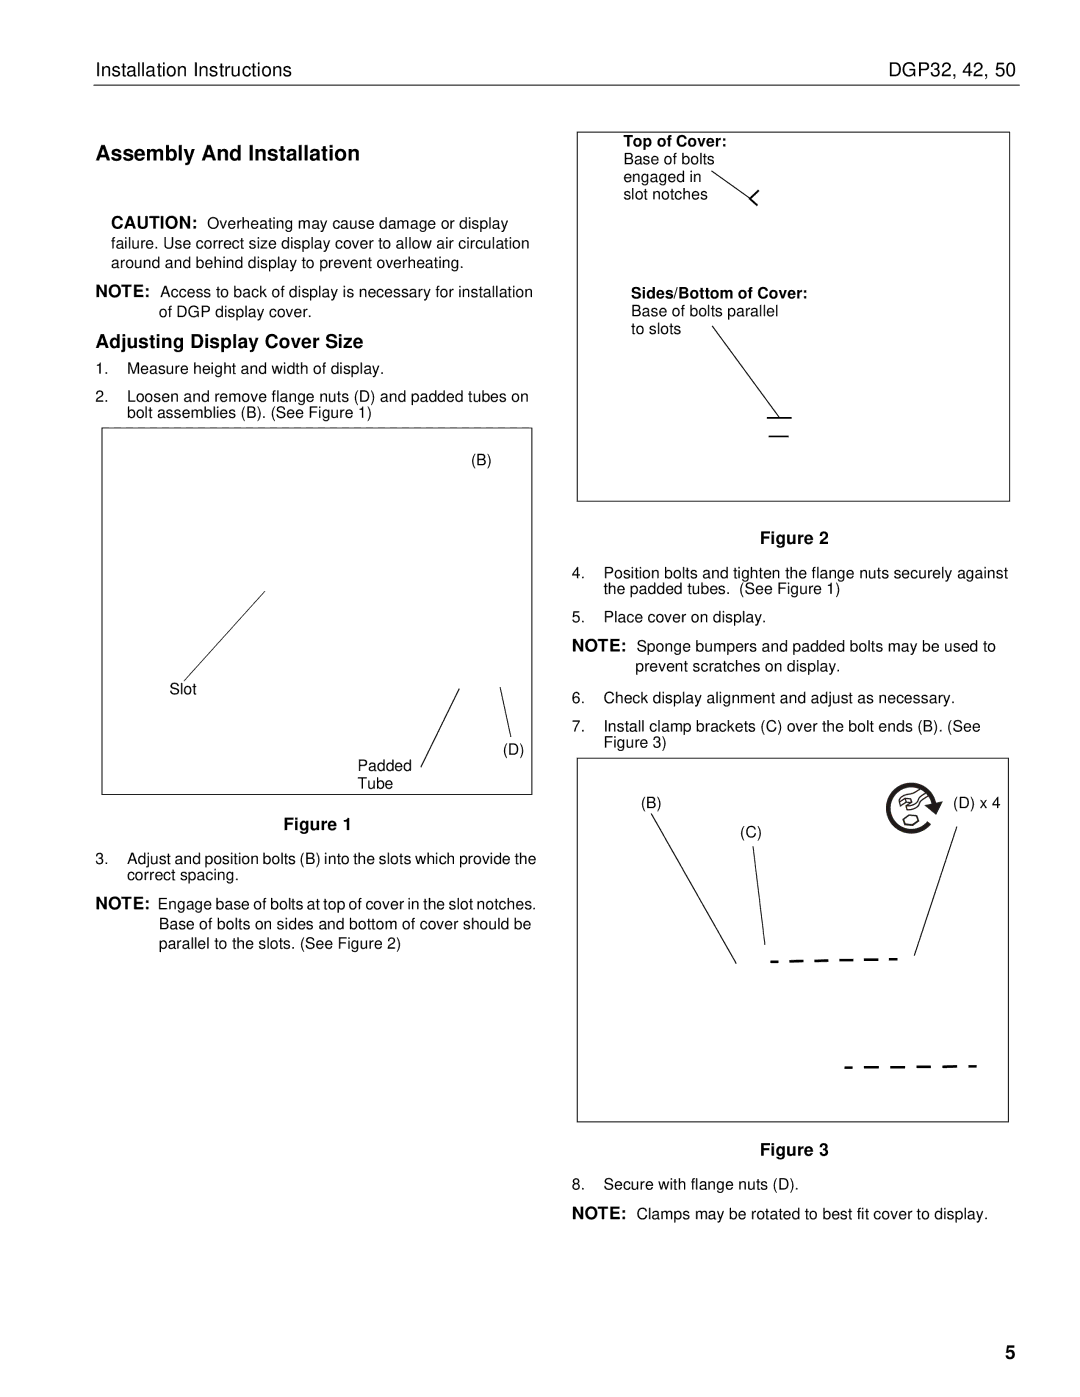
Chief Manufacturing is a renowned name in the audio-visual mounting and support industry, known for designing products that integrate seamlessly with various display technologies. Among its product lineup, the DGP series, which includes the DGP32, DGP42, and DGP50 models, stands out for its robust features and innovative technologies tailored for both commercial and residential applications.The DGP32 is designed for smaller displays, accommodating screens ranging from 32 to 40 inches. Its lightweight, yet sturdy construction ensures minimal intrusion while providing exceptional stability. This model is equipped with a universal mounting bracket, allowing compatibility with various VESA patterns, which streamlines installation processes. The DGP32 also features adjustable brackets, enabling users to customize the display height, offering versatility in different environments.
Moving up in size, the DGP42 supports larger screens from 42 to 50 inches. This model emphasizes enhanced support, stability, and design flexibility. The DGP42 features quick-release mechanisms, making it easy to attach and detach displays for maintenance or upgrades. An integrated cable management system hides unsightly cables, contributing to a clean and professional appearance. With a streamlined design, this mount ensures a low profile while allowing for tilt adjustments, perfect for optimizing the viewing angle in varied settings.
At the top of the series, the DGP50 is engineered to accommodate even larger displays, supporting screens up to 63 inches. Its heavy-duty construction is built to meet the demands of commercial installations, including conference rooms, educational institutions, and public spaces. The DGP50 incorporates advanced safety features, including a locking mechanism that secures the display in place, mitigating risks of accidental falls. This model also comes equipped with a fluid tilt and swivel functionality, enhancing the viewing experience by allowing adjustment based on audience positioning.
All three models utilize Chief's renowned Fastener-Friendly technology, simplifying installation and ensuring that installers save time and effort, making them ideal for both professional applications and DIY enthusiasts. Additionally, they each feature durable materials that withstand the test of time, ensuring reliability.
In summary, the Chief Manufacturing DGP series exemplifies excellence in display mounting solutions with its range of models accommodating different screen sizes. Each offers unique features that emphasize flexibility, safety, and ease of installation while maintaining a sleek and unobtrusive design. Whether for a small room or a large auditorium, the DGP32, DGP42, and DGP50 are engineered to deliver outstanding performance and user satisfaction.

