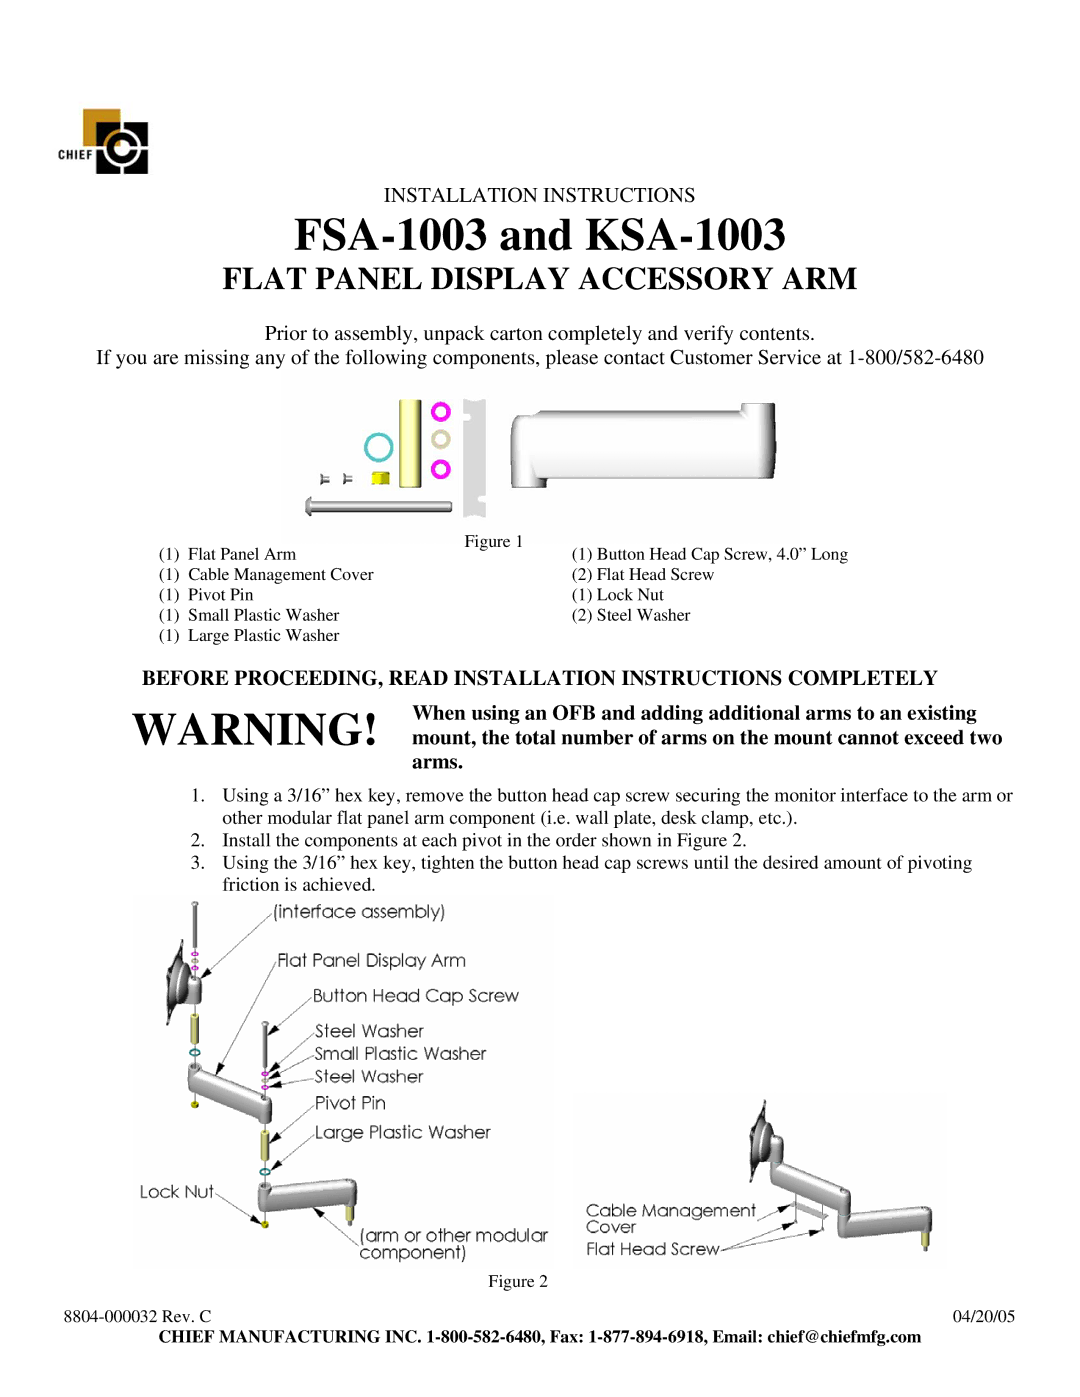
KSA-1003, FSA-1003 specifications
The Chief Manufacturing KSA-1003 and FSA-1003 are professional-grade mounting solutions designed for a variety of display and equipment applications. These products are part of Chief's commitment to providing high-quality, innovative mounting solutions tailored to meet the needs of professional environments, including corporate, educational, and commercial spaces.The KSA-1003 is a sliding rail system that simplifies the installation of flat panel displays. Its design allows for easy adjustments and positioning, making it ideal for situations where monitors need to be repositioned for optimal viewing. This model is notable for its robust construction, ensuring that it can support a wide range of display sizes and weights without compromising stability. The KSA-1003 is equipped with advanced cable management features that help maintain an organized setup, preventing the clutter typically associated with multiple cables. Additionally, its sleek design ensures that it integrates seamlessly into any environment, providing functionality while maintaining an aesthetic appeal.
In contrast, the FSA-1003 offers a fixed mounting option that emphasizes secure and reliable display placement. This model is perfect for situations where the display does not need to be adjusted frequently, providing a stable solution for static viewing positions. The FSA-1003 is engineered to accommodate various mounting patterns and is compatible with a broad range of flat panel displays. It features a low-profile design that minimizes the gap between the wall and the display, contributing to an elegant appearance. The sturdy construction of the FSA-1003 ensures that even the heaviest displays can be mounted with confidence.
Both the KSA-1003 and FSA-1003 utilize cutting-edge technologies to enhance the user experience. They include features such as easy-to-follow installation instructions and pre-assembled components, significantly reducing installation time and effort. The use of durable materials ensures longevity, while the thoughtful design focuses on both functionality and aesthetics.
In summary, the Chief Manufacturing KSA-1003 and FSA-1003 represent high-quality solutions for mounting flat panel displays in various settings. With their blend of innovative features, user-friendly installation, and robust design, they are ideal choices for professionals looking to create efficient and visually appealing display setups. Whether you need the flexibility of the KSA-1003 or the stability of the FSA-1003, Chief Manufacturing has you covered with these exceptional mounting systems.

