Chapter 3
Advanced Configuration
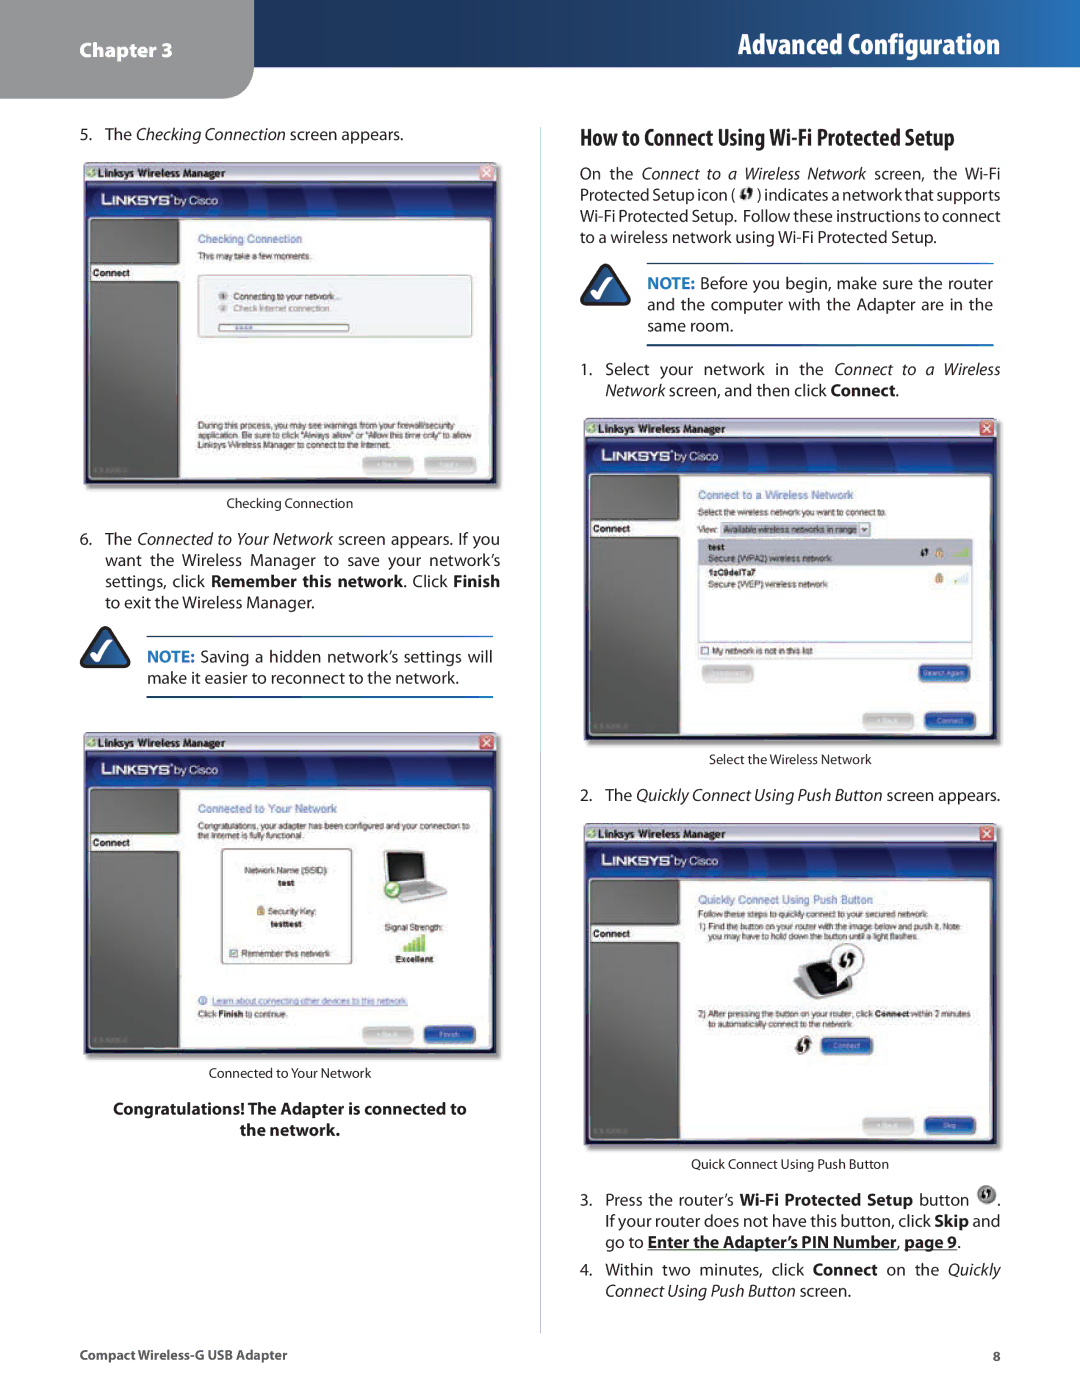
5.The Checking Connection screen appears.
Checking Connection
6.The Connected to Your Network screen appears. If you want the Wireless Manager to save your network’s settings, click Remember this network. Click Finish to exit the Wireless Manager.
NOTE: Saving a hidden network’s settings will make it easier to reconnect to the network.
Connected to Your Network
Congratulations! The Adapter is connected to
the network.
How to Connect Using Wi-Fi Protected Setup
On the Connect to a Wireless Network screen, the ![]() ) indicates a network that supports
) indicates a network that supports
NOTE: Before you begin, make sure the router and the computer with the Adapter are in the same room.
1.Select your network in the Connect to a Wireless Network screen, and then click Connect.
Select the Wireless Network
2.The Quickly Connect Using Push Button screen appears.
Quick Connect Using Push Button
3.Press the router’s ![]() . If your router does not have this button, click Skip and go to Enter the Adapter’s PIN Number, page 9.
. If your router does not have this button, click Skip and go to Enter the Adapter’s PIN Number, page 9.
4.Within two minutes, click Connect on the Quickly Connect Using Push Button screen.
Compact | 8 |