8 | Home Installation Guide | |
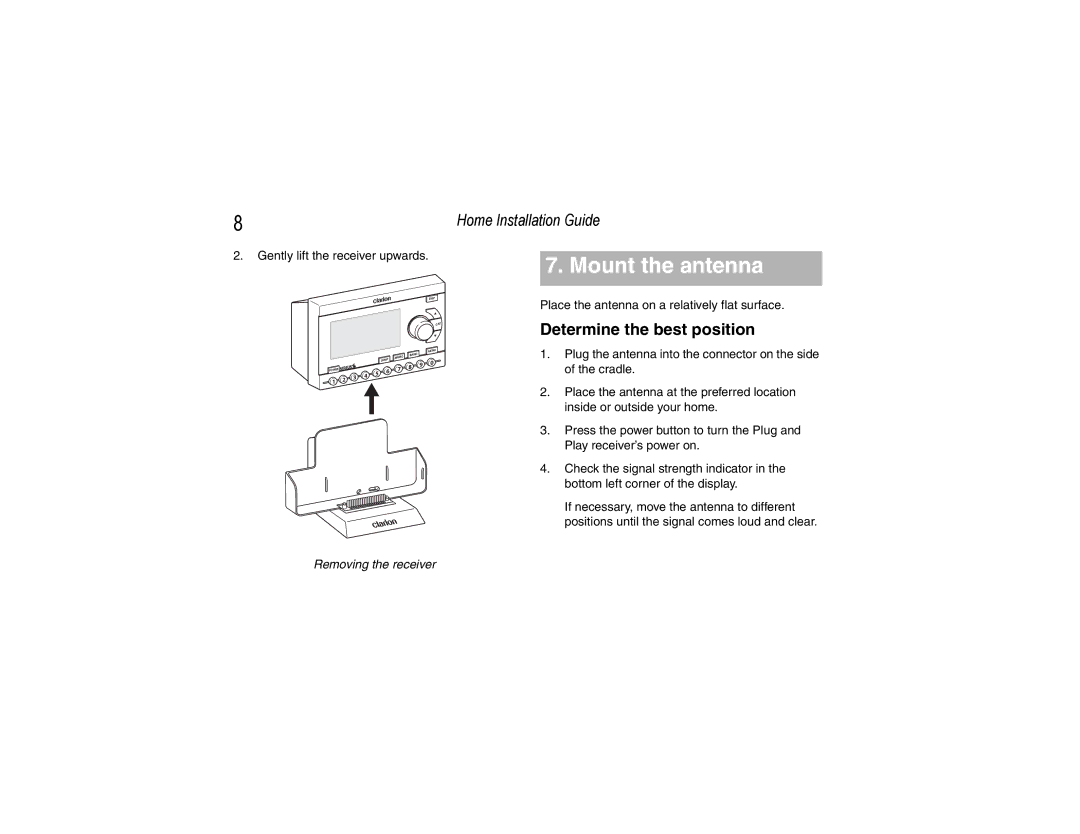
2. Gently lift the receiver upwards. |
|
|
| 7. Mount the antenna | |
|
| |
|
|
|
DISP
CAT
|
|
|
|
|
|
|
|
| MENU |
|
|
|
|
|
| MEMO | BAND |
|
|
|
|
|
|
| JUMP |
|
|
| |
|
|
|
|
|
|
| 9 | 0 | |
|
|
|
|
|
| 7 | 8 | ||
|
|
|
|
|
|
| |||
POWER |
|
|
| 5 | 6 |
|
|
| |
|
| 3 | 4 |
|
|
|
|
| |
1 | 2 |
|
|
|
|
|
| ||
|
|
|
|
|
|
| |||
|
|
|
|
|
|
|
| ||
|
|
|
|
|
|
|
|
|
Place the antenna on a relatively flat surface.
Determine the best position
1.Plug the antenna into the connector on the side of the cradle.
2.Place the antenna at the preferred location inside or outside your home.
3.Press the power button to turn the Plug and Play receiver’s power on.
4.Check the signal strength indicator in the bottom left corner of the display.
If necessary, move the antenna to different positions until the signal comes loud and clear.
Removing the receiver
