
dxz738rmp specifications
The Clarion DXZ738RMP is a high-performance car audio receiver that delivers an impressive combination of features, technologies, and user-friendly characteristics. Designed for demanding audio enthusiasts, this model stands out for its rich sound quality and versatile functionality.One of the main features of the DXZ738RMP is its sophisticated digital signal processing (DSP), which enhances sound clarity and fidelity. The built-in DSP allows users to customize their audio experience with precise equalizer settings, ensuring that every note and beat is reproduced with accuracy. The receiver also supports a 24-bit digital-to-analog converter, providing high-resolution audio playback that captures the finest details in music.
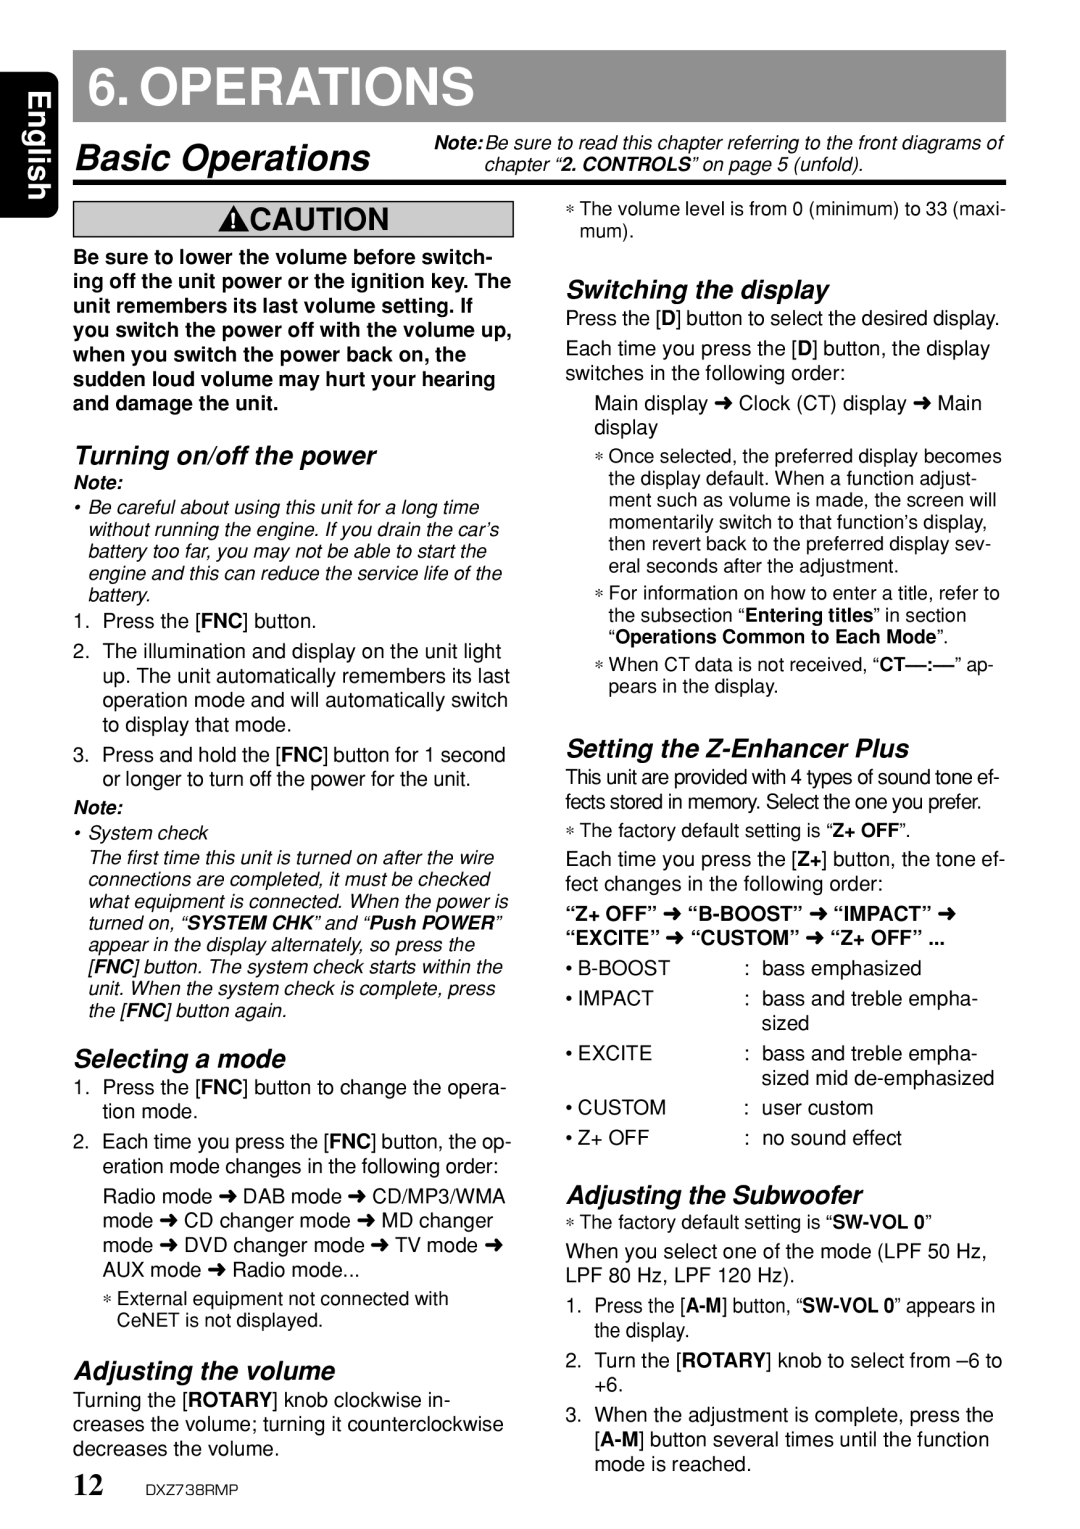
The DXZ738RMP is equipped with a user-friendly interface, featuring a large, easy-to-read LCD display. The screen is designed to provide clear visibility, even in bright sunlight, making it convenient to use during drives. Additionally, the receiver includes a detachable faceplate for enhanced security, allowing users to remove it when leaving the vehicle to deter theft.
Another key characteristic of this model is its extensive compatibility with various audio formats. The DXZ738RMP supports CD, MP3, WMA, and AAC playback, making it easy for users to enjoy their favorite tracks from multiple sources. Additionally, it features a front auxiliary input and USB port, allowing for direct connection of portable devices such as smartphones and USB drives.
Bluetooth connectivity is another significant highlight of the DXZ738RMP. This feature enables hands-free calling and wireless audio streaming, providing a seamless and safe driving experience. With Bluetooth, users can connect their smartphones to the receiver, allowing them to access their music libraries and manage calls without taking their hands off the wheel.
The uniform output of the DXZ738RMP makes it compatible with various speaker setups, supporting multiple preamp outputs, including front, rear, and subwoofer outputs. This flexibility allows users to enhance their car audio system with powerful external amplifiers and subwoofers for deeper bass.
In conclusion, the Clarion DXZ738RMP is an exceptional car audio receiver that combines cutting-edge technology with a robust set of features. With its advanced sound processing, user-friendly interface, extensive format compatibility, and Bluetooth connectivity, it offers a superior audio experience that caters to the needs of both casual listeners and serious audiophiles alike.