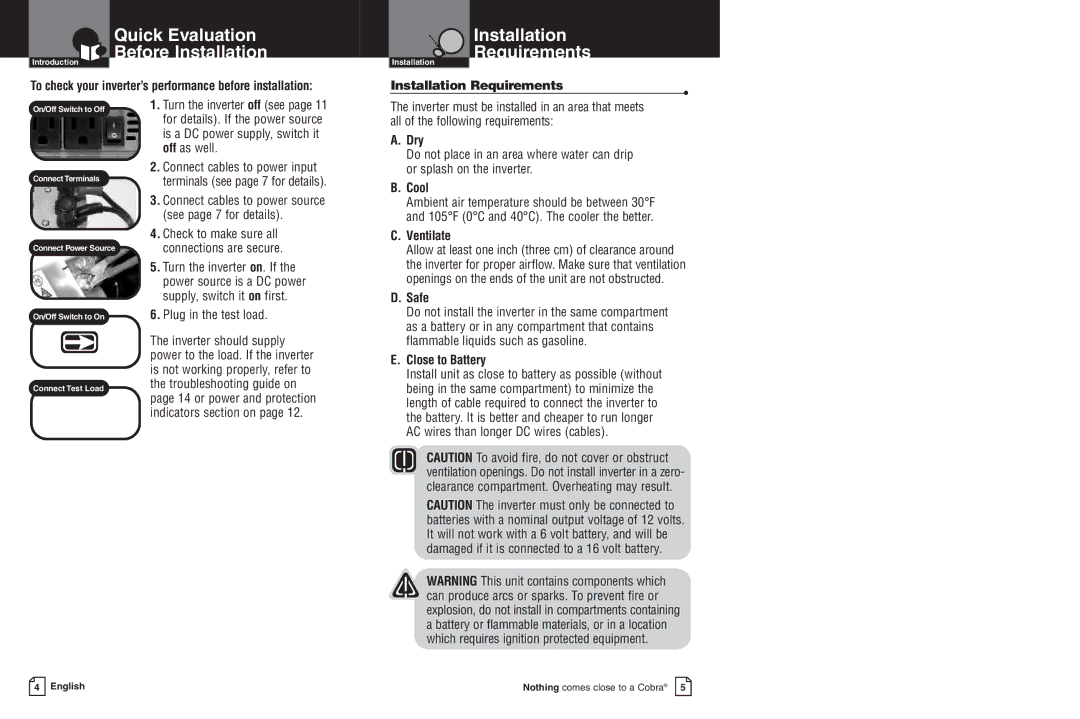
CPI 850 specifications
The Cobra Electronics CPI 850 is a versatile and reliable power inverter designed to meet the power needs of outdoor enthusiasts, emergency preparedness, and everyday use. As one of the leading products in Cobra's lineup, it offers a perfect blend of performance and user-friendly features, making it an ideal choice for anyone looking to convert DC power from a car’s battery or a solar setup into usable AC power.One of the standout features of the CPI 850 is its 850 watt continuous power output, which allows users to power a range of devices such as laptops, small appliances, and other electronics efficiently. With a peak surge power of up to 1700 watts, it can accommodate devices that require a higher energy spike at startup, ensuring that users have the flexibility to power both sensitive electronics and robust appliances.
The inverter employs advanced technologies, including a built-in cooling fan that prevents overheating during extended use, a critical feature for maximizing longevity and performance. It also includes multiple output options with two standard AC outlets and two USB ports, making it easier than ever to charge or power multiple devices simultaneously. The USB ports are especially convenient for charging smaller electronics like smartphones and tablets on the go.
The CPI 850 is designed with safety in mind, featuring built-in protection mechanisms such as overload, short circuit, and over-temperature protection, which safeguard both the inverter and connected devices from damage. Additionally, the inverter has an LED power indicator that allows users to monitor operational status easily.
Portability is another highlight of the Cobra CPI 850. It is compact and lightweight, allowing users to easily transport it in their vehicle or carry it along on outdoor adventures. This makes it an excellent companion for camping trips, tailgating, and even as a backup power supply during power outages.
In terms of construction, the CPI 850 is built to withstand rugged conditions. Its durable design ensures resilience against various environmental factors, making it suitable for both recreational and emergency applications.
Overall, the Cobra Electronics CPI 850 power inverter stands out through its blend of power, versatility, and safety features, making it an essential tool for anyone in need of portable power solutions. Whether you are looking to power essential devices on the road or in the great outdoors, the CPI 850 is equipped to meet your needs effectively.

