resistente muy Cabello | |
|
|
alisar de difícil Cabello | |
ondulado u grueso Cabello | |
|
|
químico tratamiento |
|
un recibido ha que o espeso |
|
o normal textura de Cabello | |
|
|
alisar de fácil fino, frágil, Cabello | |
|
|
CABELLO DE TIPO | TEMPERATURA DE AJUSTES |
|
|
Temperatura De Guía | |
| .resistente |
más el hasta rizado más el o fino más el desde | |
cabello, de tipo su para perfecta temperatura | |
la escoger pueda usted que para temperatura, | |
de niveles 30 ofrece también plancha Su | |
| .rápidamente |
muy seleccionada temperatura la alcance que | |
permite cual lo Conair, de instantáneo calor del | |
tecnología la aprovecha alisar de plancha Su | |
CALOR DEL CONSERVACIÓN | |
DE SISTEMA & TEMPERATURA | |
DE AJUSTES 30 INSTANTÁNEO, CALOR | |
.vez cada profesionales resultados | |
logra y alisado el facilita porque cerámica, | |
tecnología nueva la con trabajar placer un Es | |
.perfecto acabado un procura y uniformes resultados logra cual lo temperatura, misma la usando mecha cada alisar permite avanzado sistema Este .óptimos resultados brindar para constantes temperaturas altas mantiene y calor el recupera que tensión de subida una aprovecha sistema aquel alisado, el durante calor pierden que planchas otras de diferencia A .Conair de ingenieros los por creadas profesionales planchas las a igual calor, del conservación de sistema un de dotada está también alisar de plancha Su .todo es no Esto
.brillante y sedoso suave, cabello el dejará y profesionales resultados logrará alisar de plancha nueva Su .alisado del después retiene lo no que puesto cabello el para suave más es Además, .estática electricidad la y encrespamiento el eliminar a ayuda también cerámica de superficie La .uso cada de después placas las de limpieza la y alisado el facilita cual lo suave, muy es placas las de superficie La .brillante y saludable más cabello el deja cual lo uniforme, manera de calor el distribuye cerámica La .tecnológico avance de materia en último lo suave, muy cerámico revestimiento un de dotadas están alisar de plancha nueva su de placas Las
CERÁMICO REVESTIMIENTO
CON SUAVES PLACAS
.cabello de tipo su según escoger temperatura cual determinar para temperatura de guía la Véase NOTA:
.cabello su peinar y alisar para perfecta manera la encontrará veces, varias usarla de Después .alisar de plancha su con confortable sentirse de antes poco un experimentar Deberá
.veces varias cabello de sección cada alisar necesario ser puede cabello, su de textura la Según .deseado estilo el alcanzar hasta pasos estos Repita .puntas las a llegar de después pelo el afloje y placas las Abra .puntas las hacia aparato el cuidadosamente baje y cerradas placas las Mantenga .juntadas manijas ambas manteniendo placas, las Cierre .cabelludo cuero del cerca mismas, las entre cabello de sección la coloque y placas las Abra .15mm de máxima espesura una de y ancho de cm 5 aproximadamente de pelo de sección una Separe
.aparato el encender de después piel la toquen placas las que permita No .segundos sólo en calientes muy vuelven se alisar de plancha su de cerámicas placas Las ADVERTENCIA:
.apaga lo no usted si minutos 60 de después aparato el apagará que automático apagado de sistema un de dotado está aparato el seguridad, su Para .conectado está mientras desatendido aparato el deje Nunca .aparato el desconecte que hasta encendido quedará rojo indicador El .apagará se verde indicador El .“OFF” apagado de botón el oprima apagarlo, Para .rápidamente muy calentará aparato El .apagará se rojo indicador el y encendido quedará verde indicador el lista, esté plancha la Cuando .parpadear a empezarán rojo y verde luminosos indicadores Los .“ON” encendido de botón el Oprima .lista esté que asegurarse para plancha la tocar necesario es No .240V ó 120V de tomacorriente un en alisar de plancha la Conecte
ALISADO DEL FUNDAMENTOS
.adecuado adaptador un usar necesitará se embargo, Sin .usado voltaje al automáticamente adaptará se aparato Este
VOLTAJE DOBLE
.seguridad de función esta vencer intente No .calificado electricista un a llame completamente, entra no aún Si .inviértela completo, por entra no Si .polarizada corriente de toma la en manera sola una de enchufar podrá se seguridad, de medida Como .otro) que ancho más es polo (un polarizada clavija una de dotado está aparato Este
.hertzios) (60 Alterna Corriente con solamente Úselo .voltios 120/240 de Alterna Corriente con funciona y doméstico uso para diseñado fue aparato Este
USO DE
INSTRUCCIONES
INSTRUCCIONES | ||
ESTAS GUARDE | ||
.encendido está aparato el cuando | ||
calientes muy vuelven se que puesto placas, | ||
las de cerca aparato del cuerpo el toque No .13 | ||
.funcionando está mientras cable el sobre o | ||
superficie ninguna en aparato el coloque No .12 | ||
|
| .calientes superficies las de |
alejados piel la y ojos los Mantenga .encendido | ||
está cuando caliente vuelve se aparato Este .11 | ||
| .oxígeno administrando esté se | |
donde o (spray) aerosol en productos usando | ||
estén se donde ni libre, aire al utilice lo No .10 | ||
|
| .aberturas las de |
ninguna en objeto un inserte ni caer deje Nunca .9 | ||
|
| .duerme |
usted mientras aparato el utilice Nunca .8 | ||
|
| .aparato del |
alrededor cable el enrolle ni retuerza, jale, No .7 | ||
|
| .calientes |
superficies las de alejado cable el Mantenga .6 | ||
|
| .reparen lo |
y examinen lo que para autorizado servicio | ||
de centro un a Llévelo .agua al caído ha si | ||
o dañado está si caído, ha si correctamente, | ||
funciona no | si | dañados, están clavija |
la o cable el si aparato el utilice Nunca .5 | ||
|
| .eléctrica |
extensión una con aparato este utilice No .4 | ||
|
| .fabricante el por |
recomendados accesorios use Sólo .manual este en | ||
describe se como tal y diseñado fue cual el para | ||
propósito el con únicamente aparato este Use .3 | ||
.discapacidad alguna con personas o niños de cerca o sobre por, utilizado ser debería no aparato Este .2
.conectado está mientras desatendido aparato el deje Nunca .1
personales: lesiones o incendio electrocución, quemaduras, de riesgo el reducir Para – ADVERTENCIA
.agua el toque No .inmediatamente desconéctelo agua, al cae aparato el Si .5
.líquido otro u agua al caer deje lo ni aparato el coloque No .4
.lavabo un o bañera una a empujado ser o caer pueda donde aparato el guarde ni coloque No .3
.bañando está se usted mientras use lo No .2
.usarlo de después inmediatamente aparato el desconecte Siempre .1
descarga: por herida o muerte de riesgo el reducir Para
.apagado está interruptor el cuando incluso activo, eléctricamente permanece electrodoméstico Cualquier – PELIGRO
AGUA DEL ALEJADO
APARATO EL MANTENGA
USARLO DE ANTES INSTRUCCIONES LAS TODAS LEA
siguientes: las cuales las entre seguridad, de básicas precauciones tomar deben se siempre niños, de presencia la en especialmente eléctricos, aparatos usan se Cuando
IMPORTANTES SEGURIDAD DE MEDIDAS
IMPORTANT SAFETY
INSTRUCTIONS
When using electrical appliances, especially when children are present, basic safety precau- tions should always be followed, including the following:
READ ALL INSTRUCTIONS
BEFORE USING
KEEP AWAY FROM WATER
DANGER - Any appliance is electrically live even when the switch is off. To reduce the risk of death by electric shock:
1.Always unplug appliance immediately after using.
2.Do not use while bathing or in a shower.
3.Do not place or store appliance where it can fall or be pulled into a tub or sink.
4.Do not place in, or drop into water or other liquid.
5.If an appliance falls into water, unplug it im- mediately. Do not reach into the water.
WARNING - To reduce the risk of burns, electrocution, fi re, or injury to persons:
1.This appliance should never be left unat- tended when plugged in.
2.This appliance should not be used by, on, or near children or individuals with certain disabilities.
3.Use this appliance only for its intended use as described in this manual. Do not use attach- ments not recommended by the manufacturer.
4.Do not use an extension cord to operate appliance.
5.Never operate this appliance if it has a damaged cord or plug, if it is not working properly, if it has been dropped or damaged, or dropped into water. Return the appliance to an authorized service center for examina- tion and repair.
6.Keep the cord away from heated surfaces.
7.Do not pull, twist, or wrap line cord around appliance, even during storage.
8.Never use while sleeping.
9.Never drop or insert any object into any open- ing.
10.Do not use outdoors or operate where aero- sol (spray) products are being used or where oxygen is being administered.
11.This straightener is hot when in use. Do not let eyes or bare skin touch heated surfaces.
12.Do not place the heated straightener di- rectly on any surface or on the appliance power cord while it is hot or plugged in.
13.Before plugging in read the information about dual voltage contained in the instruction section of this manual.
14.Do not attempt to touch the housing of your appliance near the straightening plates as it is hot when in use.
SAVE THESE
INSTRUCTIONS
OPERATING
INSTRUCTIONS
This straightening iron appliance is intended for household use. This unit is designed to operate at 120/240 volts AC. Use on Alternating Current (50/60 hertz) only.
This appliance has a polarized plug (one blade is wider than the other). As a safety feature, this plug will fi t in a polarized outlet only one way. If the plug does not fi t fully in the outlet, reverse the plug. If it still does not fi t, contact a qualifi ed electrician. Do not attempt to defeat this safety feature.
DUAL VOLTAGE
This straightening iron will automatically adjust to the proper voltage. Use an adapter plug with correct confi guration, prior to use in outlet.
STRAIGHTENING BASICS
Plug the straightening iron cord into any house- hold outlet (120/240V). Press ON button. Red and green lights will blink alternately. When ready to use, green light will remain on and red light will turn off. The iron will heat up very quickly. To turn off, press OFF button. Green light will go off. Red light will remain on as a safety pre- caution to indicate the iron is still plugged in. Never leave your straightening iron on and un- attended. However, should you fail to turn the unit off, it will shut itself off automatically within 60 minutes.
WARNING: The straightening iron’s ceramic- coated plates will get very hot within a few seconds and should not be placed in contact with the skin after the straightening iron has been turned on.
Start with a hair section that is 2" wide and no more than 1/2" thick. Open the iron and place a hair section between the two hot plates, close to the scalp. Trap hair between the plates by
firmly squeezing the handles together. While maintaining the tension, slowly pull the unit down along the hair section toward the end of hair. At the end of hair section, release the pressure on the handle and allow the hair section to slide out. Repeat process on additional sections of hair until you achieve the hair style you desire. It may be necessary to repeat process on certain areas, depending on the texture of your hair.
Some experience is necessary when learning to use this straightening iron. After using iron several times, you will learn the ideal way to straighten and style your hair easily.
NOTE: Please refer to the temperature setting guide for heat settings.
STYLING WITH THE NEW EASY-GLIDE
CERAMIC-COATED PLATES
The plates of your new straightening iron have an
And that’s not all. Conair’s professional salon standards of engineering provide you with a Uni- form Heat Recovery System that maintains the straightening iron at a constant temperature.
There is a constant surge of power to ensure that heat is continuously delivered for optimal styling results, unlike other units which lose heat during use. This provides consistent styling power so that every strand of your hair is set with the same level of heat and comes out the same way for a perfect fi nish.
The new ceramic technology is a pleasure to work with, makes styling your hair easier and provides more professional results.
USING INSTANT HEAT, THE 30
TEMPERATURE SETTINGS & UNIFORM HEAT
RECOVERY SYSTEM
This straightening iron features Conair’s Instant Heat technology. It quickly heats up to the tem- perature you’ve selected for your hair type and is then ready to use.
Within this Instant Heat technology there are 30 temperature settings for every type of hair, from the fi nest to the curliest and most resistant.
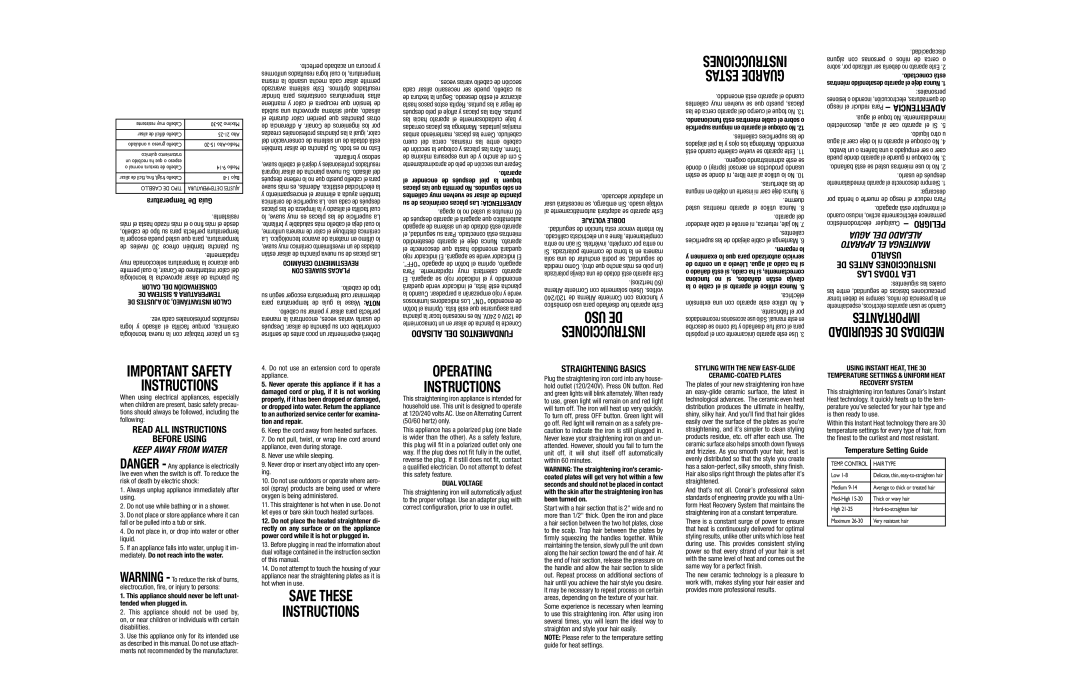
Temperature Setting Guide
| TEMP. CONTROL |
| HAIR TYPE |
|
| ||
|
|
|
|
| Low |
| Delicate, thin, |
|
|
|
|
| Medium |
| Average to thick or treated hair |
|
|
|
|
|
| Thick or wavy hair | |
|
|
|
|
| High |
| |
|
|
|
|
| Maximum |
| Very resistant hair |
|
|
|
|