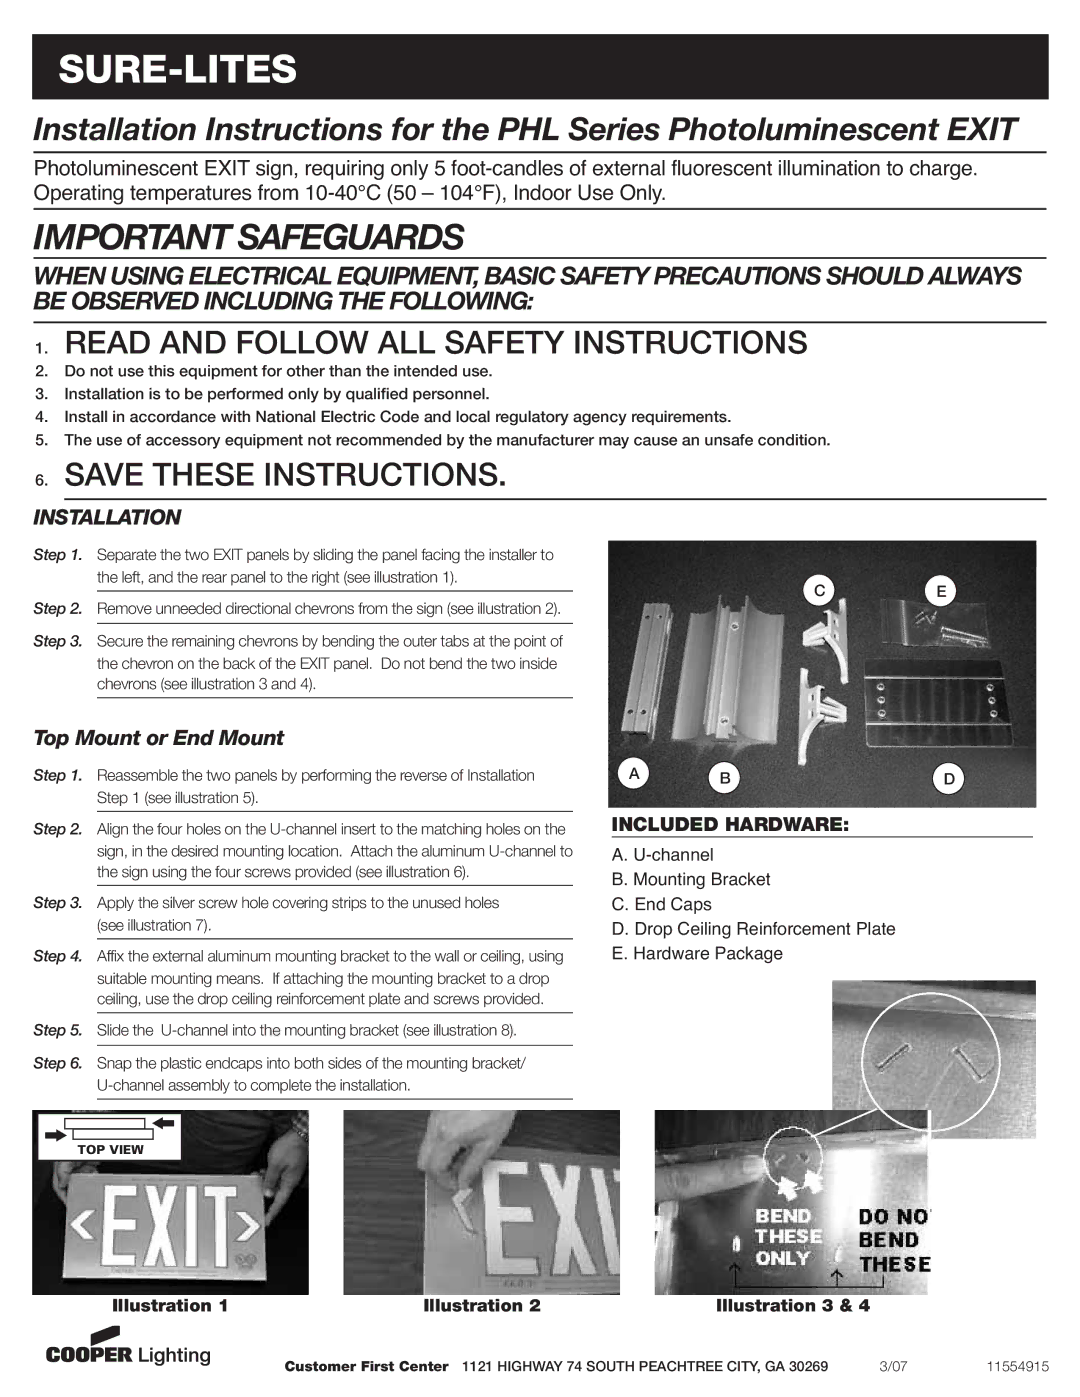
PHL Series specifications
Cooper Lighting's PHL Series is a cutting-edge luminaire designed for high-performance applications, particularly in commercial and industrial settings. Renowned for its exceptional efficiency and versatility, the PHL Series is engineered to meet the demand for sustainable lighting solutions while delivering superior lighting quality.One of the standout features of the PHL Series is its innovative LED technology. With a lifespan that can exceed 50,000 hours, these fixtures significantly reduce the need for frequent replacements, leading to lower maintenance costs and minimized waste. The high luminous efficacy of the LEDs ensures maximum light output with minimal energy consumption, promoting sustainability without compromising illumination.
The PHL Series incorporates advanced optical design to achieve uniform light distribution, reducing glare and enhancing visibility. This is especially beneficial in workplaces where accurate color rendering is crucial, such as manufacturing facilities and retail environments. The PHL fixtures provide a Color Rendering Index (CRI) of 80 or higher, ensuring that colors appear vibrant and true to life.
Another key characteristic of the PHL Series is its robust construction. Built to withstand demanding conditions, these fixtures feature a durable housing made from corrosion-resistant materials. This ensures longevity even in harsh environments, such as warehouses and parking garages. Additionally, they come with various mounting options, including recessed, surface, and pendant, allowing for flexibility in installation.
The PHL Series also integrates smart lighting technologies. With the option for wireless controls and sensors, users can leverage automated systems for enhanced energy savings. Features like occupancy sensing and daylight harvesting allow the lighting to adjust in real time according to the presence of people and available natural light, maximizing efficiency and contributing to reduced energy bills.
With an IP66 rating for dust and moisture resistance, the PHL Series is ideal for outdoor applications as well, ensuring reliable performance in all weather conditions. Furthermore, its sleek design allows it to blend seamlessly with a variety of architectural styles, making it a popular choice for both new constructions and retrofits.
Overall, the Cooper Lighting PHL Series stands out in the market for its combination of energy efficiency, durability, and advanced features, making it a go-to choice for those seeking reliable and sustainable lighting solutions across diverse environments.

