4.Connect the main lead from the wood splitter to a standard electrical,
5.Turn ON the Motor, then cycle the Ram several times using the Operating Handle. After cycling, if the Ram does not travel to within 6" of the wedge, check the hydraulic fluid level by tipping the wood splitter up on the wheels and motor.
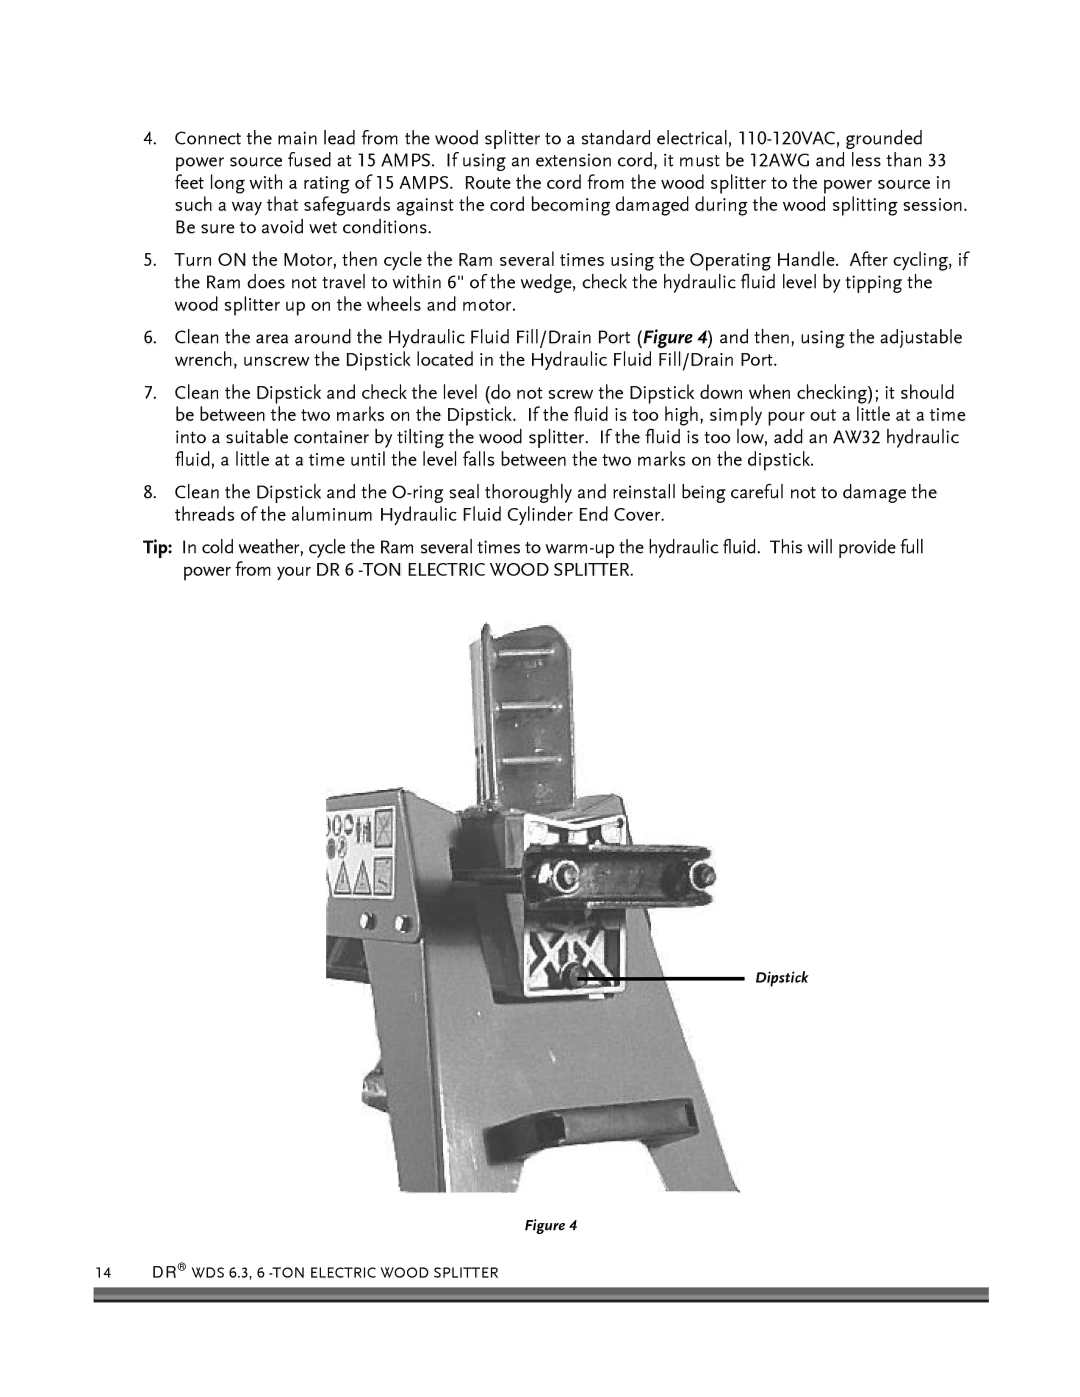
6.Clean the area around the Hydraulic Fluid Fill/Drain Port (Figure 4) and then, using the adjustable wrench, unscrew the Dipstick located in the Hydraulic Fluid Fill/Drain Port.
7.Clean the Dipstick and check the level (do not screw the Dipstick down when checking); it should be between the two marks on the Dipstick. If the fluid is too high, simply pour out a little at a time into a suitable container by tilting the wood splitter. If the fluid is too low, add an AW32 hydraulic fluid, a little at a time until the level falls between the two marks on the dipstick.
8.Clean the Dipstick and the
Tip: In cold weather, cycle the Ram several times to
Dipstick
Figure 4