Cleaning the Cooktop
The cooktop is designed to make cleaning easier. Since the four burners are sealed, cleanups are easy when spillovers are cleaned up immediately. To clean, wipe with a clean, damp cloth and wipe dry. DO NOT attempt to clean the cooktop when the cooktop or burner heads are still hot. The contoured well areas and burner drip pans (some models) should be routinely cleaned. Keeping the burner head ports and slots clean will prevent improper ignition and an uneven flame. Refer to the following sections for further instructions.
DO NOT attempt to clean the cooktop when the cooktop or burner heads are still hot. Touching hot cooktop areas, burner grates and burner caps can cause burns.
Any additions, changes or conversions required in order for this appliance to satisfactorily meet the application needs must be made by an authorized Electrolux Distributor or Qualified Agency.
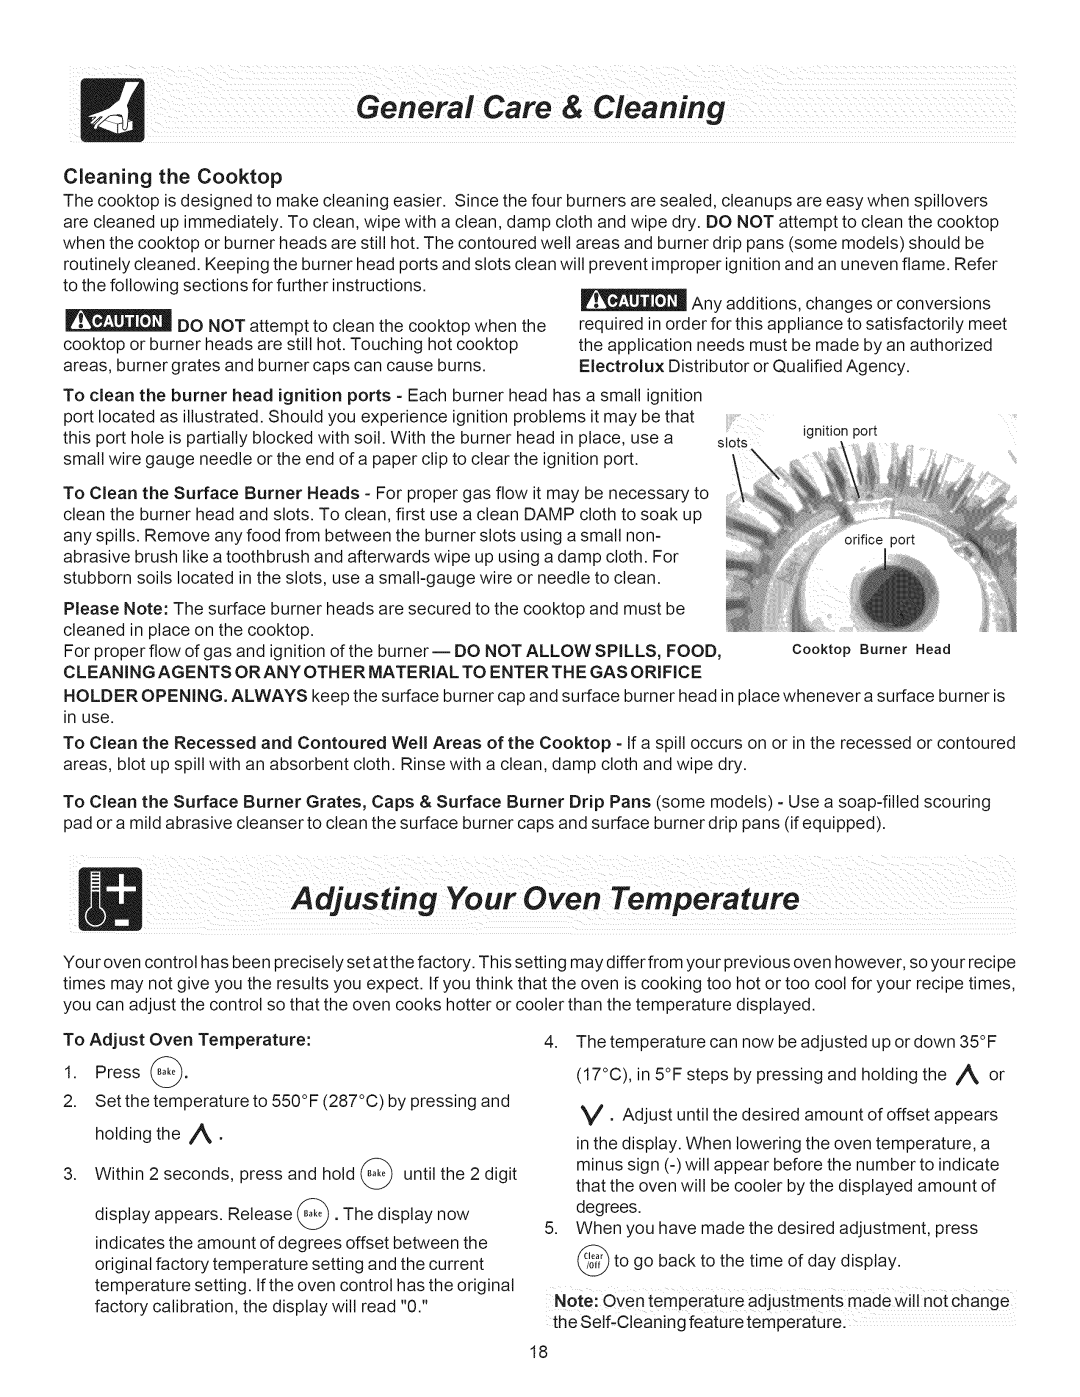
To clean the burner head ignition ports - Each | burner head has a small ignition |
| |
port located as illustrated. Should you experience | ignition | problems it may be that |
|
this port hole is partially blocked with soil. With the burner | head in place, use a | slots | |
small wire gauge needle or the end of a paper clip to clear | the ignition port. |
| |
To Clean the Surface Burner Heads - For proper gas flow it may be necessary to clean the burner head and slots. To clean, first use a clean DAMP cloth to soak up any spills. Remove any food from between the burner slots using a small non- abrasive brush like a toothbrush and afterwards wipe up using a damp cloth. For stubborn soils located in the slots, use a
Please Note: The surface burner heads are secured to the cooktop and must be cleaned in place on the cooktop.
For proper flow of gas and ignition of the
CLEANING AGENTS OR ANY OTH ER MATERIAL TO ENTER THE GAS ORIFICE
ignition port
Cooktop Burner Head
HOLDER OPENING. ALWAYS keep the surface burner cap and surface burner head in place whenever a surface burner is in use.
To Clean the Recessed and Contoured Well Areas of the Cooktop - If a spill occurs on or in the recessed or contoured areas, blot up spill with an absorbent cloth. Rinse with a clean, damp cloth and wipe dry.
To Clean the Surface Burner Grates, Caps & Surface Burner Drip Pans (some models) - Use a
Ei "J°"'o ° o,o,o ,o,°
Your oven control has been precisely set at the factory. This setti ng may differ from your previous oven however, so your recipe times may not give you the results you expect. If you think that the oven is cooking too hot or too cool for your recipe times, you can adjust the control so that the oven cooks hotter or cooler than the temperature displayed.
To Adjust Oven Temperature:
1.Press @.
2.Set the temperature to 550°F (287°C) by pressing and holding the /_.
3. Within 2 seconds, press and hold _ until the 2 digit
display appears. Release (_. The display now
indicates the amount of degrees offset between the original factory temperature setting and the current temperature setting. If the oven control has the original factory calibration, the display will read "0."
4.The temperature can now be adjusted up or down 35°F (17°C), in 5°F steps by pressing and holding the ,/_ or
V • Adjust until the desired amount of offset appears
in the display. When lowering the oven temperature, a minus sign
5.When you have made the desired adjustment, press to go back to the time of day display.
Note: Oven temperature adjustment s made will not change the
18
