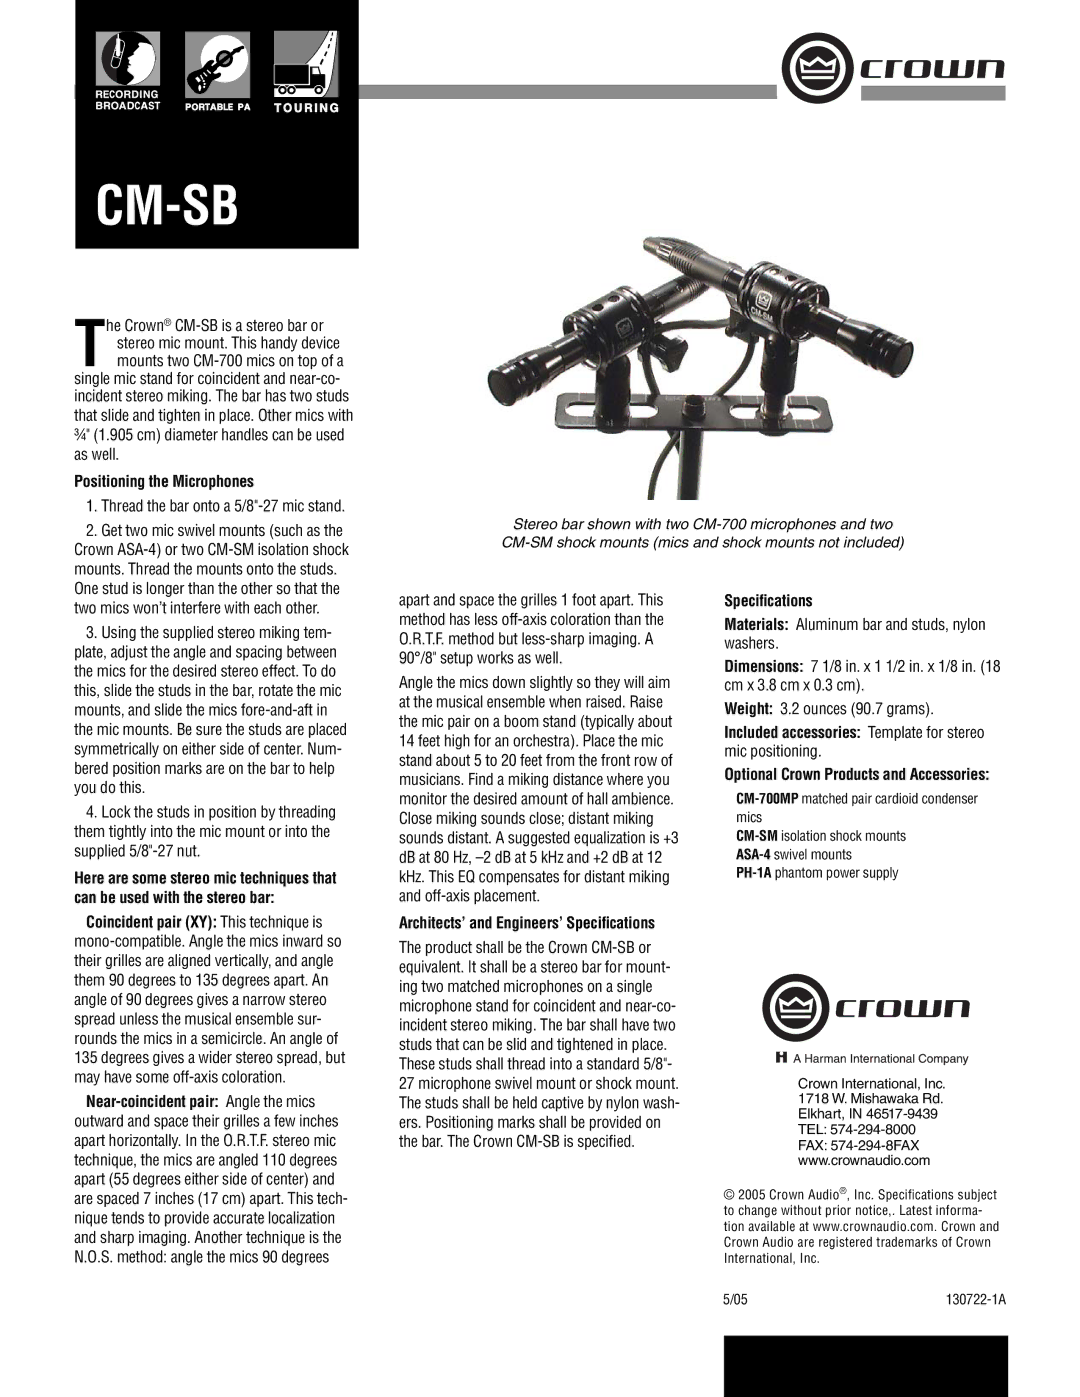
CM-SB specifications
Crown Audio has long been a respected name in the world of professional audio equipment, and the CM-SB microphone exemplifies their commitment to producing high-quality sound solutions. Designed primarily for broadcast, studio, and live applications, the CM-SB offers a blend of cutting-edge technology and user-friendly features tailored for both professionals and enthusiasts.One of the standout features of the CM-SB is its condenser microphone design, which is essential for capturing audio with exceptional clarity and detail. Condenser microphones are known for their wide frequency response and sensitivity, making them ideal for vocal recordings, instrument amplification, and more nuanced sound applications. The CM-SB is engineered to capture the full range of the audio spectrum, from the lowest lows to the highest highs, ensuring a faithful reproduction of your sound.
The CM-SB is equipped with a cardioid polar pattern, which is instrumental in isolating sound sources while minimizing background noise. This directional pickup pattern helps to focus on the intended sound source, making it an excellent choice for live performances and studio recordings where unwanted ambient noise can be an issue. This selectivity also contributes to a cleaner mix, allowing vocalists or instrumentals to shine without interference from other sounds in the environment.
In terms of build quality, the CM-SB is robust and designed to withstand the rigors of professional use. Its durable construction means it can handle the demands of touring and live events, ensuring reliability under various conditions. Moreover, the mic features internal shock mounting, which helps to reduce handling noise and vibrations, further enhancing the purity of the captured sound.
Another critical aspect of the CM-SB is its versatility. It comes with a range of compatible accessories, including windscreens and pop filters, which provide additional options for optimizing sound quality in different environments. This flexibility allows users to adapt the microphone to their specific needs, whether they are in a studio setting or performing live on stage.
In summary, the Crown Audio CM-SB microphone combines cutting-edge condenser technology, a focused cardioid pickup pattern, and rugged durability to deliver outstanding audio performance. Its versatility makes it a suitable choice for a wide range of applications, reaffirming Crown Audio's reputation for excellence in the professional audio marketplace. Whether for broadcast, studio work, or live events, the CM-SB is a reliable tool for achieving exceptional sound quality.