
GRP5.2C, GRP52CX, GRP62CX, GRP6.5C, GRP693 specifications
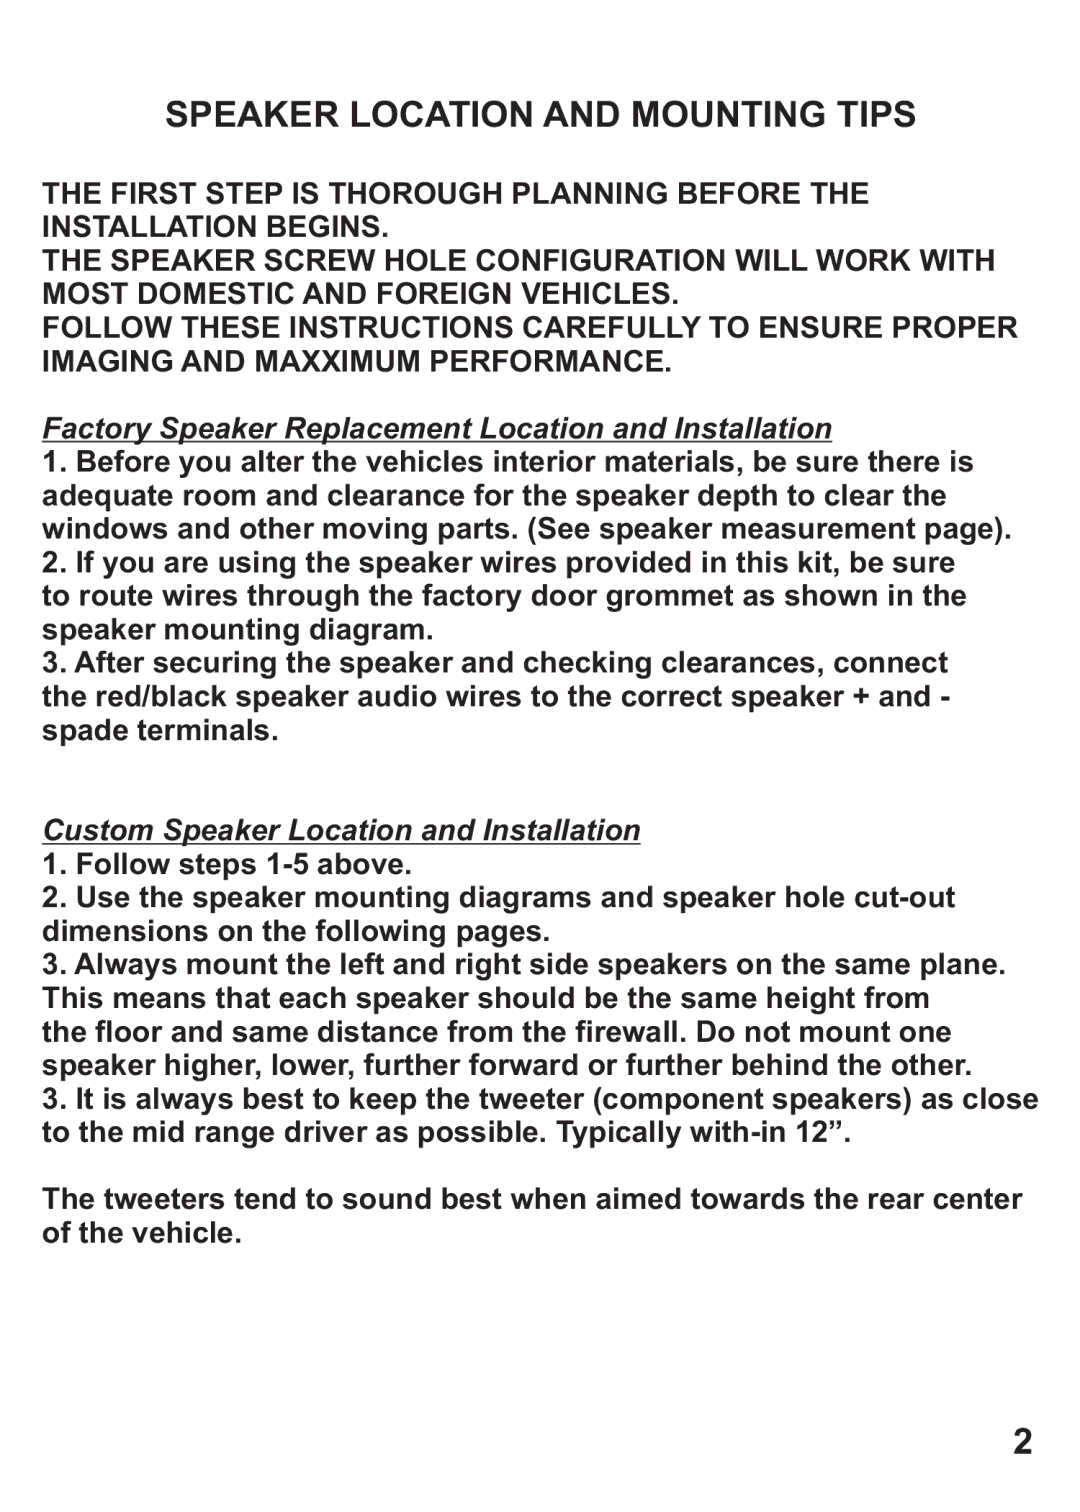
The Crunch GRP52CX, GRP5.2C, GRP693, GRP6.5C, and GRP62CX are exceptional audio components from Crunch, a brand known for its commitment to delivering high-quality sound performance and innovative technologies. These models cater to audio enthusiasts looking for reliable and powerful solutions for their sound systems.The Crunch GRP52CX is a 5.25-inch 2-way component speaker system that excels in producing clear and crisp audio. It features a durable polypropylene woofer and a 1-inch silk dome tweeter, providing a balanced sound profile ideal for both music and spoken word. Its peak power handling capability of up to 240 watts ensures that it can handle high volumes without sacrificing clarity.
On the other hand, the GRP5.2C is another remarkable 5.25-inch component system that boasts a compact design while providing impressive sound quality. With its sleek aesthetic, it is perfect for installations where space is a constraint. It employs a powerful bass response and clear high frequencies, making it a popular choice for car audio enthusiasts seeking a well-rounded sound experience.
The GRP693 is a 6x9-inch coaxial speaker designed to deliver robust and dynamic sound. This model is perfect for those who desire deep bass and extended highs. With a peak power handling capability of 400 watts, it can easily fill larger spaces or vehicles. The GRP693 features an injection-molded polypropylene cone and a durable rubber surround, ensuring longevity and decreased distortion during playback.
For those looking for a more robust option, the GRP6.5C is a powerful 6.5-inch component speaker that emphasizes midrange performance. It features a high-efficiency design and an upgraded motor structure, offering increased sensitivity and better overall sound performance. The sleek finish and compact size make it suitable for various installation scenarios.
Lastly, the GRP62CX is a versatile 6.5-inch coaxial speaker that combines style and sound quality. Its unique design includes a high-temperature voice coil and a robust cone, enhancing the overall sound clarity. Additionally, the GRP62CX is built with advanced technology to minimize distortion, offering a richer listening experience.
In conclusion, the Crunch GRP series of speakers showcase a blend of durability, aesthetic appeal, and advanced audio technology. Whether you are a casual listener or a dedicated audiophile, these speakers are designed to meet a variety of sound preferences and performance needs. Their solid construction and impressive specifications make them an excellent choice for enhancing any audio environment.