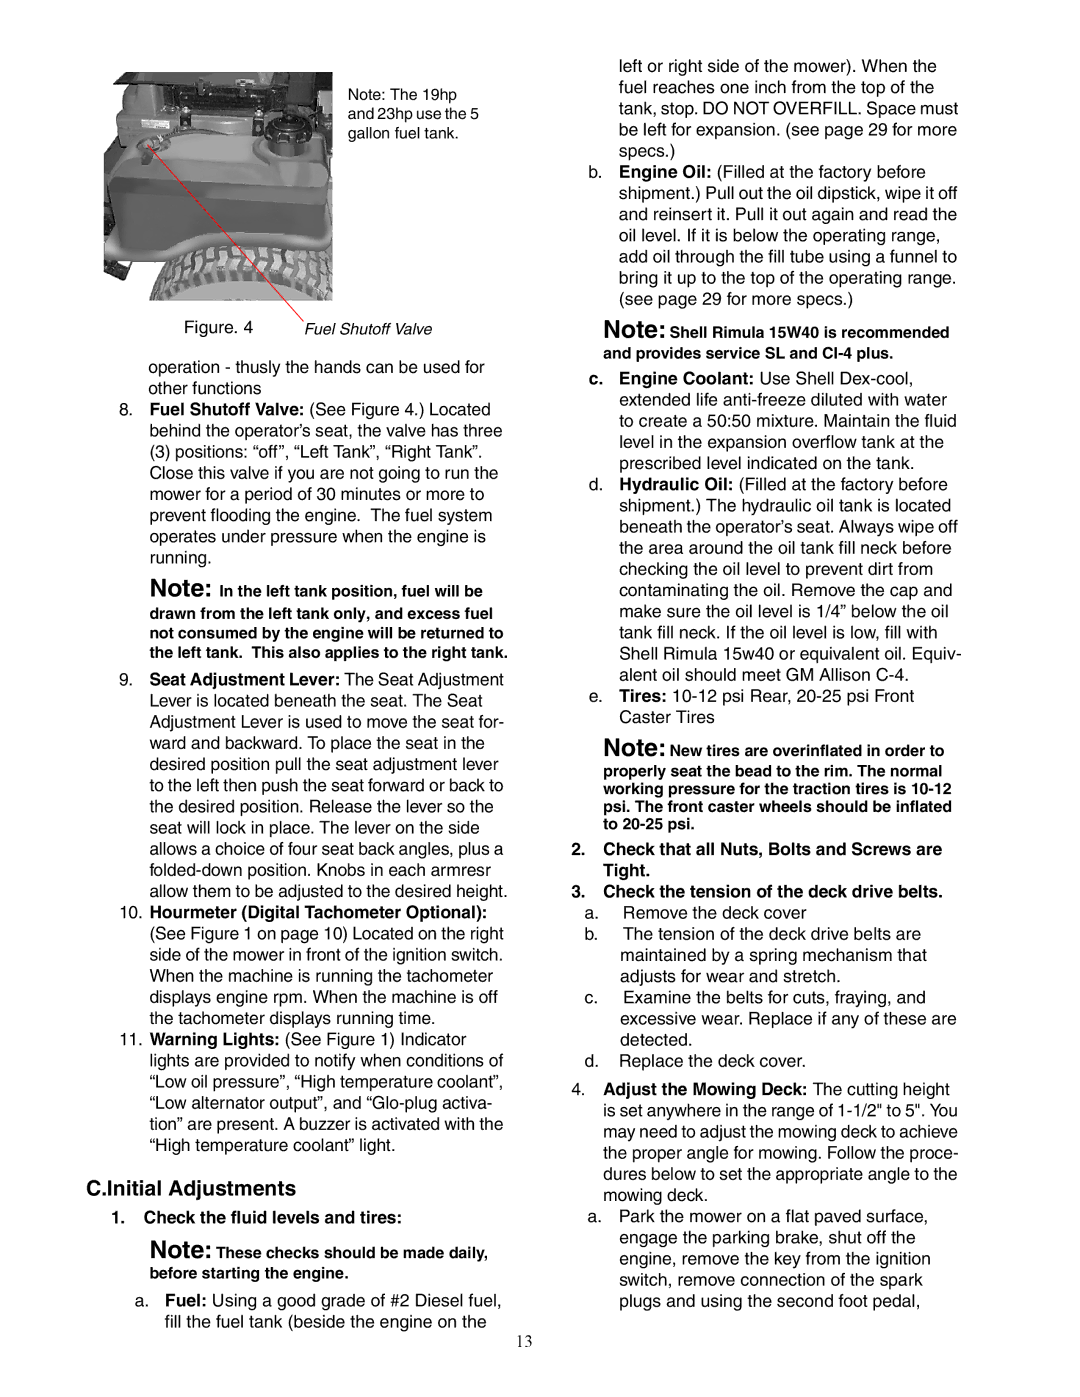
Note: The 19hp and 23hp use the 5 gallon fuel tank.
Figure. 4 Fuel Shutoff Valve
operation - thusly the hands can be used for other functions
8.Fuel Shutoff Valve: (See Figure 4.) Located behind the operator’s seat, the valve has three
(3) positions: “off”, “Left Tank”, “Right Tank”. Close this valve if you are not going to run the mower for a period of 30 minutes or more to prevent flooding the engine. The fuel system operates under pressure when the engine is running.
Note: In the left tank position, fuel will be drawn from the left tank only, and excess fuel not consumed by the engine will be returned to the left tank. This also applies to the right tank.
9.Seat Adjustment Lever: The Seat Adjustment Lever is located beneath the seat. The Seat Adjustment Lever is used to move the seat for- ward and backward. To place the seat in the desired position pull the seat adjustment lever to the left then push the seat forward or back to the desired position. Release the lever so the seat will lock in place. The lever on the side allows a choice of four seat back angles, plus a
10.Hourmeter (Digital Tachometer Optional): (See Figure 1 on page 10) Located on the right side of the mower in front of the ignition switch. When the machine is running the tachometer displays engine rpm. When the machine is off the tachometer displays running time.
11.Warning Lights: (See Figure 1) Indicator lights are provided to notify when conditions of “Low oil pressure”, “High temperature coolant”, “Low alternator output”, and
C.Initial Adjustments
1.Check the fluid levels and tires:
Note: These checks should be made daily, before starting the engine.
a.Fuel: Using a good grade of #2 Diesel fuel, fill the fuel tank (beside the engine on the
left or right side of the mower). When the fuel reaches one inch from the top of the tank, stop. DO NOT OVERFILL. Space must be left for expansion. (see page 29 for more specs.)
b.Engine Oil: (Filled at the factory before shipment.) Pull out the oil dipstick, wipe it off and reinsert it. Pull it out again and read the oil level. If it is below the operating range, add oil through the fill tube using a funnel to bring it up to the top of the operating range. (see page 29 for more specs.)
Note: Shell Rimula 15W40 is recommended and provides service SL and
c.Engine Coolant: Use Shell
d.Hydraulic Oil: (Filled at the factory before shipment.) The hydraulic oil tank is located beneath the operator’s seat. Always wipe off the area around the oil tank fill neck before checking the oil level to prevent dirt from contaminating the oil. Remove the cap and make sure the oil level is 1/4” below the oil tank fill neck. If the oil level is low, fill with Shell Rimula 15w40 or equivalent oil. Equiv- alent oil should meet GM Allison
e.Tires:
Note: New tires are overinflated in order to properly seat the bead to the rim. The normal working pressure for the traction tires is
2.Check that all Nuts, Bolts and Screws are Tight.
3.Check the tension of the deck drive belts.
a.Remove the deck cover
b.The tension of the deck drive belts are maintained by a spring mechanism that adjusts for wear and stretch.
c.Examine the belts for cuts, fraying, and excessive wear. Replace if any of these are detected.
d.Replace the deck cover.
4.Adjust the Mowing Deck: The cutting height is set anywhere in the range of
a.Park the mower on a flat paved surface, engage the parking brake, shut off the engine, remove the key from the ignition switch, remove connection of the spark plugs and using the second foot pedal,
13