Manuals
/
D-Link
/
Computer Equipment
/
Network Router
D-Link
DIR-827
user manual
Quick Install Guide, Package Contents, Before You Begin, LEDs, Canada
Models:
DIR-827
1
1
1
Download
1 pages
46.84 Kb
1
Page 1
Image 1
Page 1
Page 1
Page 1
Image 1
Page 1
Page 1
Contents
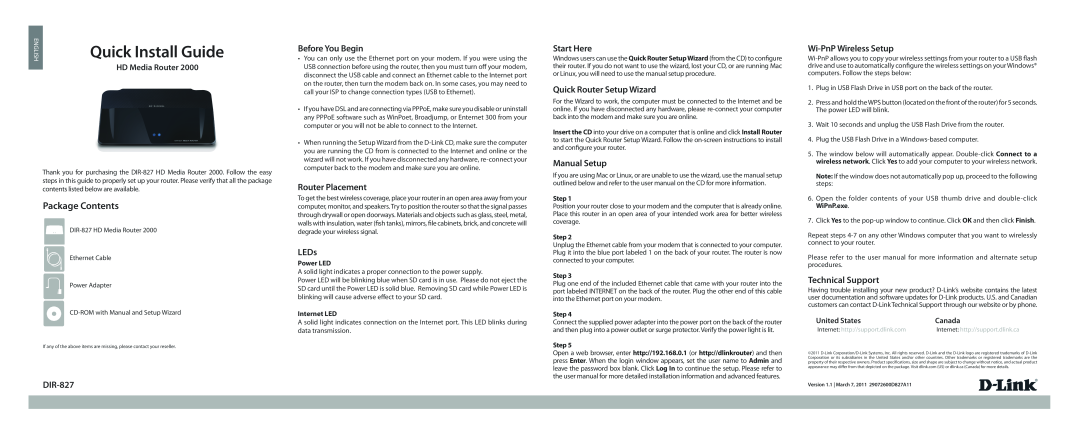
Package Contents
Quick Install Guide
Router Placement
Quick Router Setup Wizard
Top
Page
Image
Contents