INSTALLATION INSTRUCTIONS
Be sure the appliance is properly installed and grounded by a qualified technician. It is the responsibility of the technician to be certain that your range is properly installed. Situations caused by improper installation are not covered under the warranty. Any expenses incurred due to such situations will not be paid by the manufacturer of the appliance.
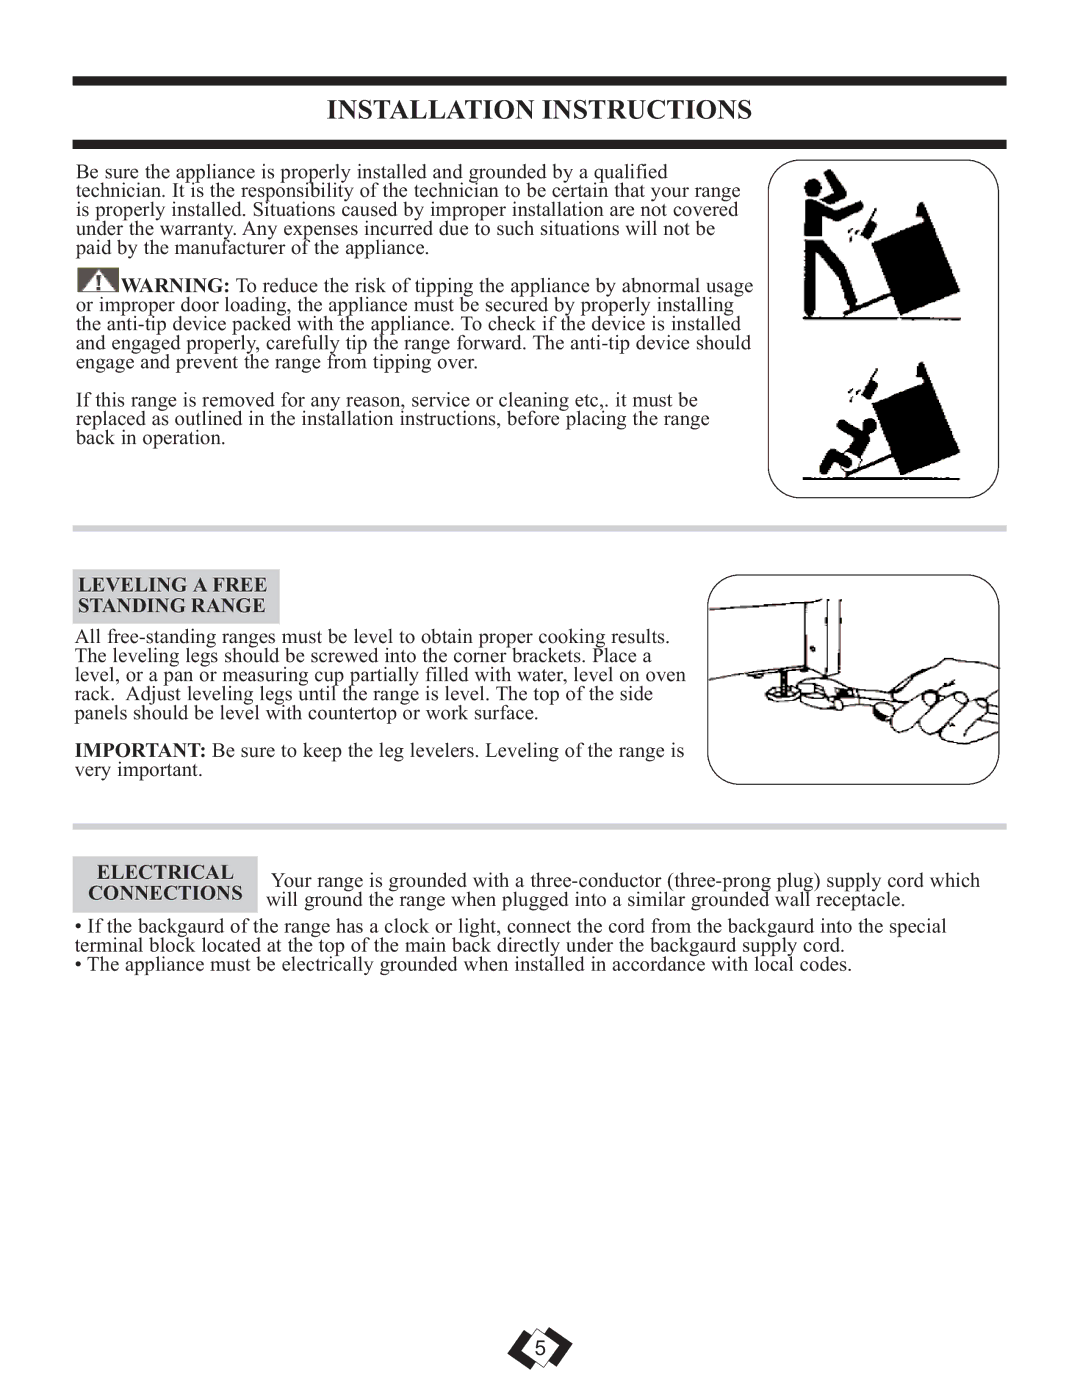
![]() WARNING: To reduce the risk of tipping the appliance by abnormal usage or improper door loading, the appliance must be secured by properly installing the
WARNING: To reduce the risk of tipping the appliance by abnormal usage or improper door loading, the appliance must be secured by properly installing the
If this range is removed for any reason, service or cleaning etc,. it must be replaced as outlined in the installation instructions, before placing the range back in operation.
LEVELING A FREE
STANDING RANGE
All
IMPORTANT: Be sure to keep the leg levelers. Leveling of the range is very important.
ELECTRICAL | Your range is grounded with a | |
CONNECTIONS | ||
will ground the range when plugged into a similar grounded wall receptacle. | ||
|
|
•If the backgaurd of the range has a clock or light, connect the cord from the backgaurd into the special terminal block located at the top of the main back directly under the backgaurd supply cord.
•The appliance must be electrically grounded when installed in accordance with local codes.
5
