Radio Controlled
Digital Alarm Clock
with Thermometer
and Moon Phase
USER'S MANUAL
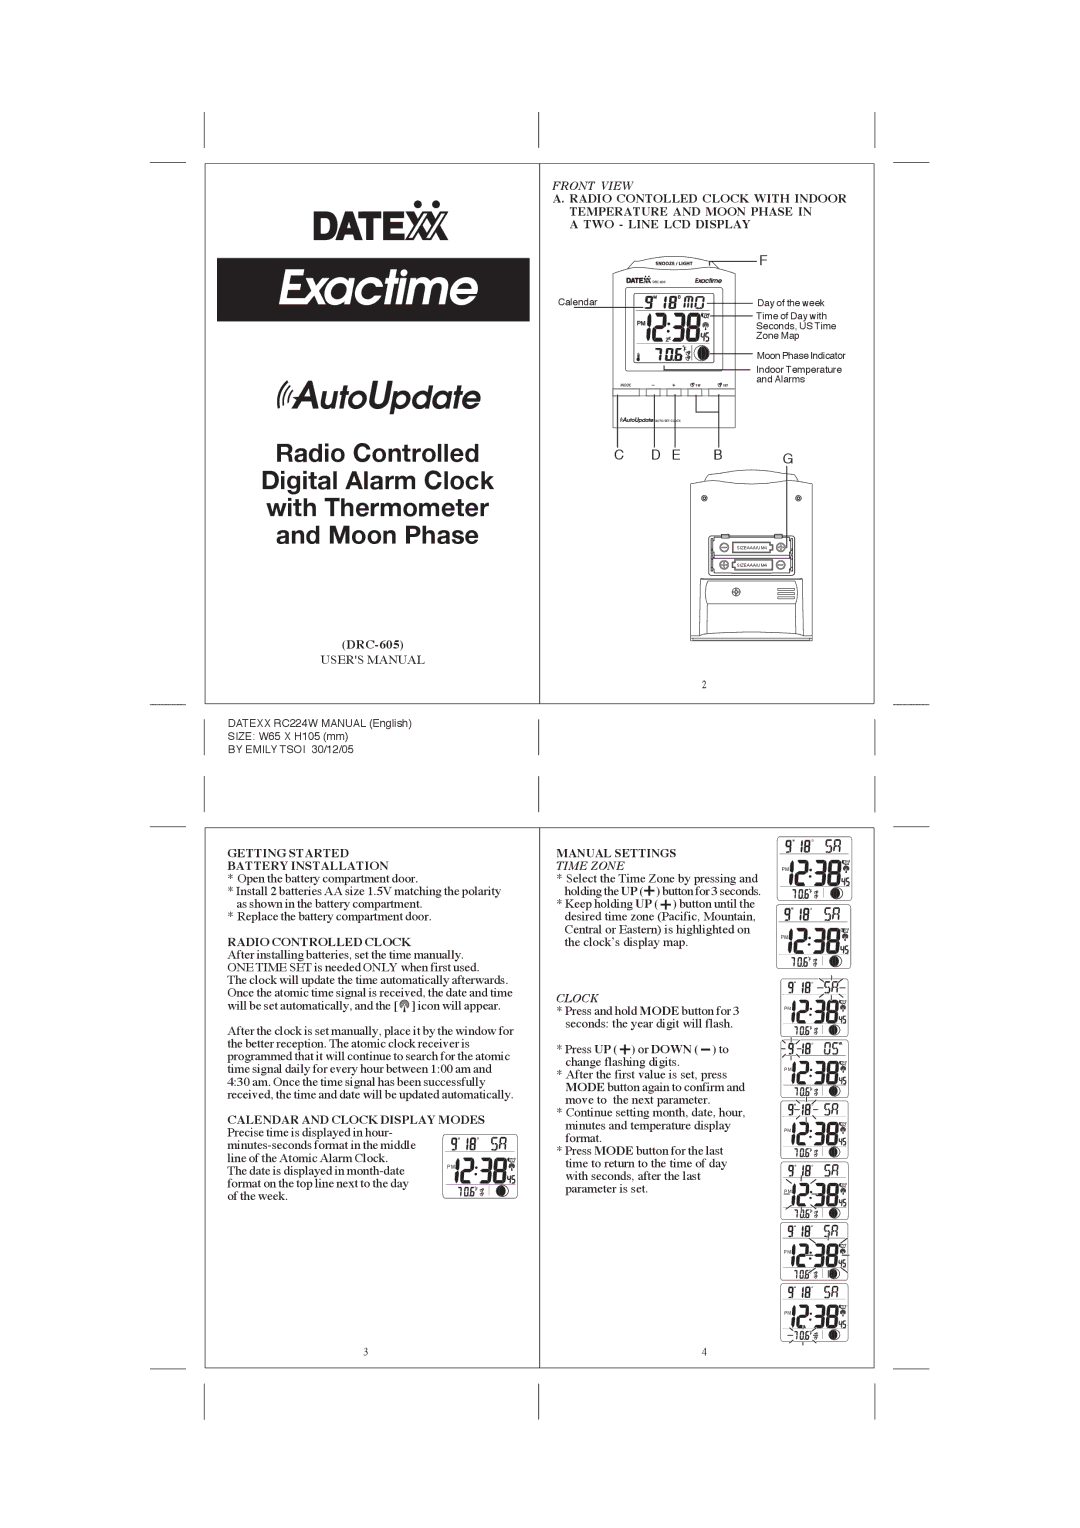
FRONT VIEW
A. RADIO CONTOLLED CLOCK WITH INDOOR TEMPERATURE AND MOON PHASE IN
A TWO - LINE LCD DISPLAY
|
|
|
| F |
Calendar | M | D |
| Day of the week |
|
|
|
| Time of Day with |
| PM |
|
| Seconds, US Time |
|
|
|
| |
|
| ZZ |
| Zone Map |
|
| 2 |
| Moon Phase Indicator |
|
| 1 |
|
|
|
|
|
| Indoor Temperature |
|
| 2 SET | 1 SET | and Alarms |
C | D | E | B | G |
|
|
|
| SIZEAAA/UM4 |
|
|
|
| SIZEAAA/UM4 |
|
|
| 2 |
|
DATEXX RC224W MANUAL (English)
SIZE: W65 X H105 (mm)
BY EMILY TSOI 30/12/05
GETTING STARTED
BATTERY INSTALLATION
* Open the battery compartment door.
* Install 2 batteries AA size 1.5V matching the polarity as shown in the battery compartment.
* Replace the battery compartment door.
RADIO CONTROLLED CLOCK
After installing batteries, set the time manually. ONE TIME SET is needed ONLY when first used.
The clock will update the time automatically afterwards. Once the atomic time signal is received, the date and time will be set automatically, and the [ ![]() ] icon will appear.
] icon will appear.
After the clock is set manually, place it by the window for the better reception. The atomic clock receiver is programmed that it will continue to search for the atomic time signal daily for every hour between 1:00 am and 4:30 am. Once the time signal has been successfully received, the time and date will be updated automatically.
CALENDAR AND CLOCK DISPLAY MODES | |
Precise time is displayed in hour- | M D |
| |
line of the Atomic Alarm Clock. |
|
The date is displayed in | PM |
format on the top line next to the day | 1 |
of the week. | 2 |
3
MANUAL SETTINGS
TIME ZONE
* Select the Time Zone by pressing and holding the UP ( ) button for 3 seconds.
* Keep holding UP ( ) button until the desired time zone (Pacific, Mountain, Central or Eastern) is highlighted on the clock’s display map.
CLOCK
* Press and hold MODE button for 3 seconds: the year digit will flash.
* Press UP ( ) or DOWN ( ) to change flashing digits.
* After the first value is set, press MODE button again to confirm and move to the next parameter.
* Continue setting month, date, hour, minutes and temperature display format.
* Press MODE button for the last time to return to the time of day with seconds, after the last parameter is set.
4
![]() M
M ![]()
![]()
![]() D
D
PM![]()
1
2
![]() M
M ![]()
![]()
![]() D
D
PM![]()
1
2
![]() M
M ![]()
![]()
![]() D
D
PM![]()
1
2
M | D | YR |
PM![]()
1
2
![]() M
M ![]()
![]()
![]() D
D
PM![]()
1
2
![]() M
M ![]()
![]()
![]() D
D
PM![]()
1
2
![]() M
M ![]()
![]()
![]() D
D
PM![]()
![]() 1
1
2
![]() M
M ![]()
![]()
![]() D
D
PM![]()
1
2
