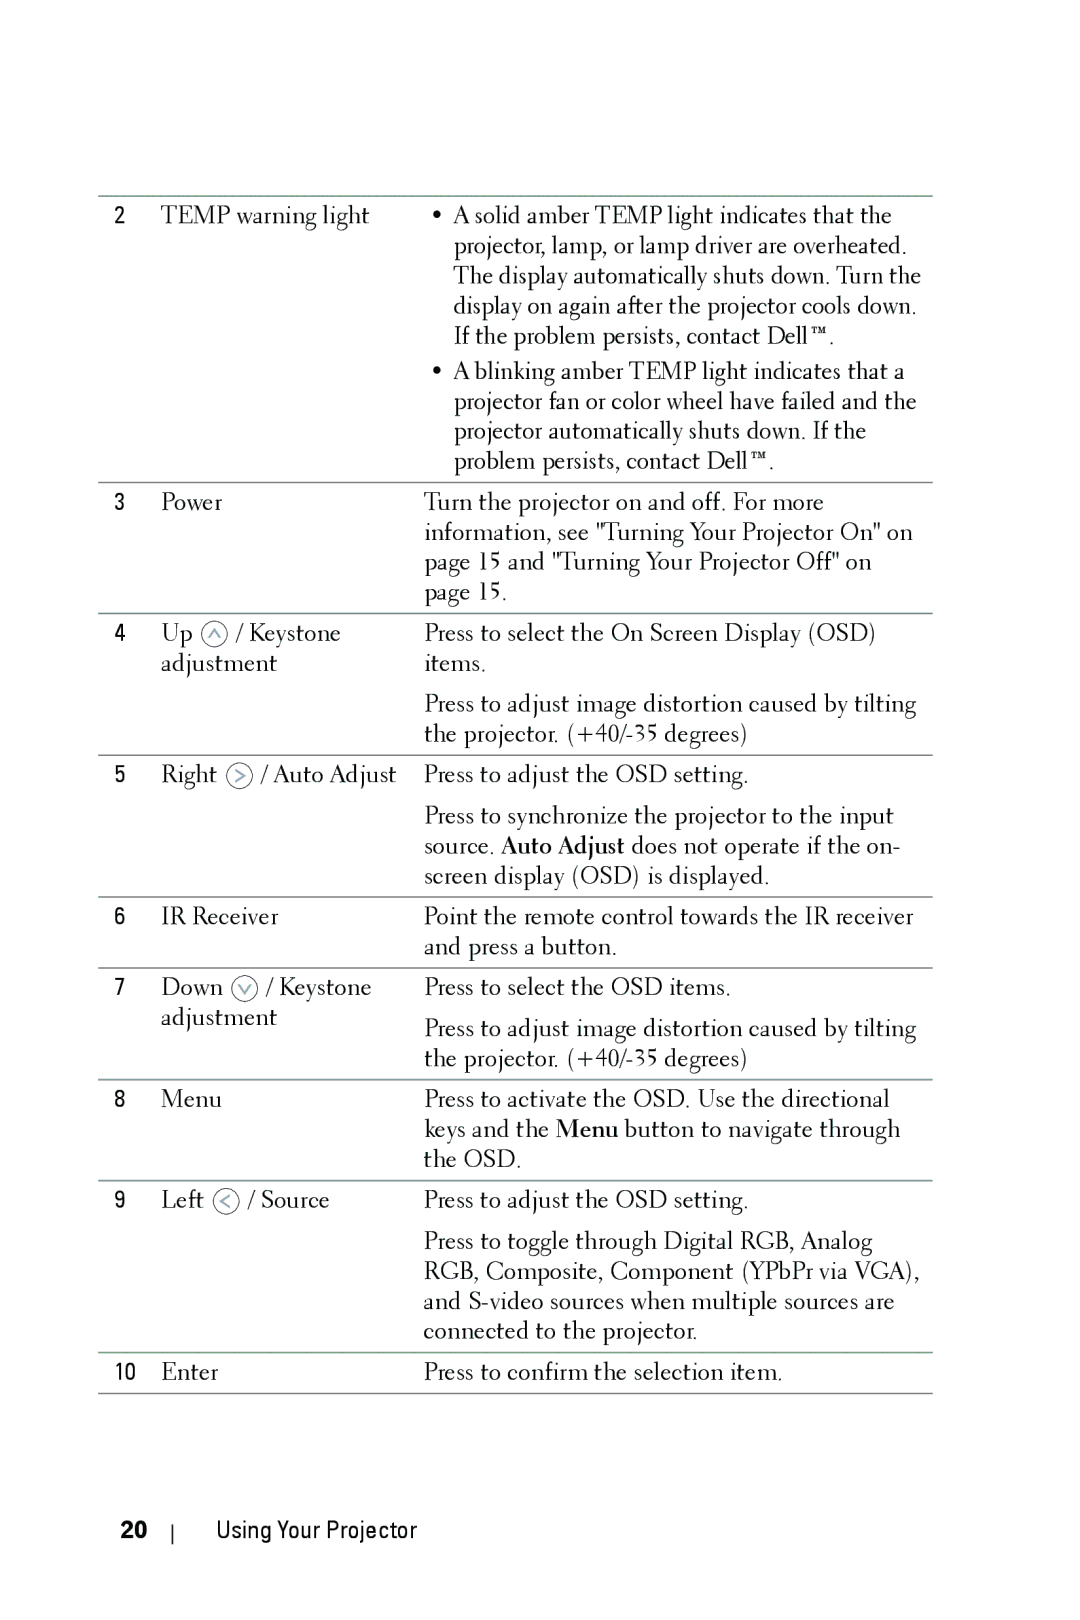
2 | TEMP warning light | • A solid amber TEMP light indicates that the | |
|
|
| projector, lamp, or lamp driver are overheated. |
|
|
| The display automatically shuts down. Turn the |
|
|
| display on again after the projector cools down. |
|
|
| If the problem persists, contact Dell™. |
|
|
| • A blinking amber TEMP light indicates that a |
|
|
| projector fan or color wheel have failed and the |
|
|
| projector automatically shuts down. If the |
|
|
| problem persists, contact Dell™. |
|
|
|
|
3 | Power |
| Turn the projector on and off. For more |
|
|
| information, see "Turning Your Projector On" on |
|
|
| page 15 and "Turning Your Projector Off" on |
|
|
| page 15. |
|
|
|
|
4 | Up | / Keystone | Press to select the On Screen Display (OSD) |
| adjustment | items. | |
|
|
| Press to adjust image distortion caused by tilting |
|
|
| the projector. |
|
|
|
|
5 | Right | / Auto Adjust | Press to adjust the OSD setting. |
|
|
| Press to synchronize the projector to the input |
|
|
| source. Auto Adjust does not operate if the on- |
|
|
| screen display (OSD) is displayed. |
|
|
| |
6 | IR Receiver | Point the remote control towards the IR receiver | |
|
|
| and press a button. |
|
|
|
|
7 | Down | / Keystone | Press to select the OSD items. |
| adjustment | Press to adjust image distortion caused by tilting | |
|
|
| |
|
|
| the projector. |
|
|
|
|
8 | Menu |
| Press to activate the OSD. Use the directional |
|
|
| keys and the Menu button to navigate through |
|
|
| the OSD. |
|
|
|
|
9 | Left | / Source | Press to adjust the OSD setting. |
|
|
| Press to toggle through Digital RGB, Analog |
|
|
| RGB, Composite, Component (YPbPr via VGA), |
|
|
| and |
|
|
| connected to the projector. |
|
|
|
|
10 | Enter |
| Press to confirm the selection item. |
|
|
|
|
20
Using Your Projector
