1screws (4)
2power supply
5.Remove the power supply from the computer.
Replacing the Power Supply
1.Slide the power supply into place.
2.Replace the four screws that secure the power supply to the back of the computer.
3.Reinstall the fan assembly.
4.Reconnect the DC power cables to the drives and system board.
5.Replace the computer cover.
6.Connect the AC power cable to the AC power connector on the back of the power supply.
NOTICE: To connect a network cable, first plug the cable into the network wall jack and then plug it into the computer.
7.Connect your computer and devices to electrical outlets, and turn them on.
DC Power Connectors
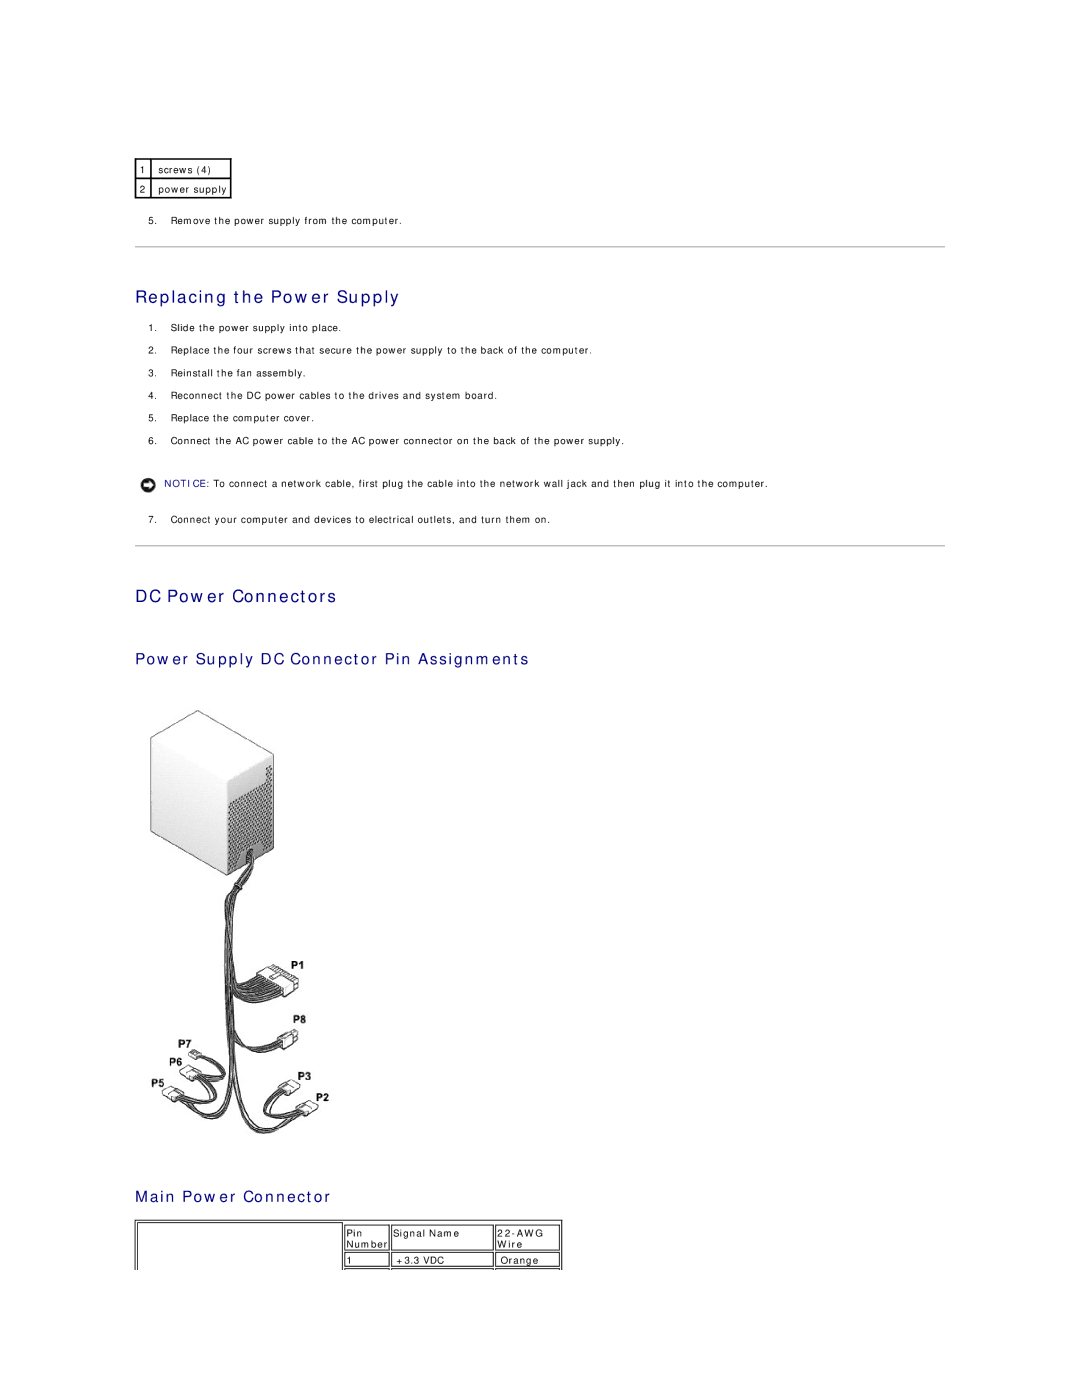
Power Supply DC Connector Pin Assignments
Main Power Connector
|
|
|
| Pin | Signal Name |
| Number |
|
|
|
|
| 1 | +3.3 VDC |
|
|
|
22-AWG Wire
![]()
![]() Orange
Orange