3000i specifications
The Dell 3000i is a powerful and versatile storage solution designed to meet the needs of modern businesses. Known for its flexibility and efficiency, this entry-level storage array offers a range of features that cater to small to medium enterprises and branch offices, providing them with reliable, scalable, and high-performance data management capabilities.One of the standout features of the Dell 3000i is its impressive performance. It is powered by Dell's proprietary technology, enabling it to handle various workloads with ease. With support for both block and file storage, the 3000i allows organizations to streamline their data operations and optimize their storage strategies. This flexibility means that regardless of the specific requirements, users can manage their data efficiently and effectively.
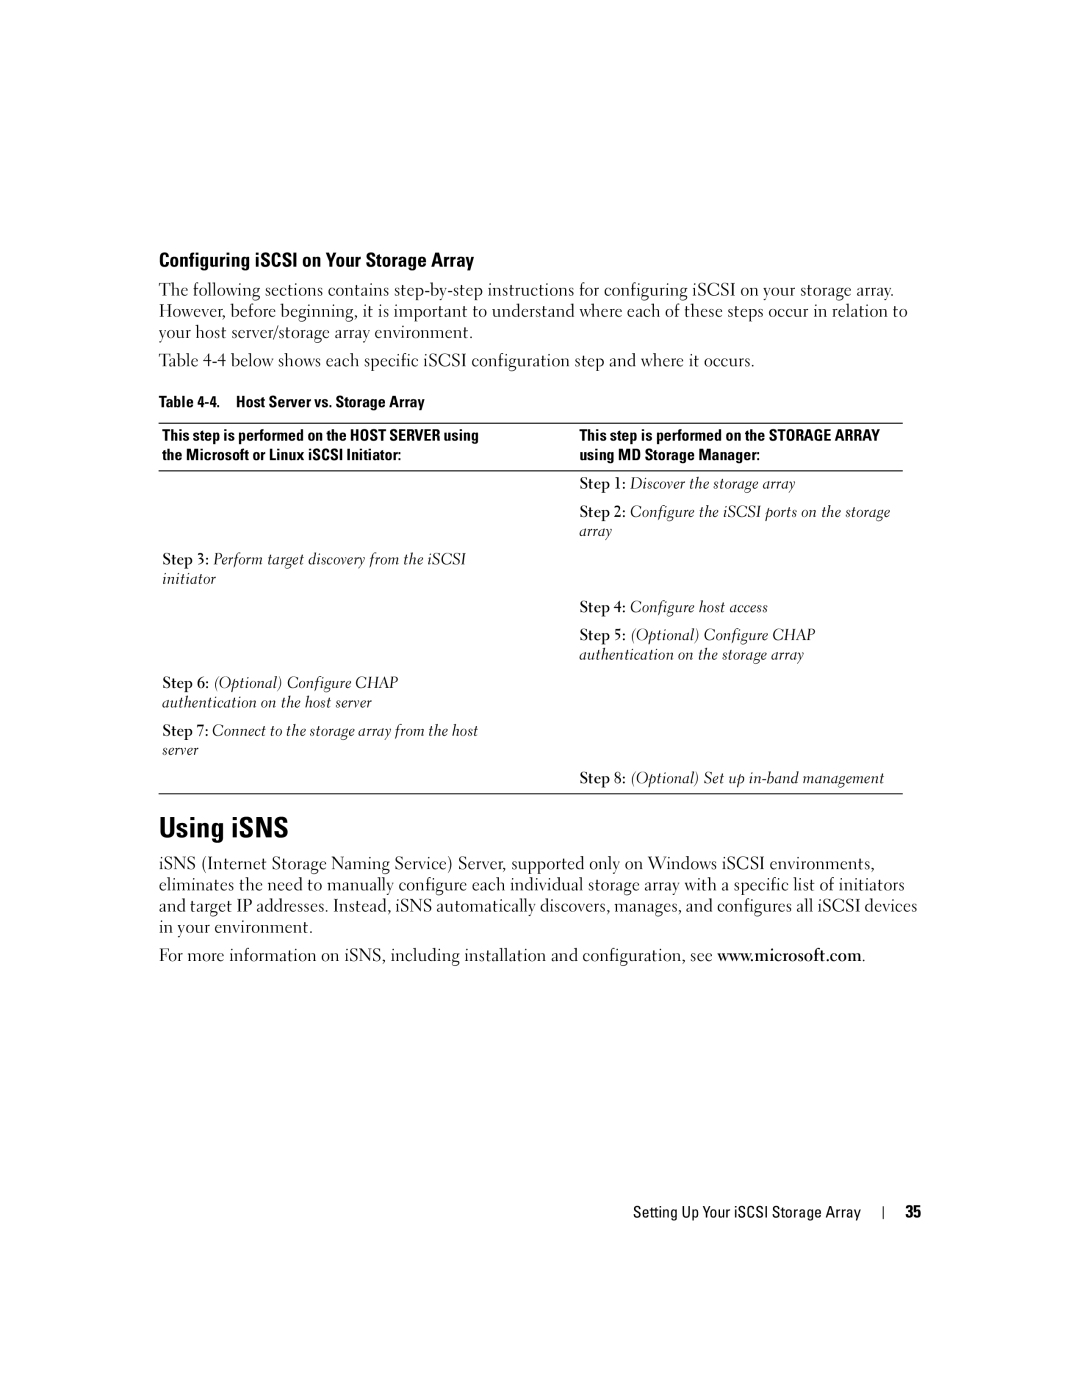
The Dell 3000i supports multiple connectivity options, including iSCSI and Fibre Channel, ensuring that it can be integrated seamlessly into existing IT environments. This versatility allows organizations to leverage their current infrastructure while capitalizing on the advanced capabilities of the 3000i. Additionally, it features a modular architecture, enabling users to scale their storage incrementally as their needs grow. This means businesses can start with a small footprint and expand their storage capacity without any disruption.
Data protection is a critical concern for all organizations, and the Dell 3000i addresses this with advanced RAID configurations, which safeguard data against hardware failures. Furthermore, it includes features such as snapshots and remote replication, allowing businesses to implement robust disaster recovery solutions. These capabilities ensure that data remains safe and accessible, even in the event of unexpected incidents.
Another notable characteristic of the Dell 3000i is its management interface. The system is equipped with an intuitive and user-friendly management console that simplifies administrative tasks. This console provides real-time insights into performance metrics, storage utilization, and system health, enabling IT administrators to make informed decisions quickly.
In conclusion, the Dell 3000i stands out as a reliable and efficient storage solution for organizations seeking to enhance their operational capabilities. With its high performance, flexibility, and robust data protection features, it effectively supports the growing data demands of today’s digital landscape. Businesses looking for a storage system that can evolve with their needs will find the Dell 3000i to be a compelling choice, combining advanced technology with user-friendly management for optimal data handling.

