4300 specifications
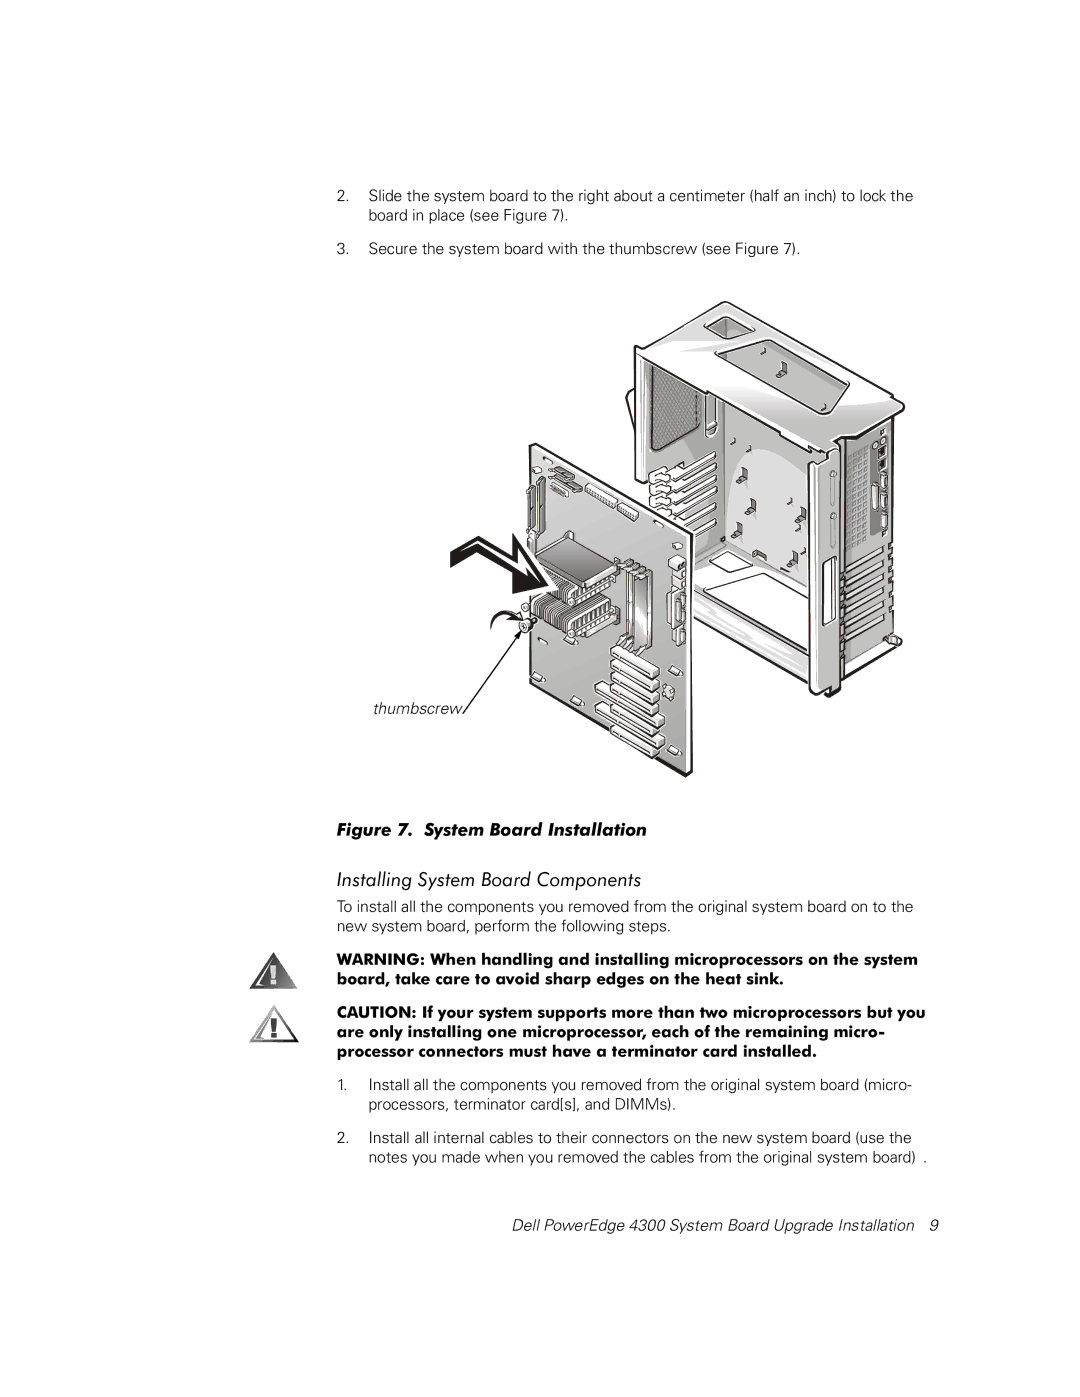
The Dell 4300 Series, renowned for its reliability and versatility, stands out as a solid choice for both personal and professional users. This series has garnered attention for its combination of performance, design, and advanced features, making it a well-rounded option in the world of desktop computing.One of the primary characteristics of the Dell 4300 is its robust performance capabilities. Equipped with Intel processors, this desktop series ensures smooth multitasking and efficient handling of demanding applications. The models within this series typically support a range of Intel processor options, allowing users to choose a configuration that best suits their needs, whether for everyday tasks or more intensive workloads.
In terms of design, the Dell 4300 showcases a compact and sleek profile, making it a perfect fit for various office environments and home setups. The efficient use of space enhances portability without compromising on performance, making it ideal for users who may need to relocate their workstations frequently.
The Dell 4300 incorporates advanced technologies that enhance overall functionality. With memory options often reaching up to 8GB or higher, users can experience improved speed and responsiveness, whether running applications, browsing, or gaming. Additionally, the series features a variety of storage options, including traditional hard disk drives (HDD) and solid-state drives (SSD), ensuring ample space for files and quick access times.
Connectivity is another strong point of the Dell 4300. Equipped with multiple USB ports, HDMI, and Ethernet options, users can easily connect a wide variety of peripherals and access the internet with ease. This connectivity allows for adaptability to different work scenarios and setups.
Moreover, Dell has prioritized energy efficiency in the design of the 4300 series. Many models come with ENERGY STAR certification, ensuring that not only do they minimize power consumption, but they also promote environmental responsibility.
The Dell 4300 series also benefits from Dell's reliable customer support and warranty options. Users can rest easy knowing that they have access to comprehensive service options should any issues arise.
In conclusion, the Dell 4300 stands as a prime choice for users seeking a dependable, feature-rich desktop. With its blend of performance, thoughtful design, advanced technologies, and strong customer support, it remains a compelling option for anyone in need of a capable computing solution.

