
PP09S, D430 specifications
The Dell D430, also known as the Dell Latitude D430, is a compact and portable laptop that was designed to cater to the needs of mobile professionals. Released as part of Dell's Latitude series, the D430 balances performance, durability, and lightweight construction, making it a reliable choice for professionals on the go.One of the standout features of the Dell D430 is its size and weight. Weighing in at approximately 3.2 pounds and measuring just over one inch in thickness, the D430 is one of the more portable laptops of its time. This lightweight design allows users to easily slip the laptop into a backpack or briefcase without adding significant bulk, while still providing a sturdy build quality that is characteristic of Dell's Latitude line.
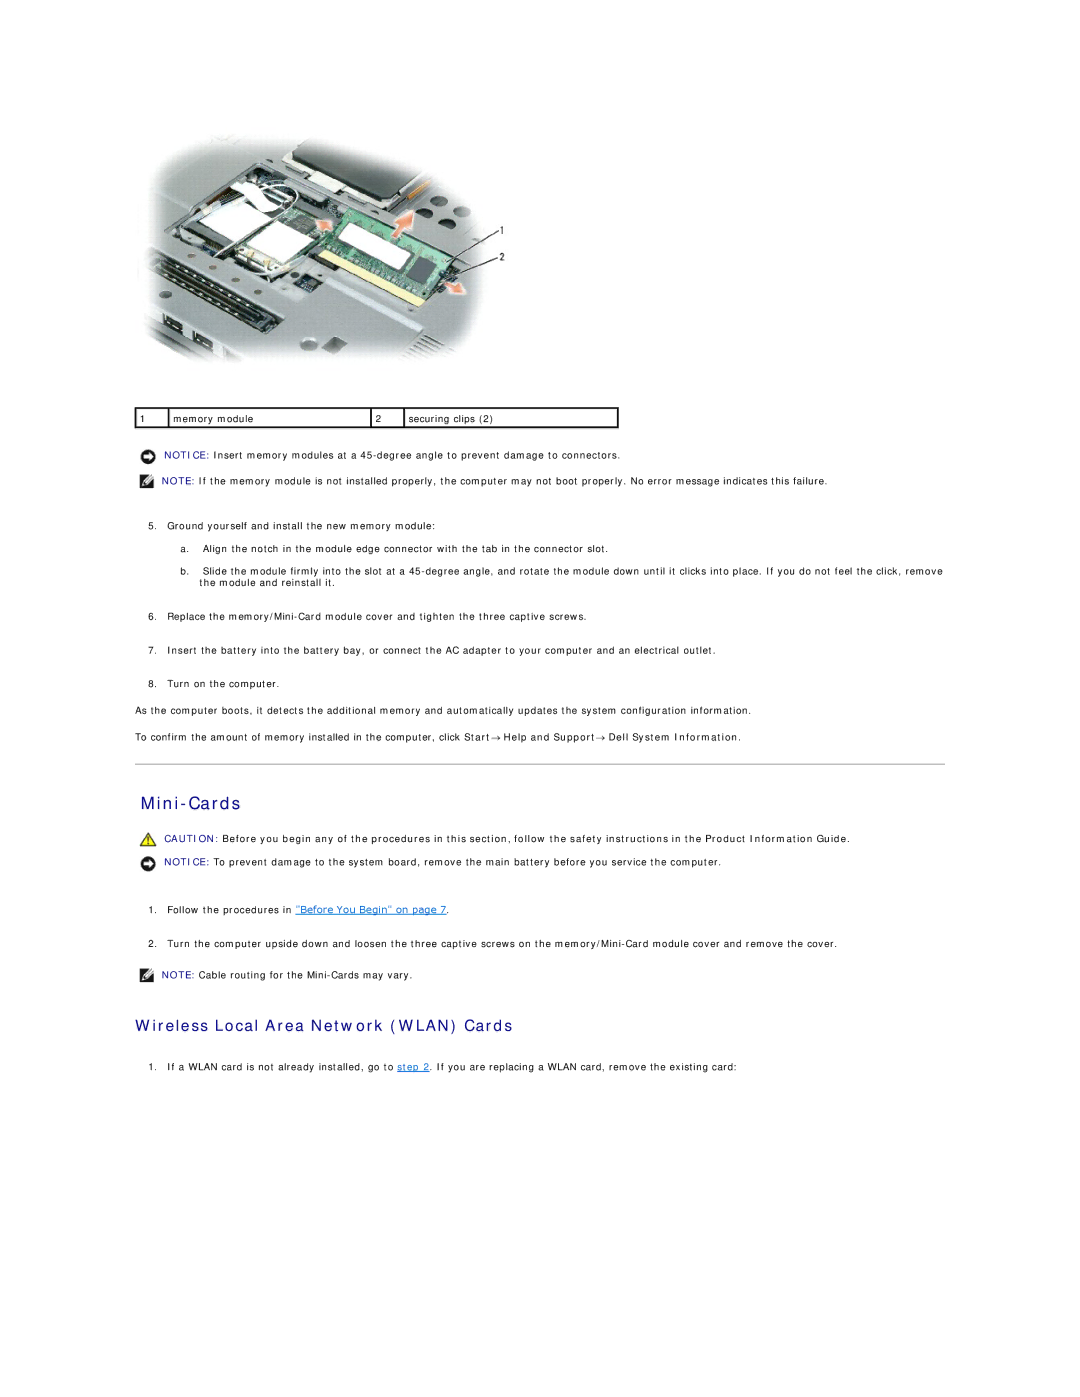
Performance-wise, the Dell D430 is equipped with Intel Core 2 Duo processors, which offer a good balance of power and energy efficiency for everyday tasks such as web browsing, document editing, and light multitasking. It typically comes with 2GB of RAM, which can be upgraded to 4GB for enhanced performance when running more demanding applications. The laptop features a 12.1-inch display, which, while smaller than typical laptop screens, maintains a resolution of 1280x800 pixels, providing clear visuals suitable for presentations and media consumption.
In terms of connectivity, the D430 offers a variety of ports and wireless options, making it versatile for different business needs. Equipped with USB 2.0 ports, a VGA output for connecting to external displays, and an RJ-45 Ethernet port, the D430 provides ample connectivity for peripherals and networking. Additionally, the built-in Wi-Fi capability ensures users can stay connected to the internet wherever they go.
Another notable aspect of the Dell D430 is its security features, which are crucial for business professionals. The laptop supports optional fingerprint readers and smart card readers, adding an extra layer of security for sensitive data. Moreover, features such as TPM (Trusted Platform Module) enhance the laptop's data protection and help safeguard users' information against unauthorized access.
Battery life is also a key characteristic of the D430, with options for extended batteries that allow for longer periods of use without needing to recharge. This makes it particularly appealing for professionals who may be out of the office for extended periods.
In conclusion, the Dell D430 combines portability, performance, and security, making it a suitable choice for mobile professionals seeking a reliable laptop for their everyday business needs. Its blend of compact design, solid performance specifications, and essential connectivity options showcase why it remains a respected member of Dell's Latitude series.