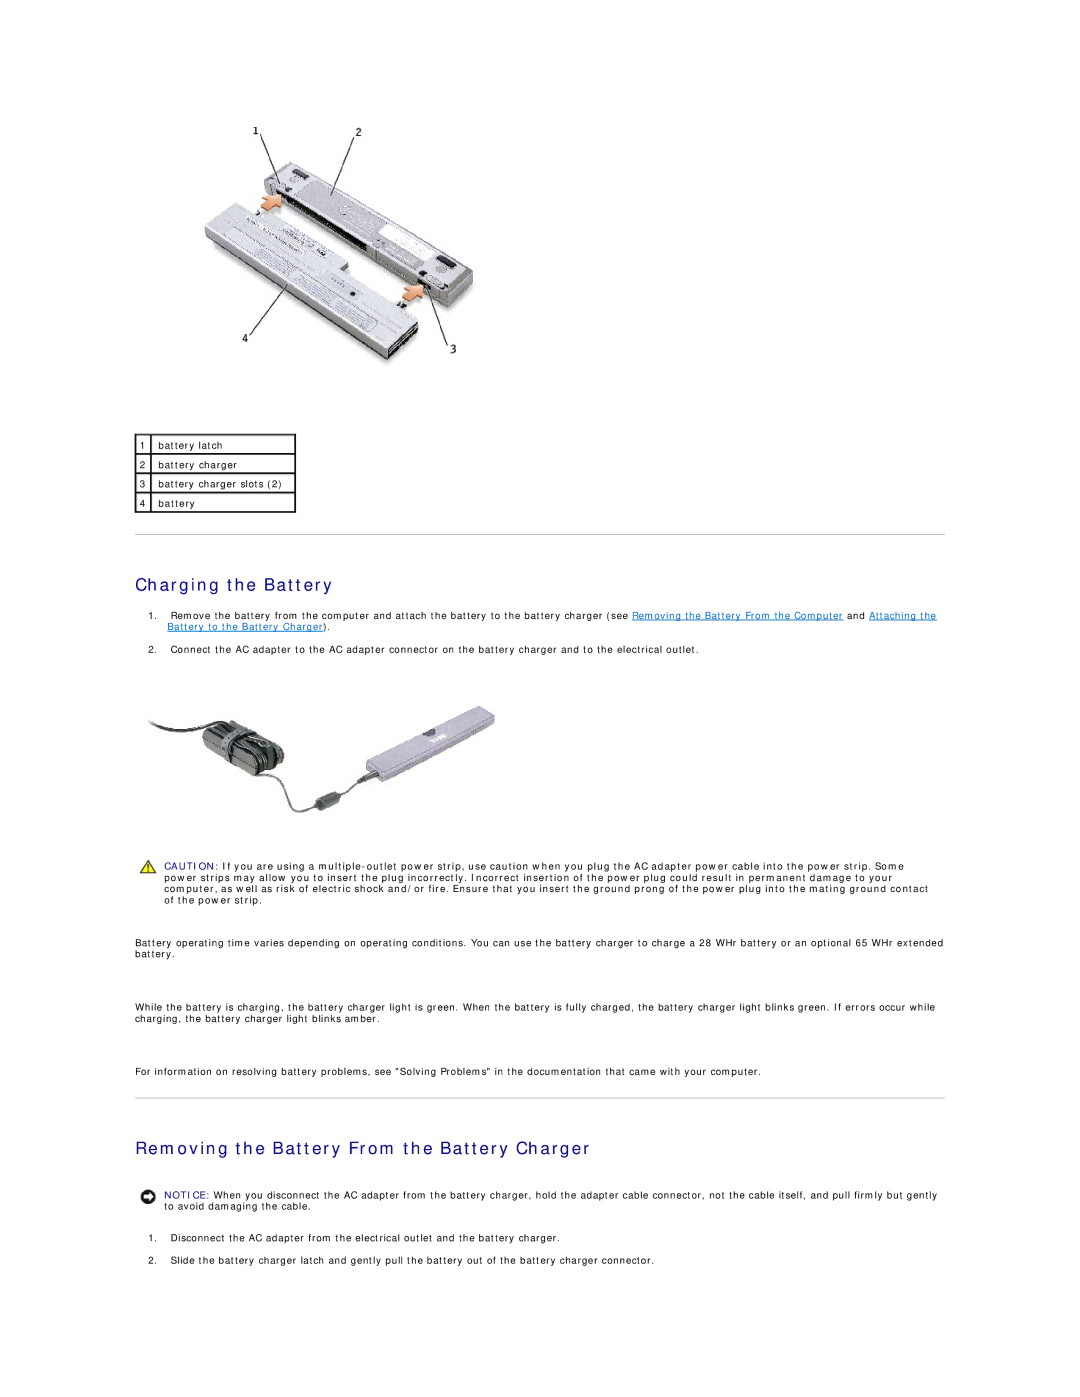
1battery latch
2battery charger
3battery charger slots (2)
4battery
Charging the Battery
1.Remove the battery from the computer and attach the battery to the battery charger (see Removing the Battery From the Computer and Attaching the Battery to the Battery Charger).
2.Connect the AC adapter to the AC adapter connector on the battery charger and to the electrical outlet.
CAUTION: If you are using a
Battery operating time varies depending on operating conditions. You can use the battery charger to charge a 28 WHr battery or an optional 65 WHr extended battery.
While the battery is charging, the battery charger light is green. When the battery is fully charged, the battery charger light blinks green. If errors occur while charging, the battery charger light blinks amber.
For information on resolving battery problems, see "Solving Problems" in the documentation that came with your computer.
Removing the Battery From the Battery Charger
NOTICE: When you disconnect the AC adapter from the battery charger, hold the adapter cable connector, not the cable itself, and pull firmly but gently to avoid damaging the cable.
1.Disconnect the AC adapter from the electrical outlet and the battery charger.
2.Slide the battery charger latch and gently pull the battery out of the battery charger connector.