OWNER’S MANUAL

CHECKING GAS CONNECTIONS

WARNING: Test all gas pip- ing and connections for leaks after installing or servicing. Cor- rect all leaks at once.

WARNING: Never use an open flame to check for a leak. Apply a mixture of liquid soap and water to all joints. Bubbles forming show a leak. Correct all leaks at once.

PRESSURE TESTING GAS SUPPLY PIPING SYSTEM

Test Pressures In Excess Of 1/2

PSIG

1.Disconnect heater and its individual manual shutoff valve from gas supply piping system. Pressures in excess of 1/2 psig will damage heater regulator.

2.Cap off open end of gas pipe where manual shutoff valve was connected.

3.Pressurize supply piping system by ei- ther using compressed air or opening main gas valve located on or near gas meter.

4.Check all joints of gas supply piping system. Apply mixture of liquid soap and water to gas joints. Bubbles form- ing show a leak.

5.Correct all leaks at once.

Test Pressures Equal To or Less Than 1/2 PSIG

1.

Close manual shutoff valve (see Fig-


ure 13).

2.

Pressurize supply piping system by ei-


ther using compressed air or opening


main gas valve located on or near gas


meter.

3.

Check all joints from gas meter to


manual shutoff valve (see Figure 14).

PRESSURE TESTING

HEATER GAS

CONNECTIONS

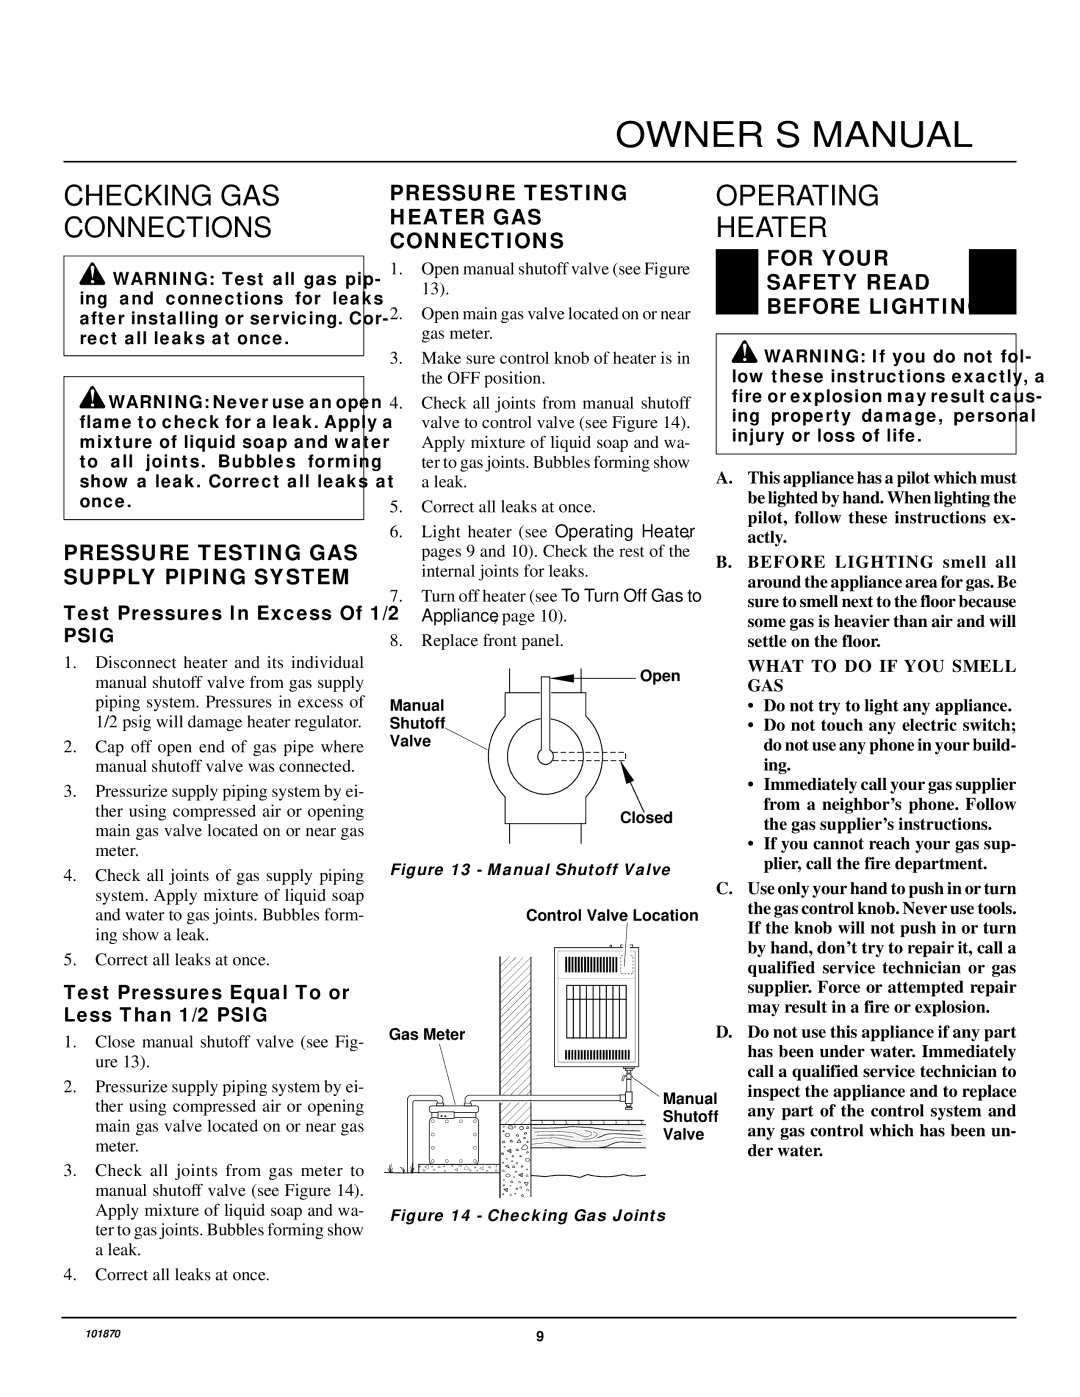
1.Open manual shutoff valve (see Figure 13).

2.Open main gas valve located on or near gas meter.

3.Make sure control knob of heater is in the OFF position.

4.Check all joints from manual shutoff valve to control valve (see Figure 14). Apply mixture of liquid soap and wa- ter to gas joints. Bubbles forming show a leak.

5.Correct all leaks at once.

6.Light heater (see Operating Heater, pages 9 and 10). Check the rest of the internal joints for leaks.

7.Turn off heater (see To Turn Off Gas to Appliance, page 10).

8.Replace front panel.

Open

Manual

Shutoff

Valve

Closed

Figure 13 - Manual Shutoff Valve

Control Valve Location

Gas Meter

Manual

Shutoff

Valve

OPERATING

HEATER

FOR YOUR

SAFETY READ

BEFORE LIGHTING

WARNING: If you do not fol- low these instructions exactly, a fire or explosion may result caus- ing property damage, personal injury or loss of life.

A.This appliance has a pilot which must be lighted by hand. When lighting the pilot, follow these instructions ex- actly.

B.BEFORE LIGHTING smell all around the appliance area for gas. Be sure to smell next to the floor because some gas is heavier than air and will settle on the floor.

WHAT TO DO IF YOU SMELL GAS

Do not try to light any appliance.

Do not touch any electric switch; do not use any phone in your build- ing.

Immediately call your gas supplier from a neighbor’s phone. Follow the gas supplier’s instructions.

If you cannot reach your gas sup- plier, call the fire department.

C.Use only your hand to push in or turn the gas control knob. Never use tools. If the knob will not push in or turn by hand, don’t try to repair it, call a qualified service technician or gas supplier. Force or attempted repair may result in a fire or explosion.

D.Do not use this appliance if any part has been under water. Immediately call a qualified service technician to inspect the appliance and to replace any part of the control system and any gas control which has been un- der water.

Apply mixture of liquid soap and wa-

ter to gas joints. Bubbles forming show

a leak.

4. Correct all leaks at once.

Figure 14 - Checking Gas Joints

101870

9

Page 9
Image 9
Desa CGN6, CGN10A installation manual Checking GAS Connections, Operating Heater, Pressure Testing GAS Supply Piping System

CGN6, CGN10A specifications

Desa CGN10A and CGN6 are two innovative models in the Desa line of heating appliances, combining cutting-edge technology with user-friendly features designed to enhance the heating experience in a variety of settings. These appliances are particularly noted for their versatility and efficiency, making them suitable for both residential and commercial applications.

The Desa CGN10A stands out with its impressive heating capacity, providing an excellent solution for larger spaces. It is engineered with advanced venting technology that ensures optimal airflow, allowing the unit to quickly and evenly distribute heat throughout the room. This model features an adjustable thermostat and fan settings, enabling users to customize their heating experience according to their specific needs. The eco-friendly design reduces energy consumption while maintaining superior performance, making it a smart choice for environmentally conscious consumers.

On the other hand, the Desa CGN6 is perfect for smaller areas or more limited spaces. Despite its compact size, it does not compromise on heating power or efficiency. This model utilizes a highly efficient combustion system that maximizes fuel usage, translating into lower operational costs for users. Additionally, its lightweight and portable design makes it suitable for various settings, whether it's in a workshop, garage, or even outdoor gatherings.

Both models are equipped with safety features that ensure peace of mind during operation. They include automatic shut-off functions and safety sensors that detect issues such as overheating or improper venting. Furthermore, the appliances are designed with user accessibility in mind, featuring intuitive controls and easy-to-read displays that simplify the operating process.

In terms of aesthetics, both the CGN10A and CGN6 boast sleek designs that can seamlessly integrate into a range of interior styles. The durable construction ensures longevity, making these models a reliable investment for years to come.

In conclusion, Desa CGN10A and CGN6 models exemplify the perfect blend of efficiency, technology, and design. With their responsive heating capabilities, user-friendly features, and emphasis on safety, they stand out as leaders in the heating appliance market, catering to diverse user needs while prioritizing sustainability.