V42N-A, VV42NB(1), CHDV42NR-B, VV42PB(1), V42P-A specifications
Desa VV42PB(1), CHDV42NR-B, V42P-A, VV42NB(1), and V42N-A are a collection of innovative heating solutions designed to offer efficient and reliable warmth for various residential and commercial settings. These models represent the advancements in gas fireplace technology, focusing on enhanced performance, energy efficiency, and user-friendly features.The Desa VV42PB(1) is a prominent model in this lineup, known for its powerful heat output and elegant design. It boasts a large viewing area, allowing the mesmerizing flames to be the focal point of any room. With its adjustable thermostat, users can easily control the temperature, ensuring comfort while optimizing fuel usage.
The CHDV42NR-B model incorporates advanced features such as a remote control for convenient operation and programmable settings that cater to individual heating needs. This model is engineered with a high-efficiency burner system, which maximizes heat while minimizing gas consumption. Its varied flame heights and dancing flames add a dynamic aesthetic touch, making it a stylish addition to any interior.
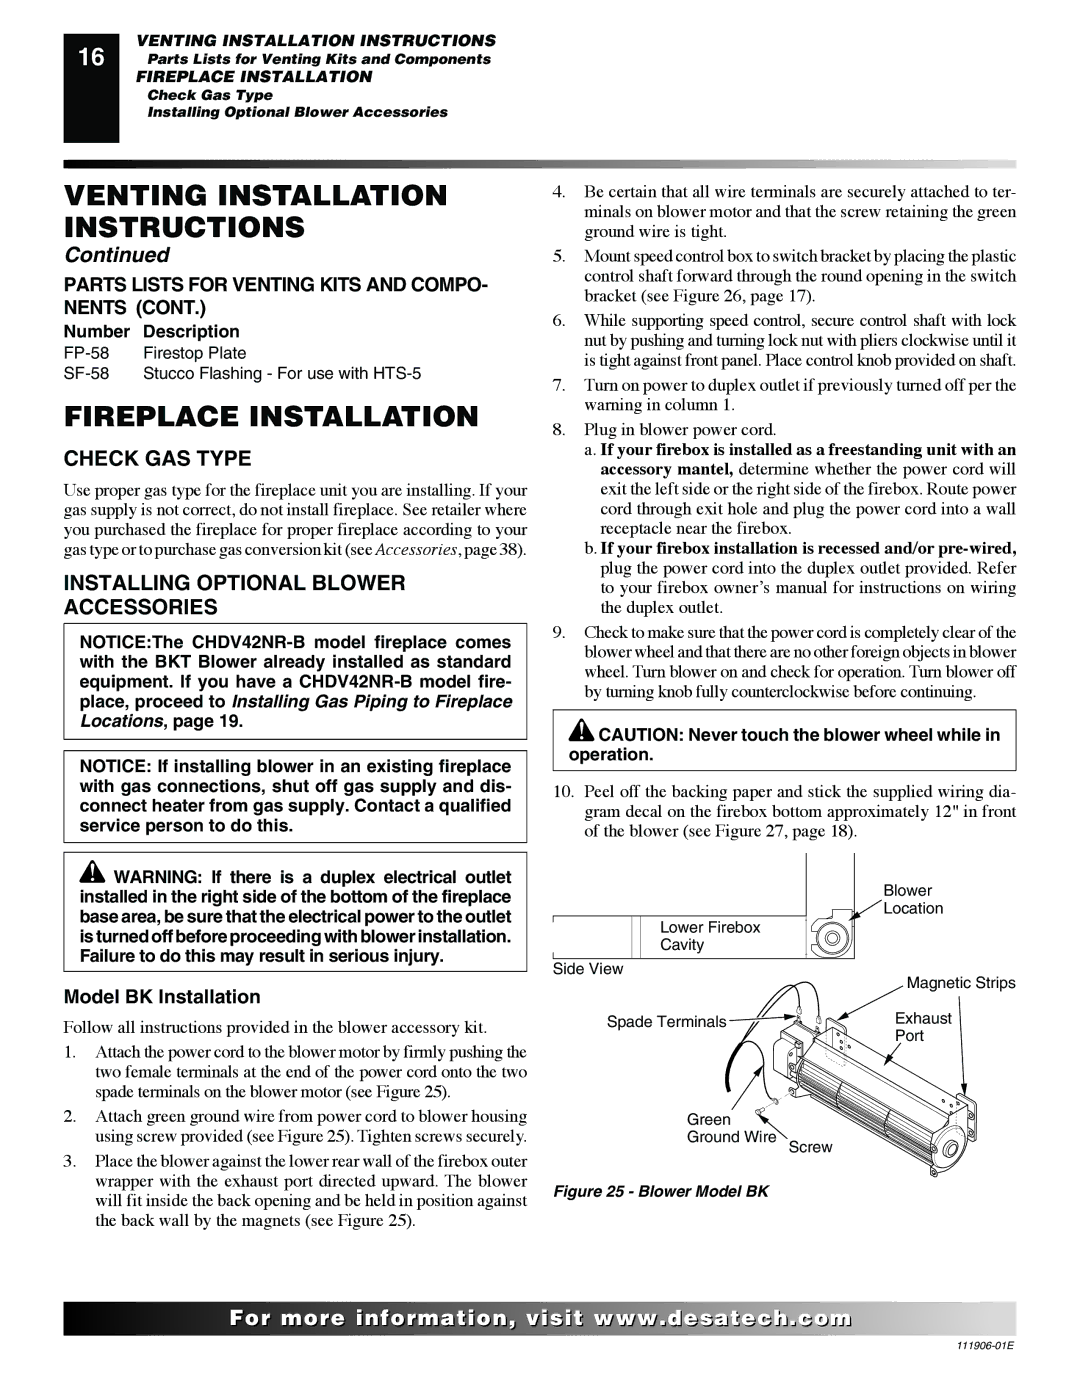
The V42P-A stands out for its sleek, contemporary design and user-centric functionality. It features a built-in blower system that enhances heat distribution throughout the space, ensuring consistent warmth even in larger areas. Additionally, this model is designed for easy installation with flexible venting options, making it a practical choice for many homeowners.
VV42NB(1) excels in energy efficiency, boasting a notable efficiency rating that translates to lower utility bills for users. Its dual fuel capability allows for versatile fuel choices, giving homeowners the flexibility to switch between natural gas and propane. This adaptability makes it a favorite among those looking to optimize their heating solutions for cost-effectiveness.
Finally, the V42N-A model is characterized by its robust construction and long-lasting durability, ensuring that users receive reliable heating for years to come. This model incorporates user-friendly controls, making it easy for anyone to operate, regardless of their experience with gas fireplace models.
In conclusion, the Desa VV42PB(1), CHDV42NR-B, V42P-A, VV42NB(1), and V42N-A models exemplify the pinnacle of modern heating technology. With their striking designs, efficient heating capabilities, and practical features, they provide homeowners and businesses with comfortable, stylish, and cost-effective heating solutions for any environment.

