
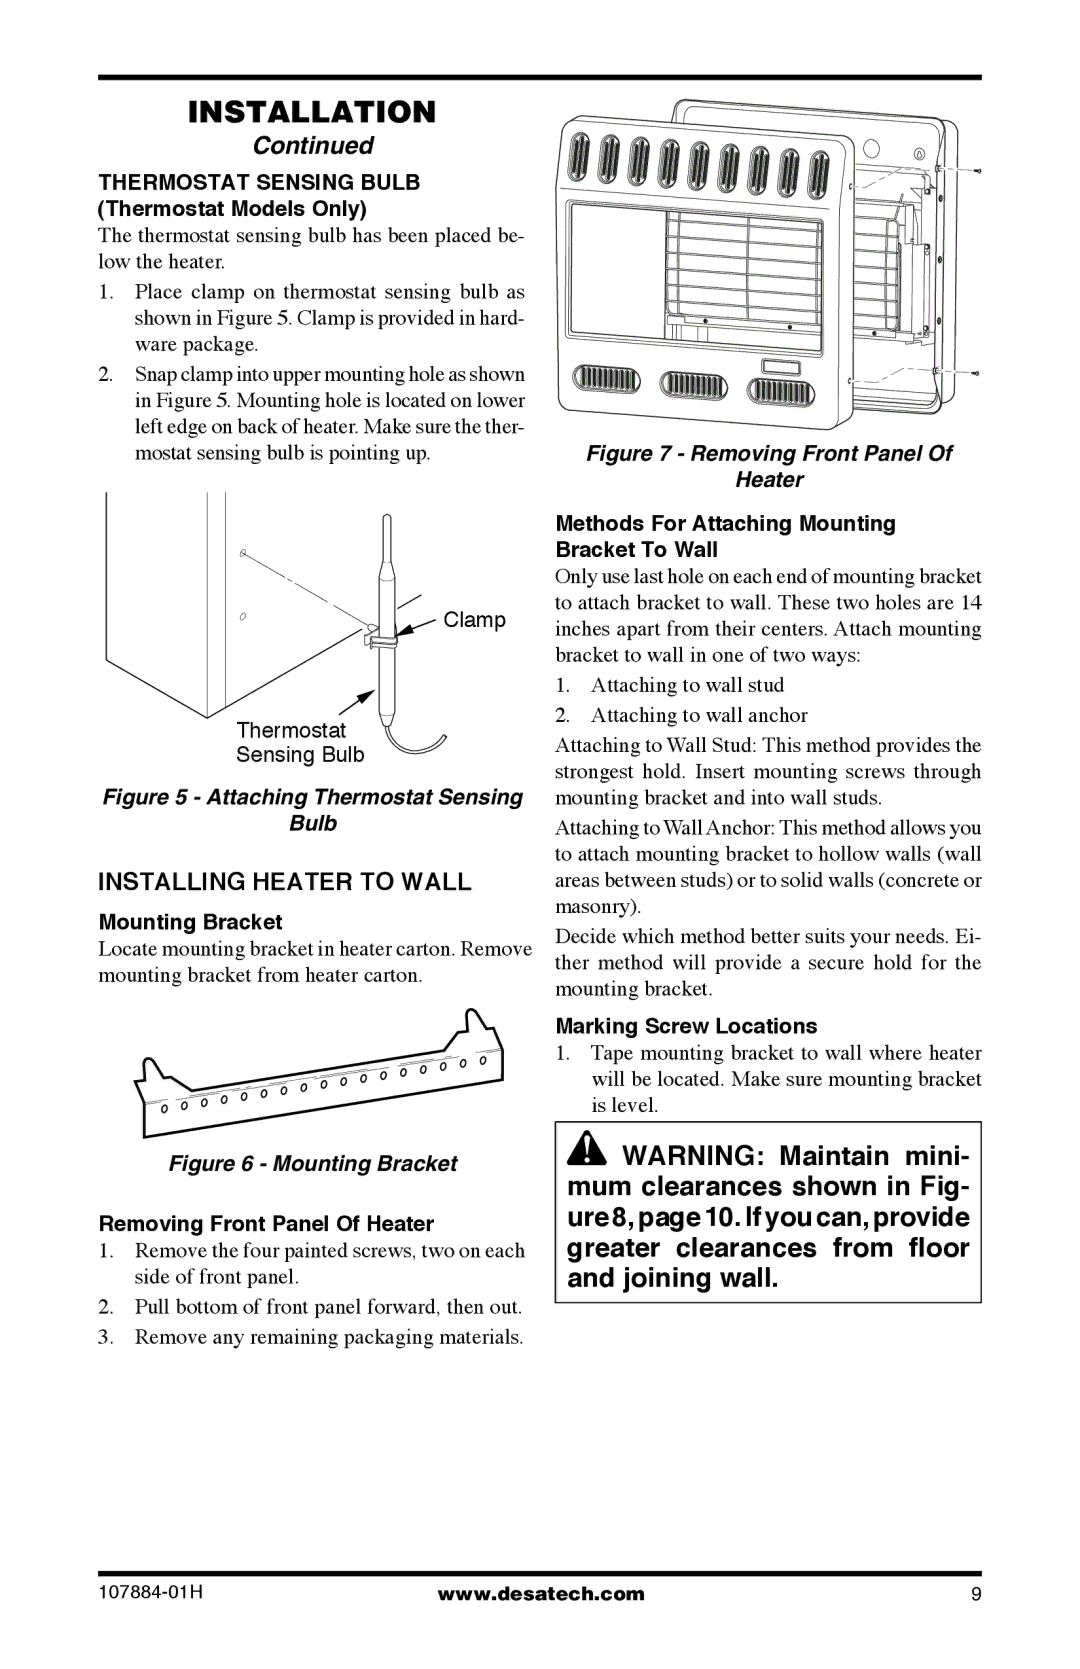
GP30, GWN20T, GWN30T, GWN20, GWP20 specifications
Desa GWP20, GWP30T, GP30T, GN30T, and GP30 are advanced water heater models that stand out in the market for their efficiency, innovative technology, and user-friendly features. Each model is designed to cater to different consumer needs, offering reliable hot water solutions for residential and commercial applications.The Desa GWP20 is a compact and efficient water heater that operates on a 20-gallon tank. Ideal for smaller households, it boasts fast heating capabilities and a durable construction that ensures longevity. Its user-friendly control panel allows for easy temperature adjustments, and its energy-saving mode helps reduce utility costs.
Moving up in capacity, the GWP30T features a 30-gallon tank, making it suitable for medium-sized households. This model incorporates a high-efficiency burner that maximizes heat output while minimizing gas consumption. With an upgraded insulation system, the GWP30T retains heat for longer periods, enhancing energy efficiency. The built-in diagnostics monitor performance, ensuring consistent operation and alerting users to any potential issues.
The GP30T is another 30-gallon model that emphasizes flexible installation options. It can be configured for various venting systems, making it adaptable for different home layouts. Its robust safety features, such as an automatic shut-off system, provide peace of mind for users. Additionally, the GP30T is equipped with a flame sensor for improved safety during operation.
For those seeking an efficient gas-powered unit, the GN30T delivers exceptional performance with a 30-gallon capacity. This model is designed to withstand the demands of larger households, featuring rapid recovery rates to provide a continuous supply of hot water. It utilizes advanced combustion technology that ensures efficient gas usage, striking the perfect balance between performance and energy costs.
Finally, the GP30 is a versatile water heater designed to meet diverse consumer needs. With a focus on sustainability, this model incorporates eco-friendly materials and technologies. The GP30 is packed with features that enhance its usability, such as customizable temperature settings, easy-to-read indicators, and a straightforward installation process.
In summary, Desa's GWP20, GWP30T, GP30T, GN30T, and GP30 water heaters are engineered for efficiency and reliability. Each model offers unique features tailored to specific user needs, from compact designs for smaller spaces to powerful systems for larger families. With an emphasis on modern technology and safety, Desa continues to be a leader in the water heating market.