OPERATION
TO START AND STOP SANDER
Make certain the switch is in the “OFF” position, and the power source is the same as that specified on the tool’s nameplate.
1. | Connect the sander to the power |
|
|
|
|
|
|
| source. |
|
|
|
|
|
|
2. | Lift sander off the work and hold it |
|
|
|
|
|
|
| firmly when switching the motor |
|
|
|
|
|
|
| “ON” and “OFF”. |
|
|
|
|
|
|
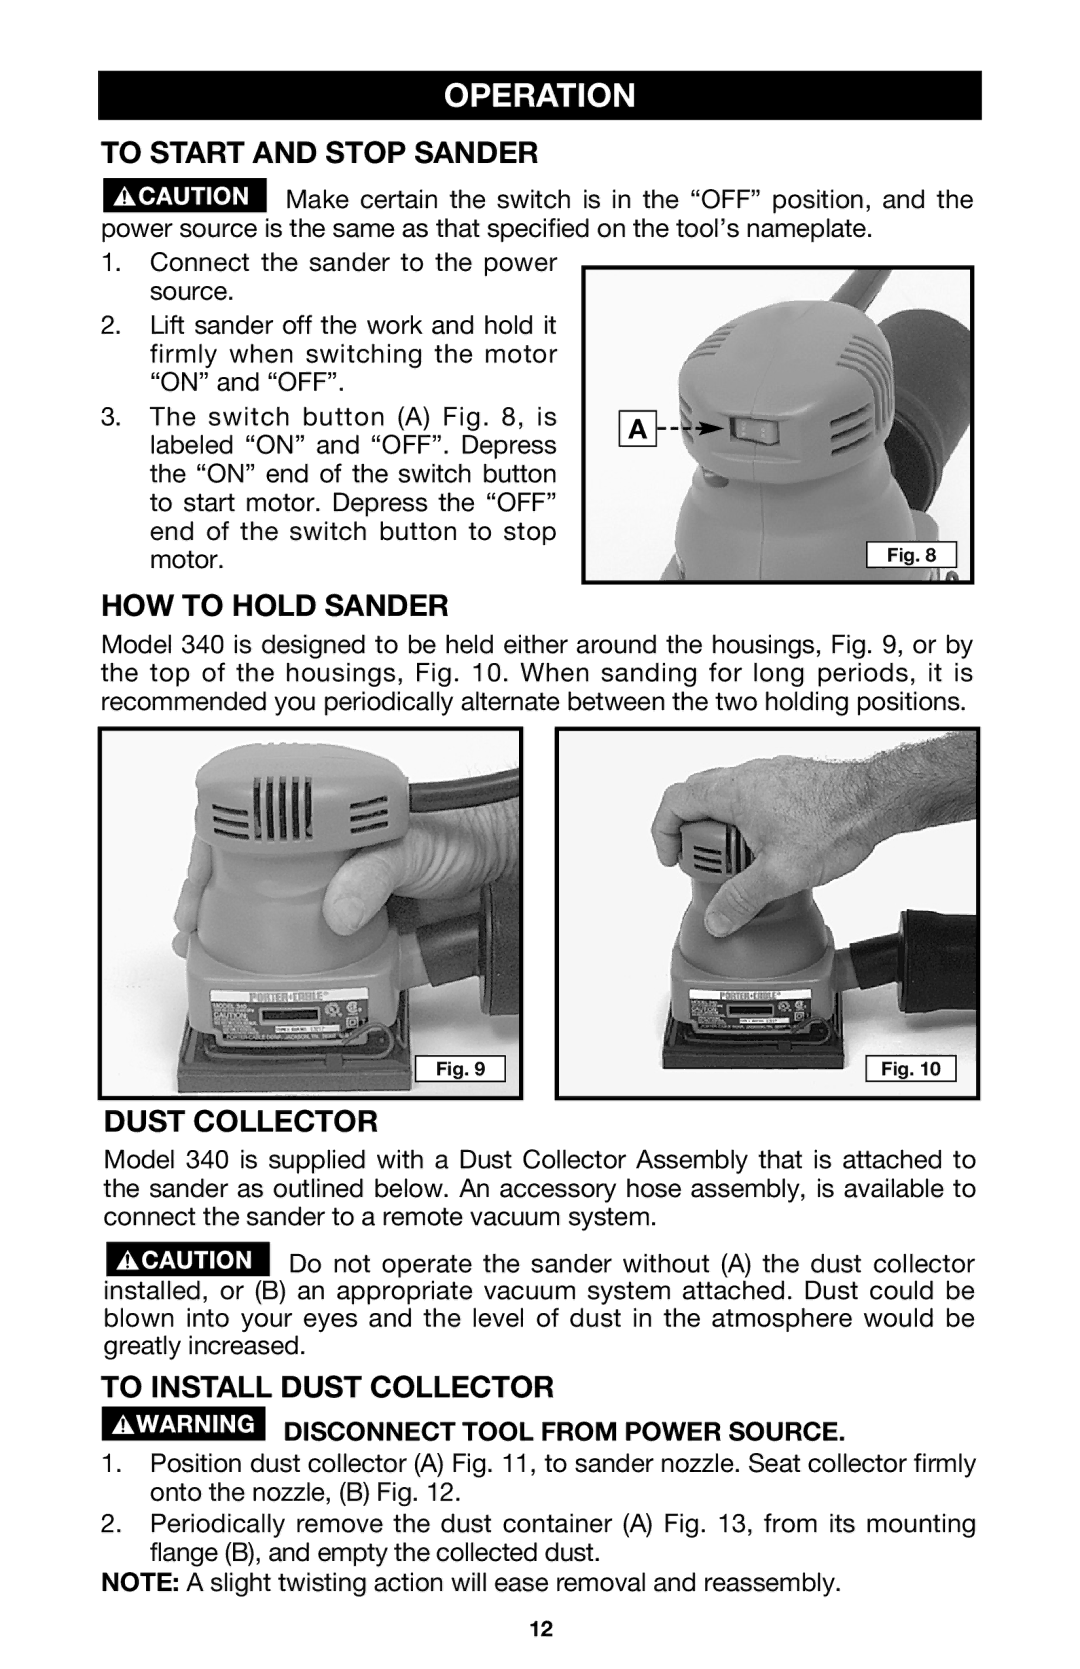
3. | The switch button (A) Fig. 8, is |
|
|
|
|
|
|
| A |
|
|
|
| ||
| labeled “ON” and “OFF”. Depress |
|
|
|
|
| |
|
|
|
|
|
|
| |
| the “ON” end of the switch button |
|
|
|
|
|
|
| to start motor. Depress the “OFF” |
|
|
|
|
|
|
| end of the switch button to stop |
|
|
|
|
|
|
| motor. |
|
|
|
| Fig. 8 |
|
|
|
|
|
|
|
| |
|
|
|
|
|
|
|
|
HOW TO HOLD SANDER
Model 340 is designed to be held either around the housings, Fig. 9, or by the top of the housings, Fig. 10. When sanding for long periods, it is recommended you periodically alternate between the two holding positions.
Fig. 9
Fig. 10
DUST COLLECTOR
Model 340 is supplied with a Dust Collector Assembly that is attached to the sander as outlined below. An accessory hose assembly, is available to connect the sander to a remote vacuum system.
![]() Do not operate the sander without (A) the dust collector installed, or (B) an appropriate vacuum system attached. Dust could be blown into your eyes and the level of dust in the atmosphere would be greatly increased.
Do not operate the sander without (A) the dust collector installed, or (B) an appropriate vacuum system attached. Dust could be blown into your eyes and the level of dust in the atmosphere would be greatly increased.
TO INSTALL DUST COLLECTOR
DISCONNECT TOOL FROM POWER SOURCE.
1.Position dust collector (A) Fig. 11, to sander nozzle. Seat collector firmly onto the nozzle, (B) Fig. 12.
2.Periodically remove the dust container (A) Fig. 13, from its mounting flange (B), and empty the collected dust.
NOTE: A slight twisting action will ease removal and reassembly.
12