
D21008 specifications
The DeWalt D21008 is a powerful and versatile drill that caters to the needs of both professionals and DIY enthusiasts. This particular model is a 1/2-inch keyless chuck drill, designed to handle a variety of drilling applications with ease. It is particularly favored for its reliable performance, user-friendly design, and robust build, making it an essential tool in any workshop or job site.One of the main features of the D21008 is its high-performance motor, delivering an impressive 550 watts of power. This allows the drill to handle various materials, including wood, metal, and plastic, with efficiency and precision. The motor operates at two speed settings, allowing users to switch between high and low speeds depending on the complexity of the task. The high-speed setting is ideal for drilling pilot holes or working with softer materials, while the lower speed setting provides better torque for tougher materials.
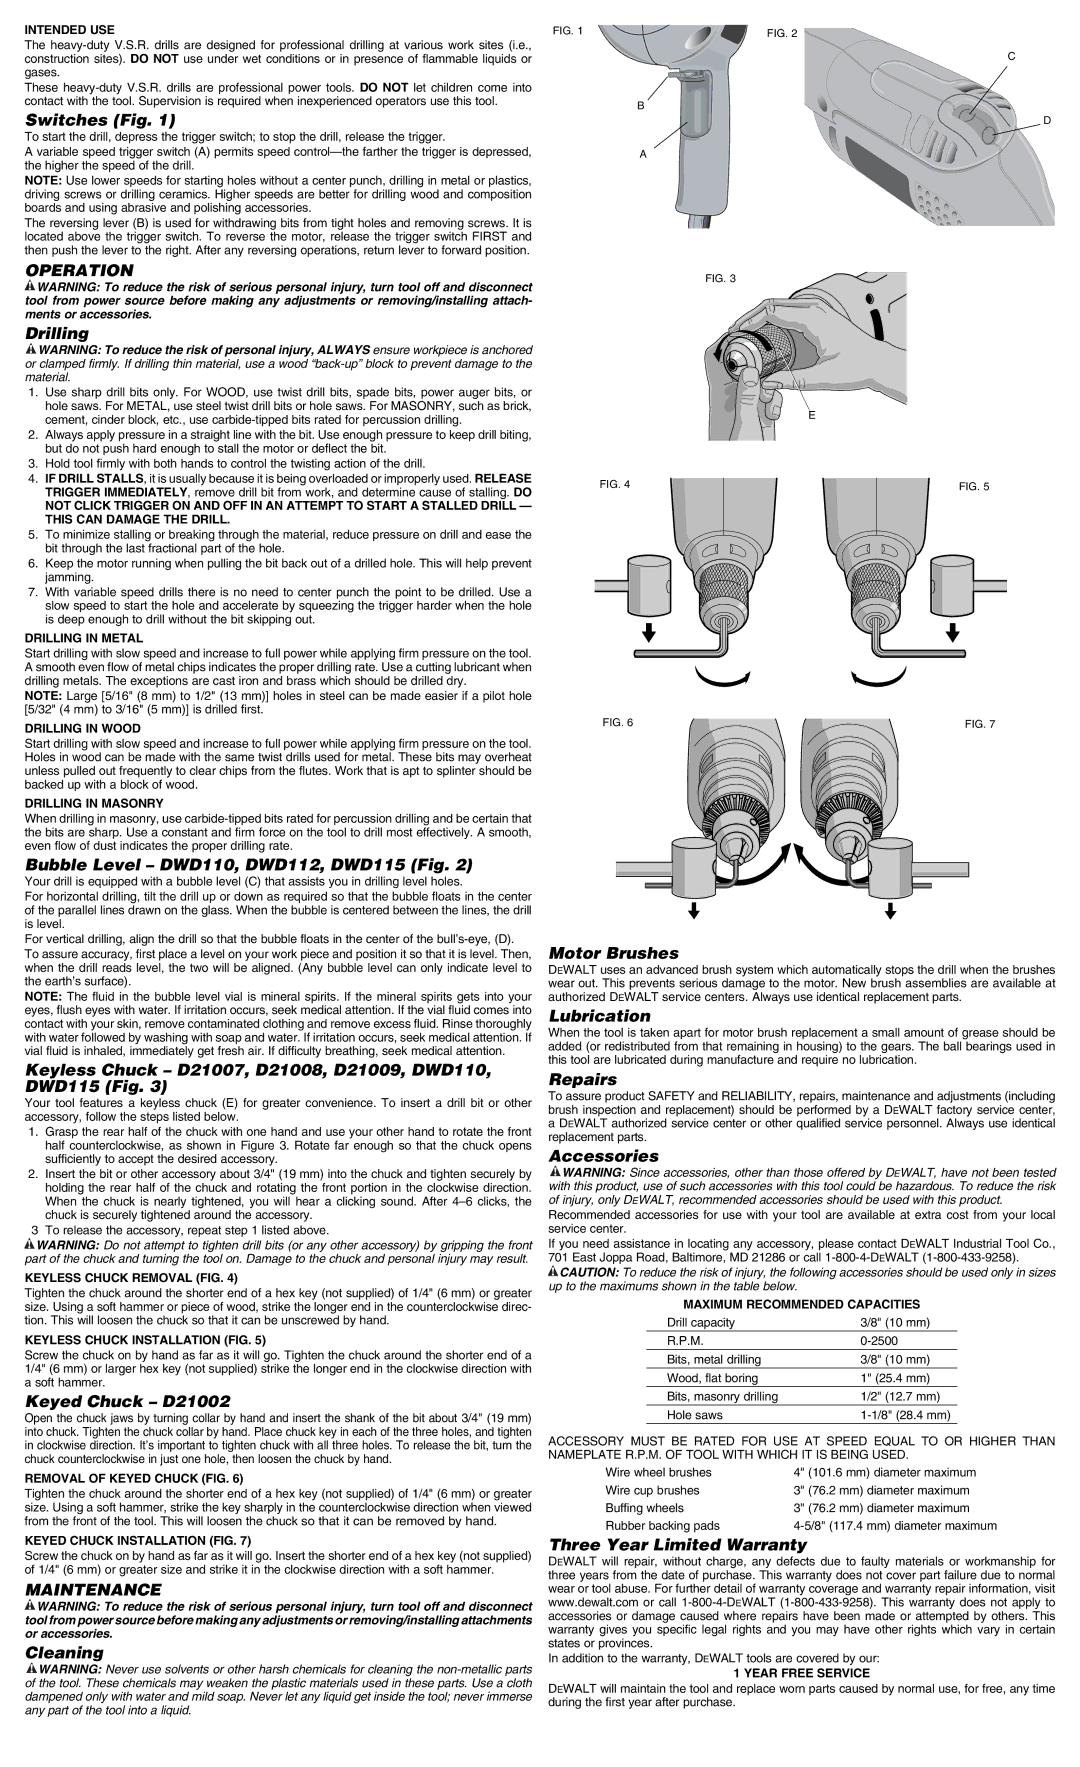
The drill is equipped with a 1/2-inch keyless chuck, which provides quick and easy bit changes. This feature eliminates the need for additional tools, enhancing the drill's usability on the job. The ergonomic design of the D21008 ensures comfort and reduced fatigue during extended use. It includes a soft-grip handle that offers a secure hold, ensuring users maintain control during their drilling tasks.
In terms of technology, the D21008 incorporates a variable speed trigger, enabling precise control over drilling speed. This allows users to adapt their drilling technique and speed according to the application, contributing to improved accuracy and efficiency. The built-in overload protection feature also safeguards the motor from damage during heavy-duty applications, extending the tool's lifespan.
The DeWalt D21008 is designed for durability, built with high-quality materials that can withstand the rigors of everyday use. Its compact and lightweight construction makes it easy to maneuver in tight spaces while providing the power expected from a larger drill. Overall, the DeWalt D21008 is an excellent combination of power, versatility, and user-friendly design, making it a go-to choice for both professionals and hobbyists alike. Whether you're working on renovations, repairs, or new constructions, this drill delivers performance and reliability that you can count on.