tube for leverage, and the lever should leave a clear imprint in the palm of your hand.
!WARNING: Securely clamping the wheel takes considerable force. If you can fully close the quick release without wrapping your fingers around the seatstay
or chainstay for leverage, and the lever does not leave a clear imprint in the palm of your hand, the tension is insufficient. Open the lever; turn the tension adjusting nut clockwise a quarter turn; then try again.
The rear wheel must be secured to the bicycle frame with sufficient force so that it cannot be pulled forward by the chain, even under the greatest pedaling force. If the wheel moves under pedaling force, the tire can touch the frame, which can cause you to loose control and fall.
(6)If the lever cannot be pushed all the way to a position parallel to the chainstay or seatstay tube, return the lever to the OPEN position. Then turn the adjusting nut counterclockwise
(7)Push the rear derailleur back into position.
(8)
3.Removing And Installing
a. Removing A
(1)If your bike has rim brakes, disengage the brake’s
(2)Using a correct size wrench, loosen the two axle
nuts.
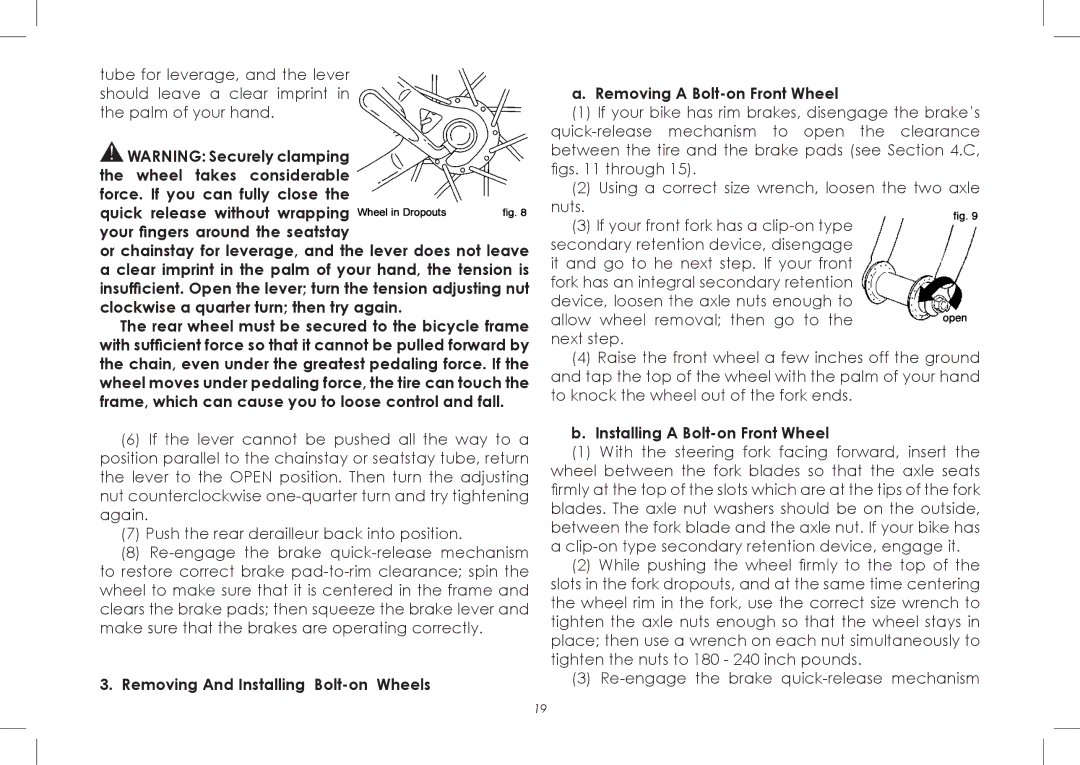
(3)If your front fork has a
secondary retention device, disengage it and go to he next step. If your front fork has an integral secondary retention device, loosen the axle nuts enough to allow wheel removal; then go to the next step.
(4)Raise the front wheel a few inches off the ground and tap the top of the wheel with the palm of your hand to knock the wheel out of the fork ends.
b. Installing A Bolt-on Front Wheel
(1)With the steering fork facing forward, insert the wheel between the fork blades so that the axle seats firmly at the top of the slots which are at the tips of the fork blades. The axle nut washers should be on the outside, between the fork blade and the axle nut. If your bike has a
(2)While pushing the wheel firmly to the top of the slots in the fork dropouts, and at the same time centering the wheel rim in the fork, use the correct size wrench to tighten the axle nuts enough so that the wheel stays in place; then use a wrench on each nut simultaneously to tighten the nuts to 180 - 240 inch pounds.
(3)
19