
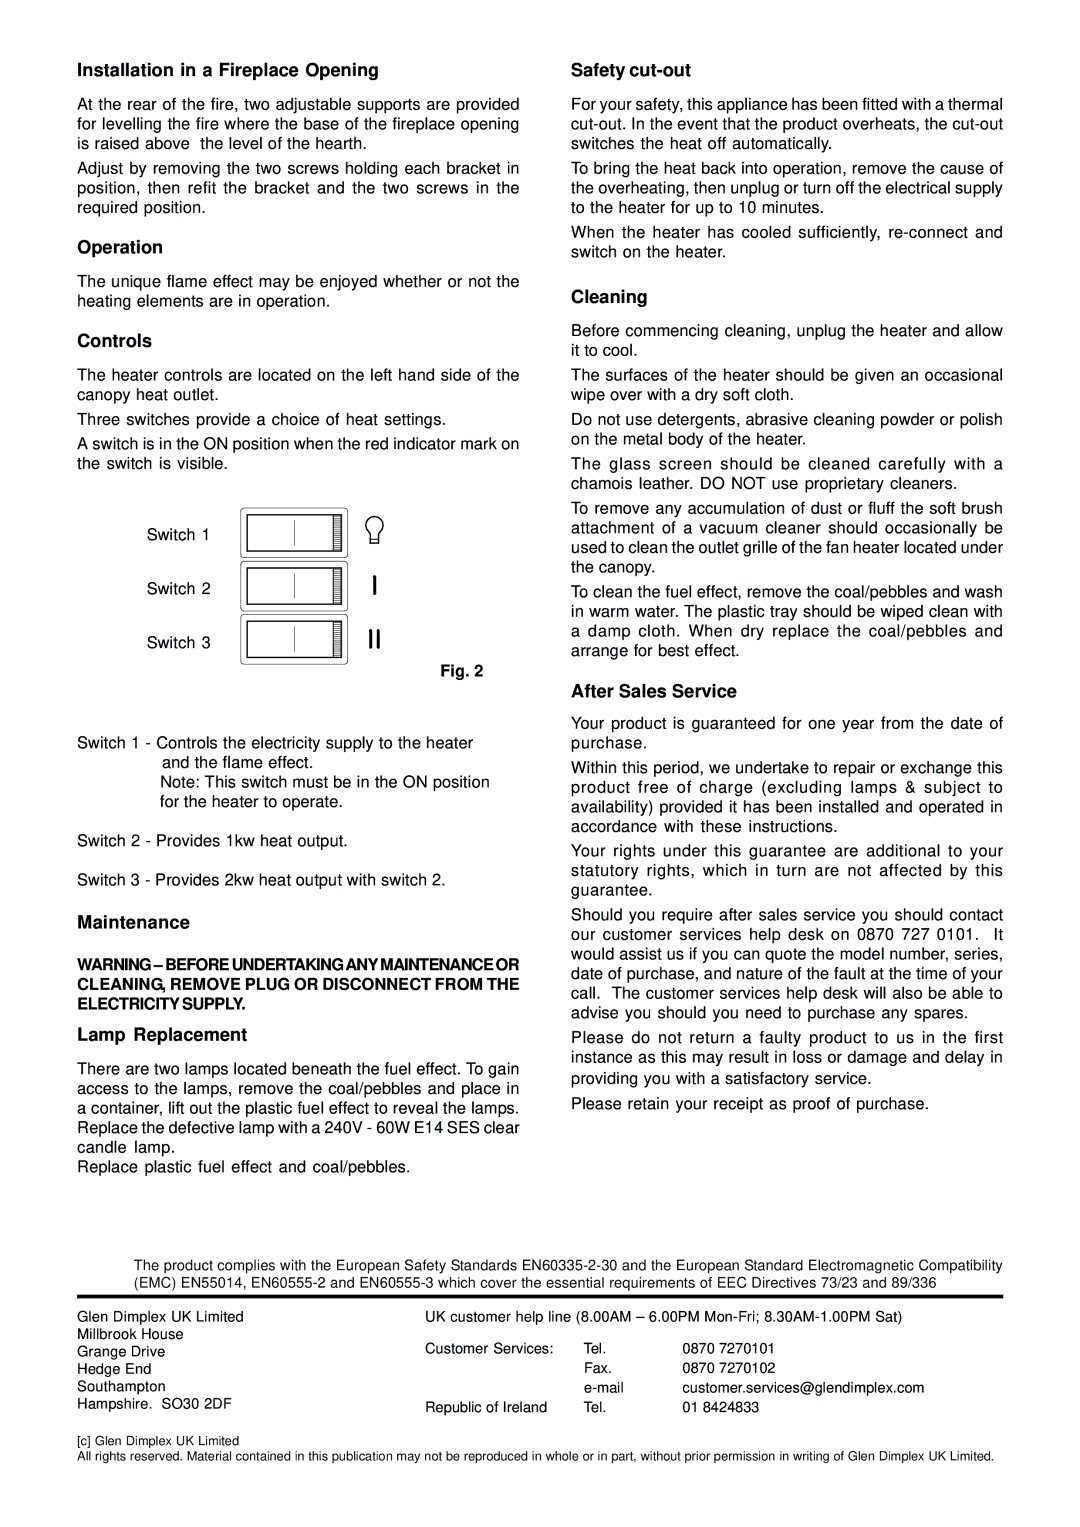
ADG20 specifications
The Dimplex ADG20 is a state-of-the-art electric heater designed to provide efficient and reliable heating for various indoor spaces. With its sleek design and advanced features, the ADG20 is an ideal solution for those seeking comfort and convenience in their heating systems.One of the main features of the Dimplex ADG20 is its impressive heating capacity. This model is capable of generating up to 2 kW of heat output, making it suitable for medium-sized rooms such as living rooms, bedrooms, and offices. The robust performance ensures that spaces are quickly warmed, providing instant comfort when needed most.
Dimplex has integrated several innovative technologies into the ADG20, highlighting its commitment to energy efficiency and user-friendly operations. The heater comes with a built-in thermostat that intelligently monitors the ambient temperature and adjusts the heat output accordingly. This not only optimizes comfort but also helps to reduce energy consumption, making it an eco-friendly choice for conscientious consumers.
Another significant characteristic of the ADG20 is its versatility in installation options. The unit can be wall-mounted, allowing homeowners to save floor space while still enjoying optimal heating performance. Additionally, it can also be used as a freestanding unit, giving users the flexibility to position it wherever needed. This adaptability makes the Dimplex ADG20 a perfect fit for various room layouts and design aesthetics.
Safety is a priority for Dimplex, and the ADG20 reflects this with its range of integrated safety features. The heater is equipped with overheat protection, ensuring that it automatically turns off in case it reaches unsafe temperature levels. This function not only safeguards the appliance but also provides peace of mind for users, especially in homes with children or pets.
The contemporary design of the Dimplex ADG20 complements modern interiors and its user-friendly controls make it easy for anyone to operate. Featuring simple dial controls, adjusting the temperature and settings can be done swiftly, ensuring hassle-free management.
In summary, the Dimplex ADG20 combines powerful heating capabilities with energy-efficient technologies, making it a reliable option for anyone looking to enhance their indoor thermal comfort. Its versatile installation options, stylish aesthetics, and comprehensive safety features further solidify its position as an excellent choice for modern heating solutions. Whether for a home or office environment, the Dimplex ADG20 delivers consistent performance and comfort.