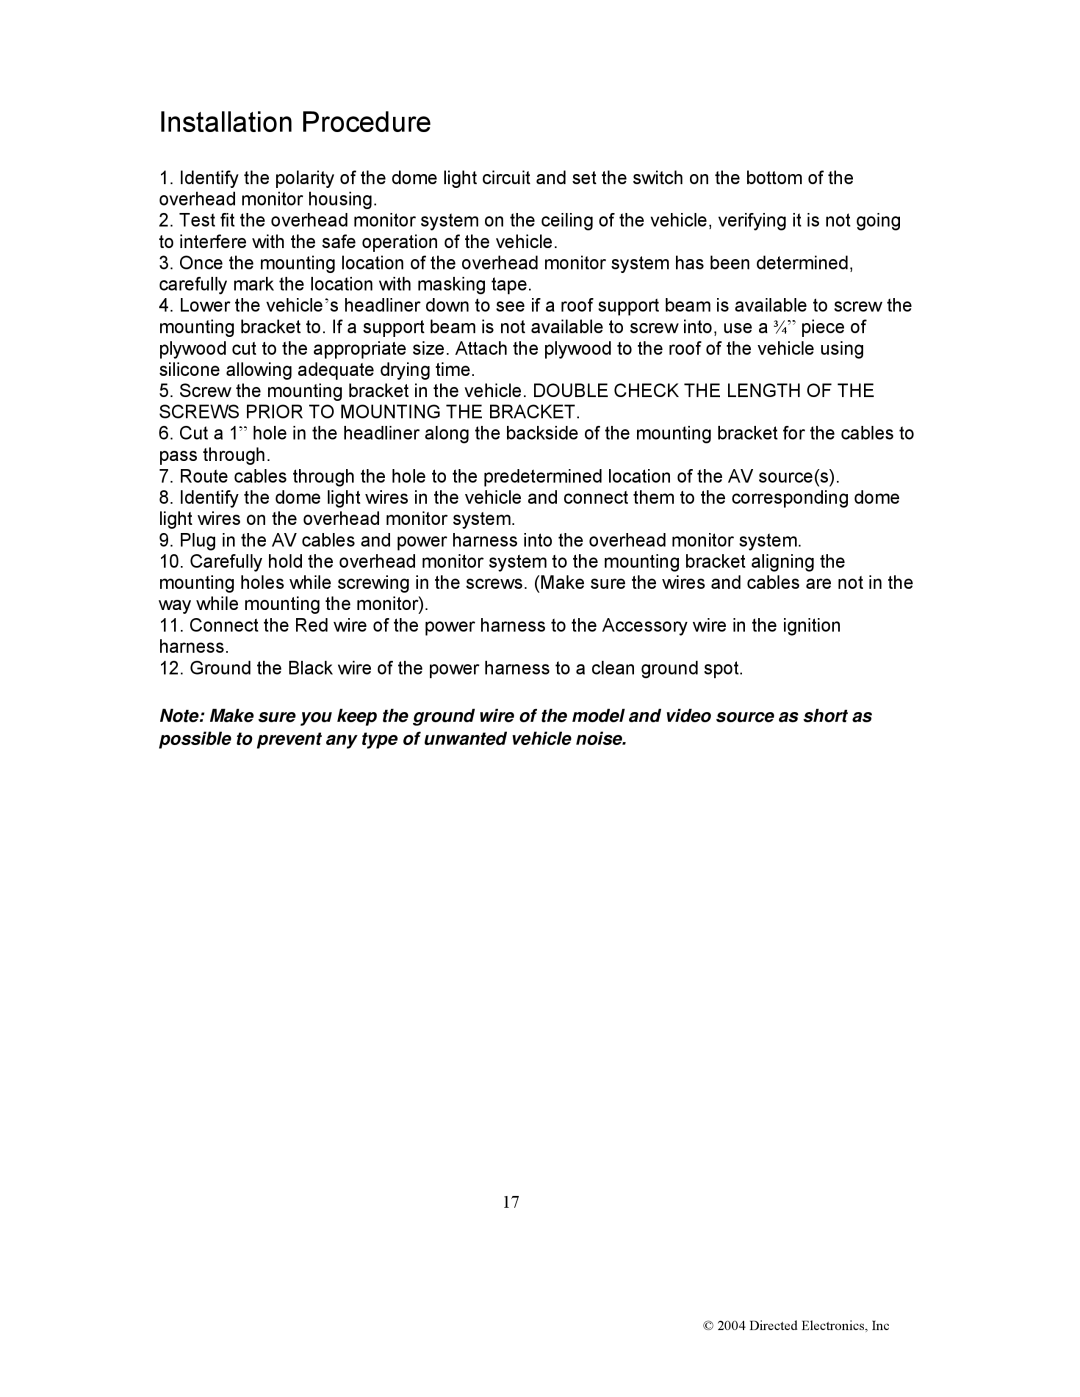
OHD1502 specifications
Directed Electronics OHD1502 is a premium car security system designed to provide comprehensive protection for vehicles while enhancing convenience for users. This advanced technology combines reliable security features with intuitive usability, making it an excellent choice for both car enthusiasts and those seeking peace of mind.One of the main features of the OHD1502 is its two-way remote control system. This remote not only allows the user to lock and unlock the vehicle from a distance but also provides feedback through visual and audible alerts. The two-way communication ensures that users are always aware of their vehicle's status, including whether the alarm has been triggered.
The OHD1502 includes a sophisticated alarm system that incorporates multiple sensors to detect unauthorized access attempts. The system features a shock sensor that responds to impacts, a door and hood sensor that activates when the vehicle is tampered with, and an optional glass break sensor that can identify the sound of breaking glass. This multi-layered approach to security maximizes protection against theft and vandalism.
In addition to its security capabilities, the OHD1502 integrates various convenience features. The system offers keyless entry and remote start options, allowing users to start their vehicles from a distance, which is particularly useful in extreme weather conditions. This feature adds a level of comfort, as users can pre-condition their vehicles before getting inside.
Another notable characteristic of the OHD1502 is its customization options. Users can tailor the system to fit their specific needs and preferences. This includes adjusting sensitivity levels for sensors or programming timed functions, such as automatic locking or unlocking after a certain period.
The directed electronics OHD1502 is built with a user-friendly interface that simplifies operation, even for those who are not particularly tech-savvy. Its clear indications and alerts enhance the user experience, ensuring that vehicle protection and convenience can be accessed easily.
In summary, the Directed Electronics OHD1502 is an exceptional choice for car owners looking for a robust security system. With its advanced technology, user-friendly features, and customizable options, the OHD1502 offers reliable protection, peace of mind, and enhanced vehicle convenience.