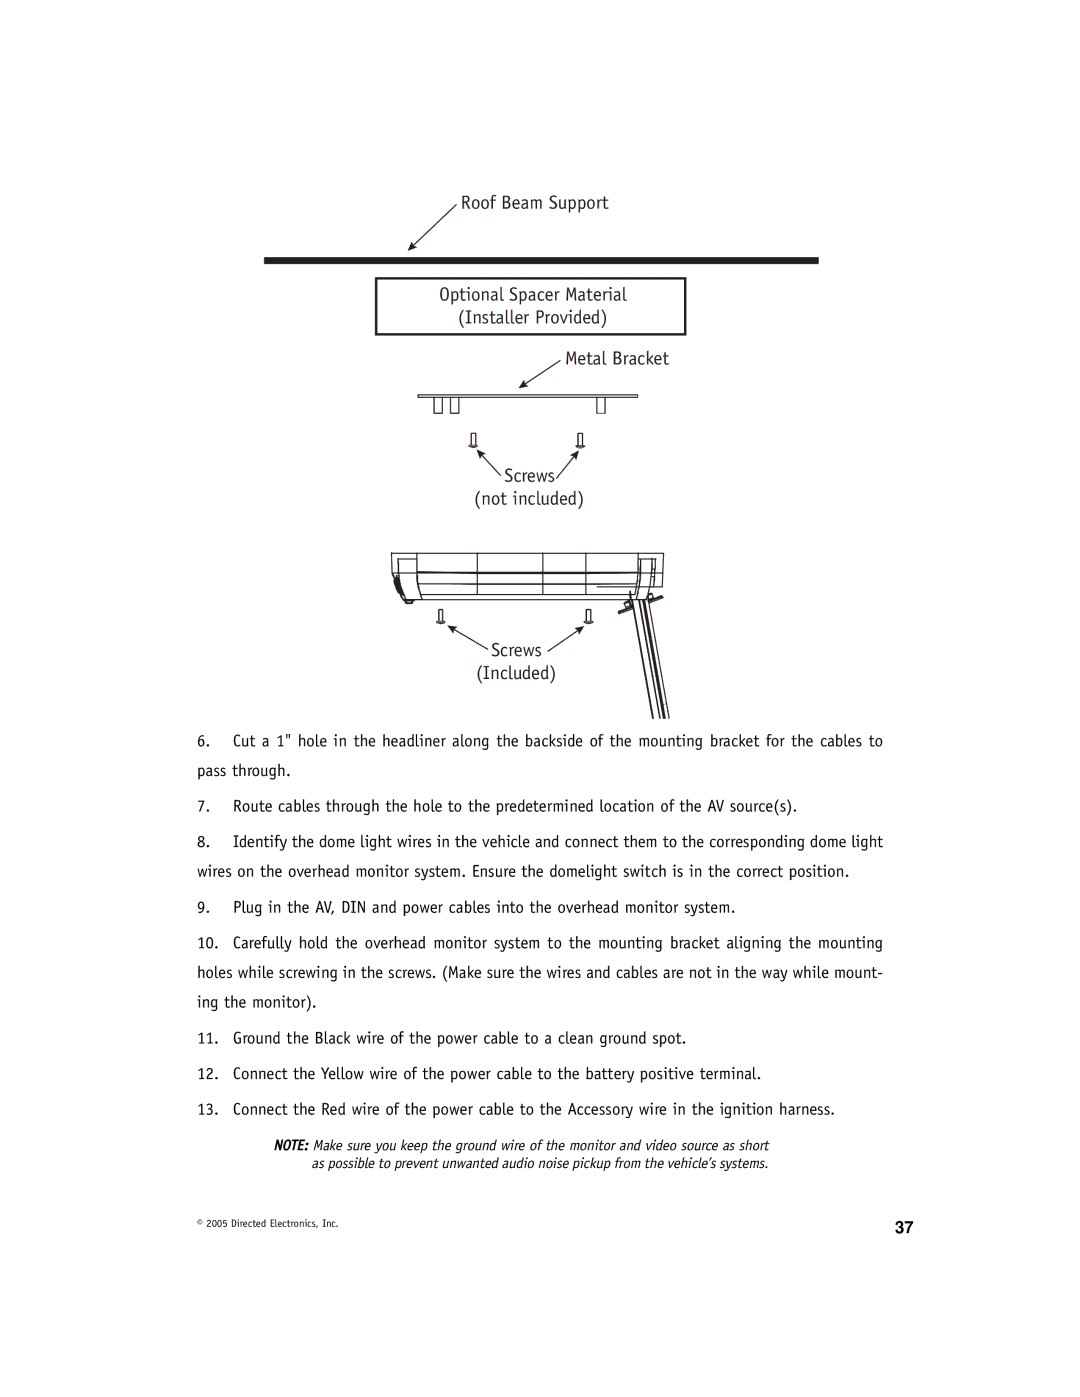
Roof Beam Support
Optional Spacer Material
(Installer Provided)
Metal Bracket
![]() Screws
Screws![]() (not included)
(not included)
![]() Screws
Screws ![]()
(Included)
6.Cut a 1" hole in the headliner along the backside of the mounting bracket for the cables to pass through.
7.Route cables through the hole to the predetermined location of the AV source(s).
8.Identify the dome light wires in the vehicle and connect them to the corresponding dome light
wires on the overhead monitor system. Ensure the domelight switch is in the correct position.
9.Plug in the AV, DIN and power cables into the overhead monitor system.
10.Carefully hold the overhead monitor system to the mounting bracket aligning the mounting
holes while screwing in the screws. (Make sure the wires and cables are not in the way while mount- ing the monitor).
11.Ground the Black wire of the power cable to a clean ground spot.
12.Connect the Yellow wire of the power cable to the battery positive terminal.
13.Connect the Red wire of the power cable to the Accessory wire in the ignition harness.
NOTE: Make sure you keep the ground wire of the monitor and video source as short as possible to prevent unwanted audio noise pickup from the vehicle’s systems.
© 2005 Directed Electronics, Inc. | 37 |
|