INSTALLATION WITH REMOVABLE HEADREST COVER
1.Remove the headrest cover to determine if it has room in it for the monitor without structurally weakening it.
2.With the cover still removed, position the cutout template against the rear of the headrest and mark the area to be cut out.
3.Remove the material to a depth sufficient for the lip of the mounting bezel to fit flush against the rear of the headrest once installed.
4.Cut an access hole for the cable to exit next to the headrest adjustment bar.
5.Reinstall the headrest cover. Trim it 1” smaller than the size of the mounting buck- et hole. When trimming, it is best to leave extra material that can be glued into the hole before installing the mounting bucket.
6.Route the cable through the headrest access hole and the rear opening of the mounting bucket.
7.Install the bucket. Some headrests have material that is strong enough to screw the bucket into. Others will require quality adhesive for mounting or tie straps to secure it to the metal support bars.
8.Route the cable through the seat cover and reinstall the headrest. Leave enough slack in the cable so the headrest still has full movement during adjustment.
9.Complete the cable routing to the video source.
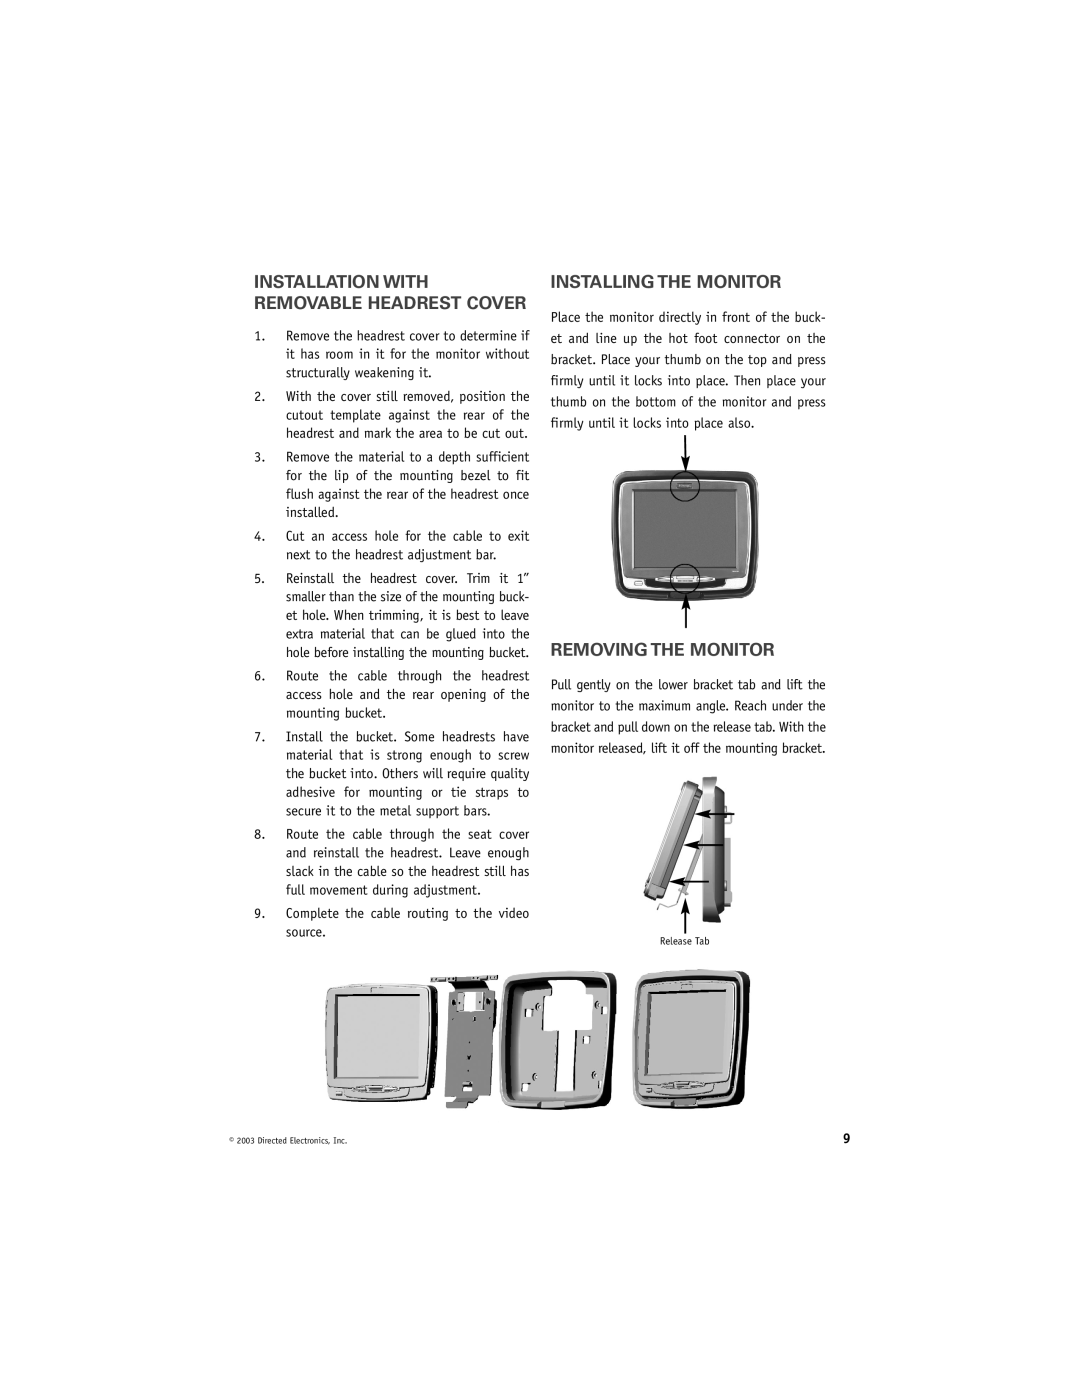
INSTALLING THE MONITOR
Place the monitor directly in front of the buck-
et and line up the hot foot connector on the
bracket. Place your thumb on the top and press
firmly until it locks into place. Then place your
thumb on the bottom of the monitor and press
firmly until it locks into place also.
REMOVING THE MONITOR
Pull gently on the lower bracket tab and lift the
monitor to the maximum angle. Reach under the
bracket and pull down on the release tab. With the
monitor released, lift it off the mounting bracket.
Release Tab
© 2003 Directed Electronics, Inc. | 9 |
