
RM2354 specifications
The Dometic RM2354 is a highly regarded absorption refrigerator designed specifically for the needs of travelers, especially those who enjoy the RV lifestyle. With its innovative features and user-friendly design, the RM2354 makes food storage convenient and efficient while on the road.One of the standout features of the Dometic RM2354 is its versatile power source capabilities. This model can operate efficiently on 3-way power sources—120V AC, 12V DC, and propane. This flexibility allows users to choose the most suitable power option depending on their circumstances and energy availability, making it an excellent choice for extended trips where power sources may vary.
In terms of storage capacity, the RM2354 does not disappoint. With a total storage volume of 3.7 cubic feet, it effectively accommodates food and beverages for various camping trips or road journeys. The refrigerator features adjustable shelves and door bins, providing customizable space to keep items organized and easily accessible. The adjustable thermostat ensures that users can maintain their desired temperature, whether it's for preserving fresh produce or storing cold drinks.
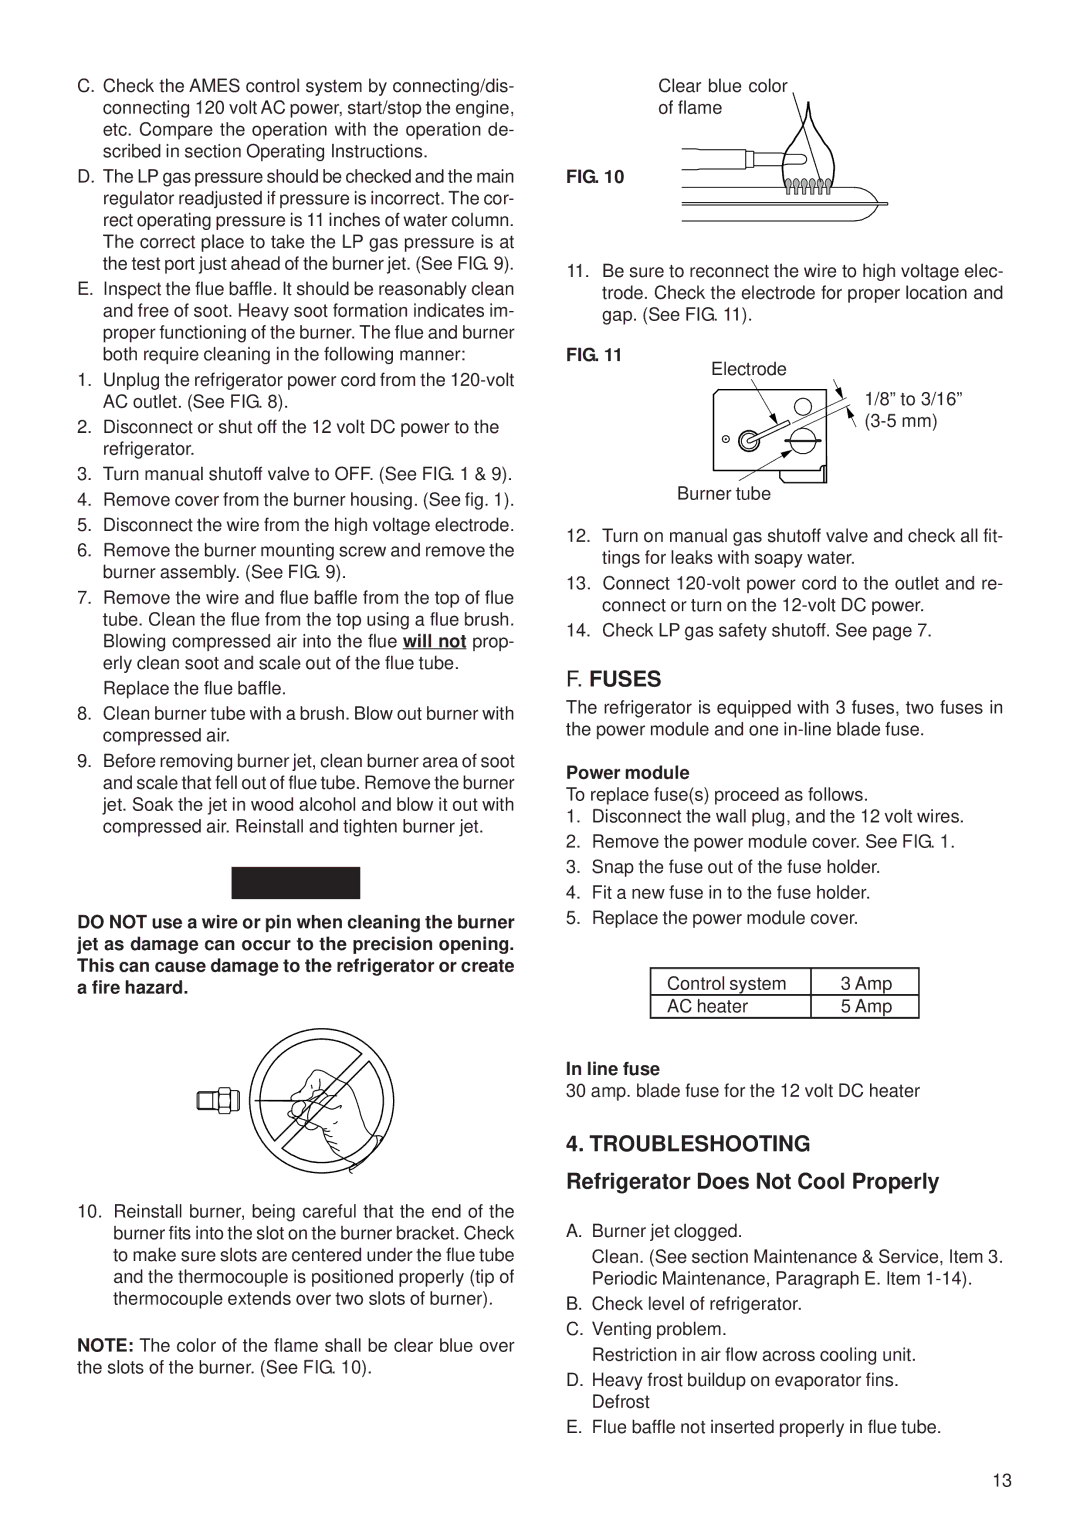
Another significant characteristic of the Dometic RM2354 is its efficient absorption cooling system. This technology allows the refrigerator to operate quietly, making it ideal for various environments, including serene campsites. The absorption cooling method uses ammonia, making it an eco-friendly choice, as it avoids the use of harmful refrigerants commonly found in traditional compressor refrigerators.
Additionally, the Dometic RM2354 is built with durability and ruggedness in mind, designed to withstand the vibrations and movements associated with life on the road. Its exterior is constructed from robust materials that can handle the challenges of travel while providing excellent insulation to ensure energy efficiency.
User-friendly features such as automatic ignitions and simple controls enhance the usability of the RM2354, making it accessible even for those who may be less mechanically inclined. The built-in safety features ensure proper operation, allowing users to focus on their adventures without worrying about the safety of their food storage.
In summary, the Dometic RM2354 absorption refrigerator combines versatility, efficiency, and durability, making it an ideal companion for RV enthusiasts and travelers. Its 3-way power source, ample storage capacity, quiet operation, and eco-friendly technologies offer everything one would expect in a reliable refrigerator for on-the-go lifestyles.