Manuals
/
Dymo
/
Computer Equipment
/
Postal Equipment
Dymo
K5 manual Your installation is now complete
Models:
K5
1
7
7
Download
7 pages
58.54 Kb
1
2
3
4
5
6
7
<
>
Install
K5 dial replacement instructions
Page 7
Image 7
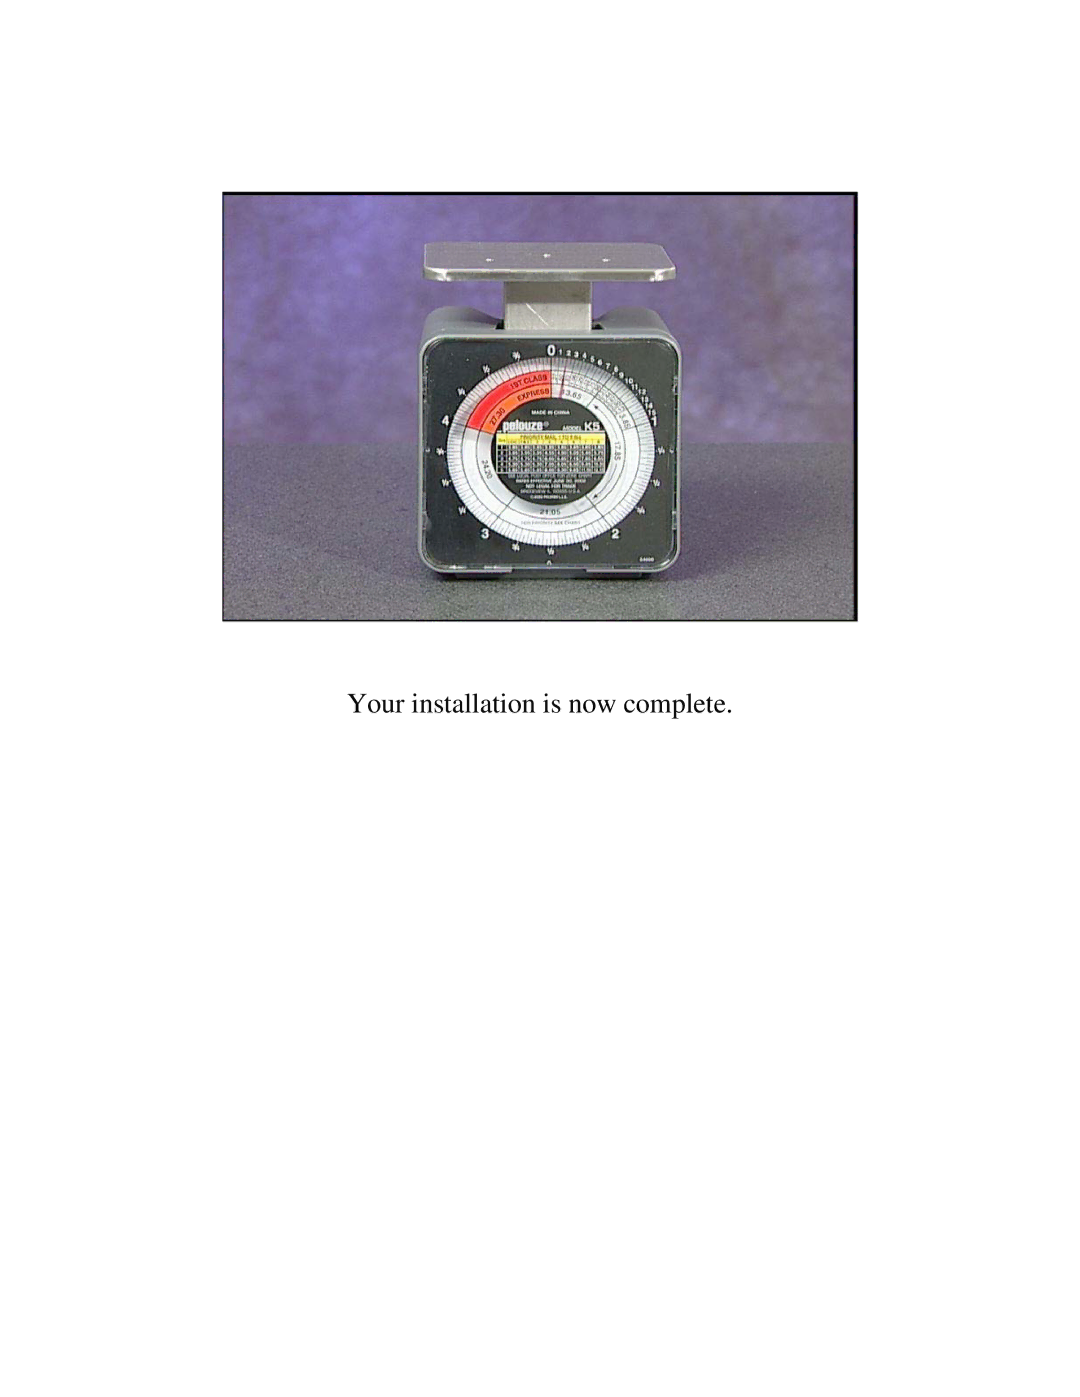
Your installation is now complete.
Page 6
Page 7
Image 7
Page 6
Contents
This is the K5 scale
K5 dial replacement instructions
Grasp the pull tab in the upper right hand corner of the dial
To change the dial , use your fingers to pop off the front face
You may have to bend dial to free it from the lens
Pull back until the dial is free of the lens
Now you are ready to insert the new dial
The replacement dial will have grooves on the sides and bottom
Observe the replacement dial
The top panel of the lens will not have a notch
The grooves on the dial will fit on the notches on the lens
You may have to bend the dial to secure your dial onto your lens
Then snap bottom into place
It may be easier to insert the top portion of the dial first…
…then snap on the front face
Your installation is now complete