Dynex Internal Floppy Drive
User’s Manual
Introduction:
Thank you for purchasing our internal floppy drive.
It is easy to install and use.
Installation:
1.Shut down the computer before installing the floppy drive.
2.Unscrew to open one cover of the desktop.
3.Insert the 3 1/2” internal floppy drive into the 3 1/2” bay.
4.Use the screws to securely fix the floppy drive.
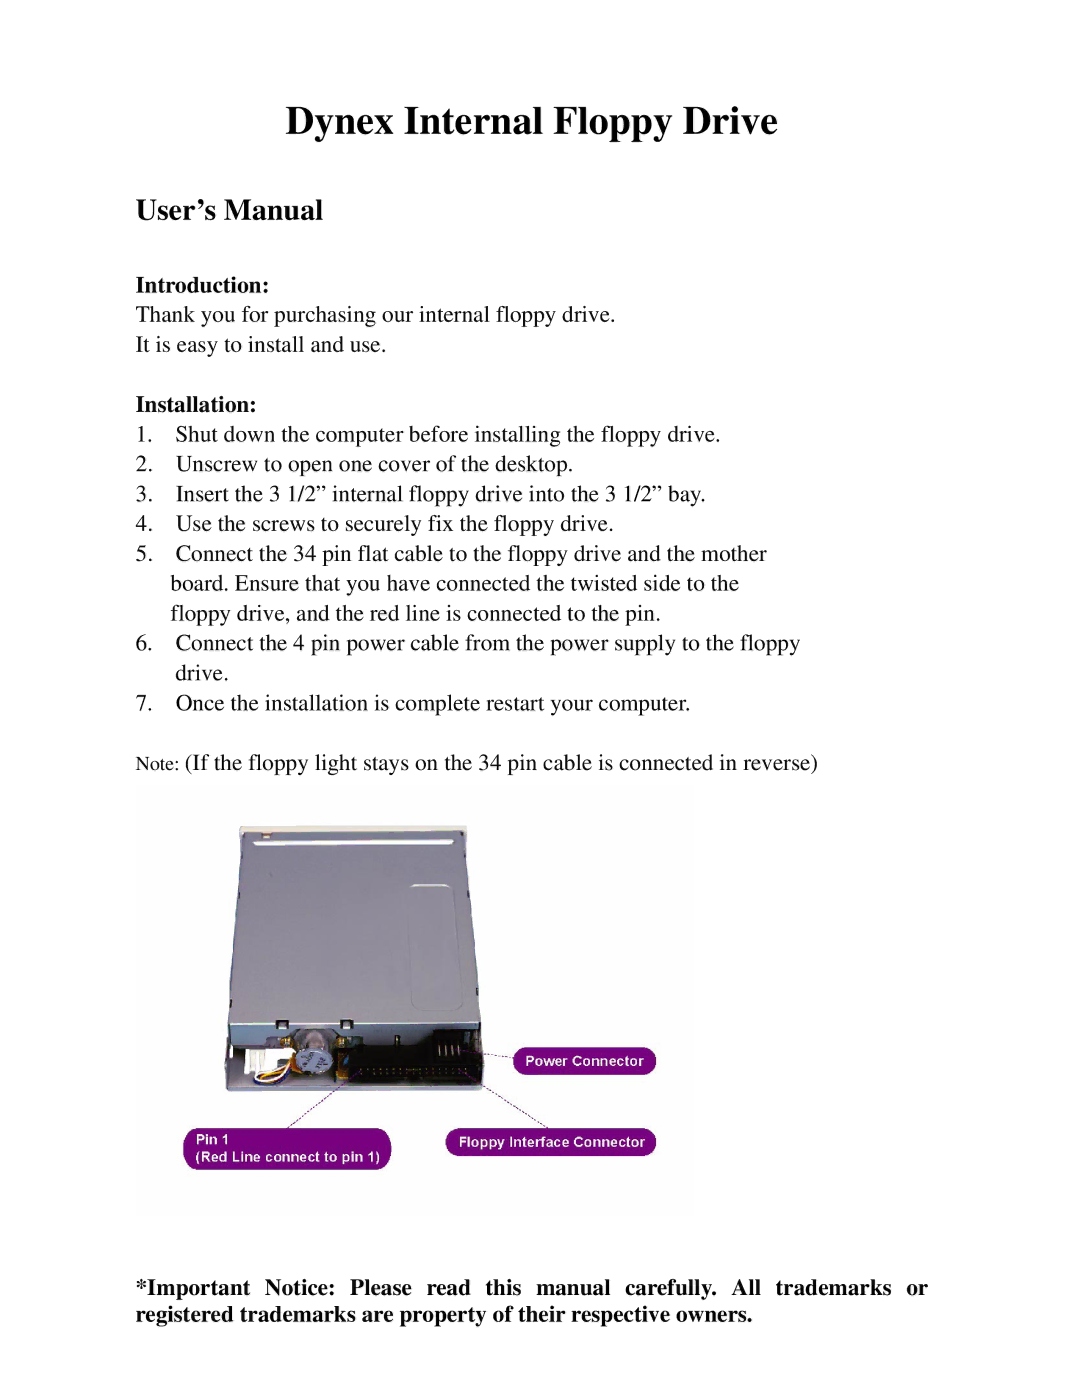
5.Connect the 34 pin flat cable to the floppy drive and the mother board. Ensure that you have connected the twisted side to the floppy drive, and the red line is connected to the pin.
6.Connect the 4 pin power cable from the power supply to the floppy drive.
7.Once the installation is complete restart your computer.
Note: (If the floppy light stays on the 34 pin cable is connected in reverse)
*Important Notice: Please read this manual carefully. All trademarks or registered trademarks are property of their respective owners.