2 | Dynex 350W Power Supply |
Dynex 350W Power Supply
Contents |
|
Français | 3 |
Español | 4 |
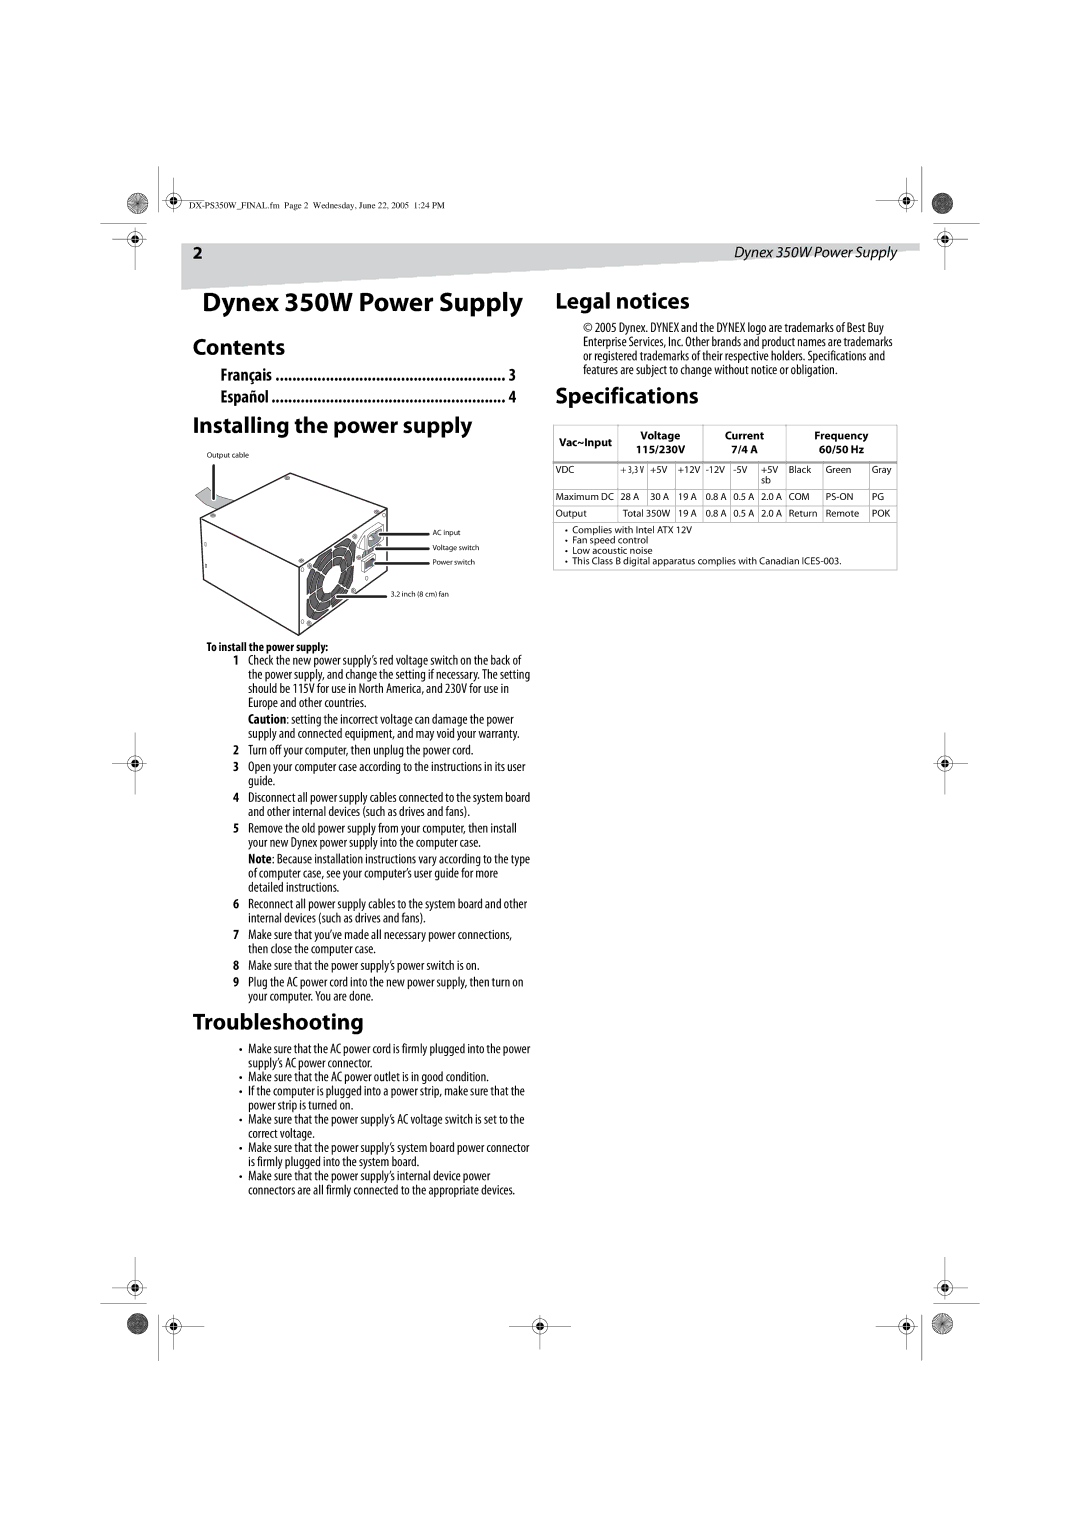
Installing the power supply |
|
Output cable
AC input
Voltage switch
Power switch
3.2 inch (8 cm) fan
Legal notices
©2005 Dynex. DYNEX and the DYNEX logo are trademarks of Best Buy Enterprise Services, Inc. Other brands and product names are trademarks or registered trademarks of their respective holders. Specifications and features are subject to change without notice or obligation.
Specifications
Vac~Input | Voltage | Current | Frequency |
| ||||||
115/230V |
| 7/4 A |
|
| 60/50 Hz |
| ||||
|
|
|
|
| ||||||
|
|
|
|
|
|
|
|
|
|
|
VDC | + 3,3 V | +5V | +12V | +5V | Black |
| Green | Gray | ||
|
|
|
|
|
| sb |
|
|
|
|
|
|
|
|
|
|
|
|
|
|
|
Maximum DC | 28 A | 30 A | 19 A | 0.8 A | 0.5 A | 2.0 A | COM |
| PG | |
|
|
|
|
|
|
|
|
|
|
|
Output | Total 350W | 19 A | 0.8 A | 0.5 A | 2.0 A | Return |
| Remote | POK | |
|
|
|
|
|
|
|
|
|
|
|
•Complies with Intel ATX 12V
•Fan speed control
•Low acoustic noise
•This Class B digital apparatus complies with Canadian
To install the power supply:
1Check the new power supply’s red voltage switch on the back of the power supply, and change the setting if necessary. The setting should be 115V for use in North America, and 230V for use in Europe and other countries.
Caution: setting the incorrect voltage can damage the power supply and connected equipment, and may void your warranty.
2Turn off your computer, then unplug the power cord.
3Open your computer case according to the instructions in its user guide.
4Disconnect all power supply cables connected to the system board and other internal devices (such as drives and fans).
5Remove the old power supply from your computer, then install your new Dynex power supply into the computer case.
Note: Because installation instructions vary according to the type of computer case, see your computer’s user guide for more detailed instructions.
6Reconnect all power supply cables to the system board and other internal devices (such as drives and fans).
7Make sure that you’ve made all necessary power connections, then close the computer case.
8Make sure that the power supply’s power switch is on.
9Plug the AC power cord into the new power supply, then turn on your computer. You are done.
Troubleshooting
•Make sure that the AC power cord is firmly plugged into the power supply’s AC power connector.
•Make sure that the AC power outlet is in good condition.
•If the computer is plugged into a power strip, make sure that the power strip is turned on.
•Make sure that the power supply’s AC voltage switch is set to the correct voltage.
•Make sure that the power supply’s system board power connector is firmly plugged into the system board.
•Make sure that the power supply’s internal device power connectors are all firmly connected to the appropriate devices.