INSTALLATION
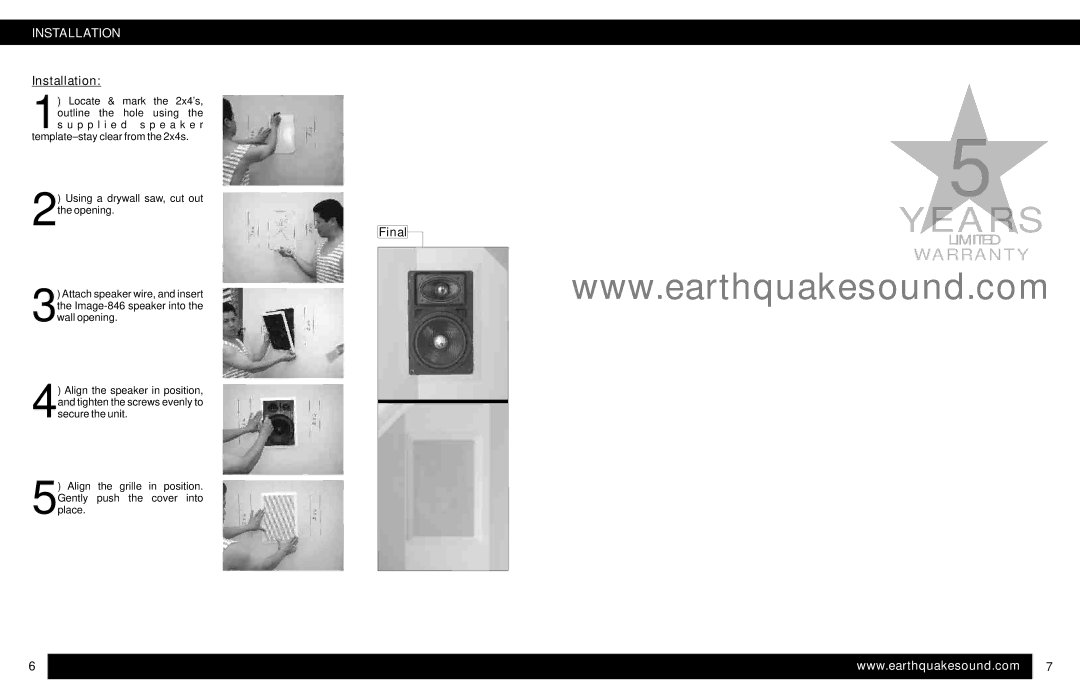
Installation:
) Locate & mark the 2x4’s,
outline | the hole using the |
s u p p l i e d s p e a k e r | |
clear from the 2x4s. | |
) Using a drywall saw, cut out
2the opening.
) Attach speaker wire, and insert
3the
) Align the speaker in position,
4and tighten the screws evenly to secure the unit.
) Align the grille in position.
5Gently push the cover into place.
5
Final | YEARS |
| LIMITED |
WARRANTY
www.earthquakesound.com
6 | www.earthquakesound.com | 7 |