BASIC OPERATION
ADJUSTING SCREEN
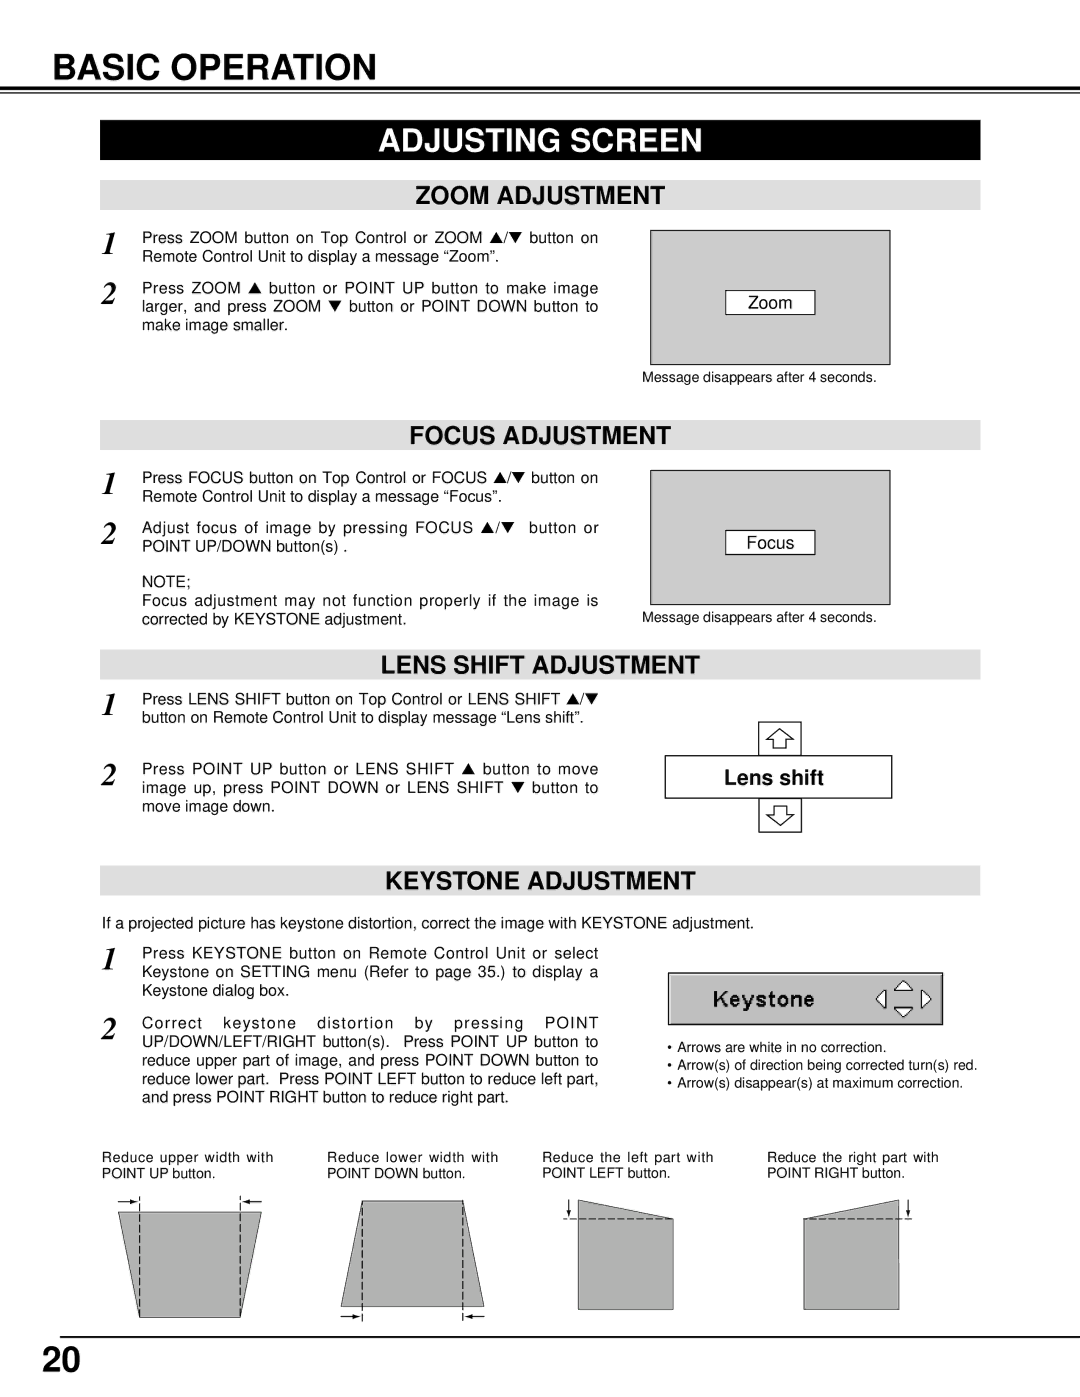
ZOOM ADJUSTMENT
1 | Press ZOOM button on Top Control or ZOOM ▲ /▼ button on |
Remote Control Unit to display a message “Zoom”. | |
2 | Press ZOOM ▲ button or POINT UP button to make image |
larger, and press ZOOM ▼ button or POINT DOWN button to |
make image smaller.
Zoom
Message disappears after 4 seconds.
FOCUS ADJUSTMENT
1 | Press FOCUS button on Top Control or FOCUS ▲/▼ button on |
Remote Control Unit to display a message “Focus”. | |
2 | Adjust focus of image by pressing FOCUS ▲ /▼ button or |
POINT UP/DOWN button(s) . |
NOTE;
Focus adjustment may not function properly if the image is corrected by KEYSTONE adjustment.
Focus
Message disappears after 4 seconds.
| LENS SHIFT ADJUSTMENT | |
1 | Press LENS SHIFT button on Top Control or LENS SHIFT ▲/▼ | |
button on Remote Control Unit to display message “Lens shift”. | ||
2 |
| |
Press POINT UP button or LENS SHIFT ▲ button to move |
| |
image up, press POINT DOWN or LENS SHIFT ▼ button to |
| |
|
|
|
move image down.
�
Lens shift
�
�
KEYSTONE ADJUSTMENT
If a projected picture has keystone distortion, correct the image with KEYSTONE adjustment.
1 | Press KEYSTONE button on Remote Control Unit or select |
Keystone on SETTING menu (Refer to page 35.) to display a | |
| Keystone dialog box. |
2 | Correct keystone distortion by pressing POINT |
UP/DOWN/LEFT/RIGHT button(s). Press POINT UP button to |
reduce upper part of image, and press POINT DOWN button to reduce lower part. Press POINT LEFT button to reduce left part, and press POINT RIGHT button to reduce right part.
•Arrows are white in no correction.
•Arrow(s) of direction being corrected turn(s) red.
•Arrow(s) disappear(s) at maximum correction.
Reduce upper width with | Reduce lower width with | Reduce the left part with | |||||
POINT UP button. | POINT DOWN button. | POINT LEFT button. | |||||
|
|
|
|
|
|
|
|
|
|
|
|
|
|
|
|
Reduce the right part with POINT RIGHT button.
20
